I’ll be honest — I had basically written off Final Cut Pro for the iPad. When it first launched, I expected more. It was a port of software that had been around for years on the Mac, so version one on iPad should have been better than it was. Editing projects took way too long, and it just wasn’t practical for my workflow.
But the latest version? It’s changed my mind. Things are significantly faster, and it’s actually fun to use now. So I want to walk you through my entire process of editing a basketball highlight reel on the iPad — from importing footage to editing clips to the beat of the music.
The iPad Setup Challenge
Before we even get into Final Cut, let’s talk about the elephant in the room: the iPad’s port situation. If you want to use external storage and a card reader, you end up with a bit of a contraption on the back of your iPad. I have a hub and an external drive magnetically attached to the back of mine. It’s not the prettiest setup, but it works.

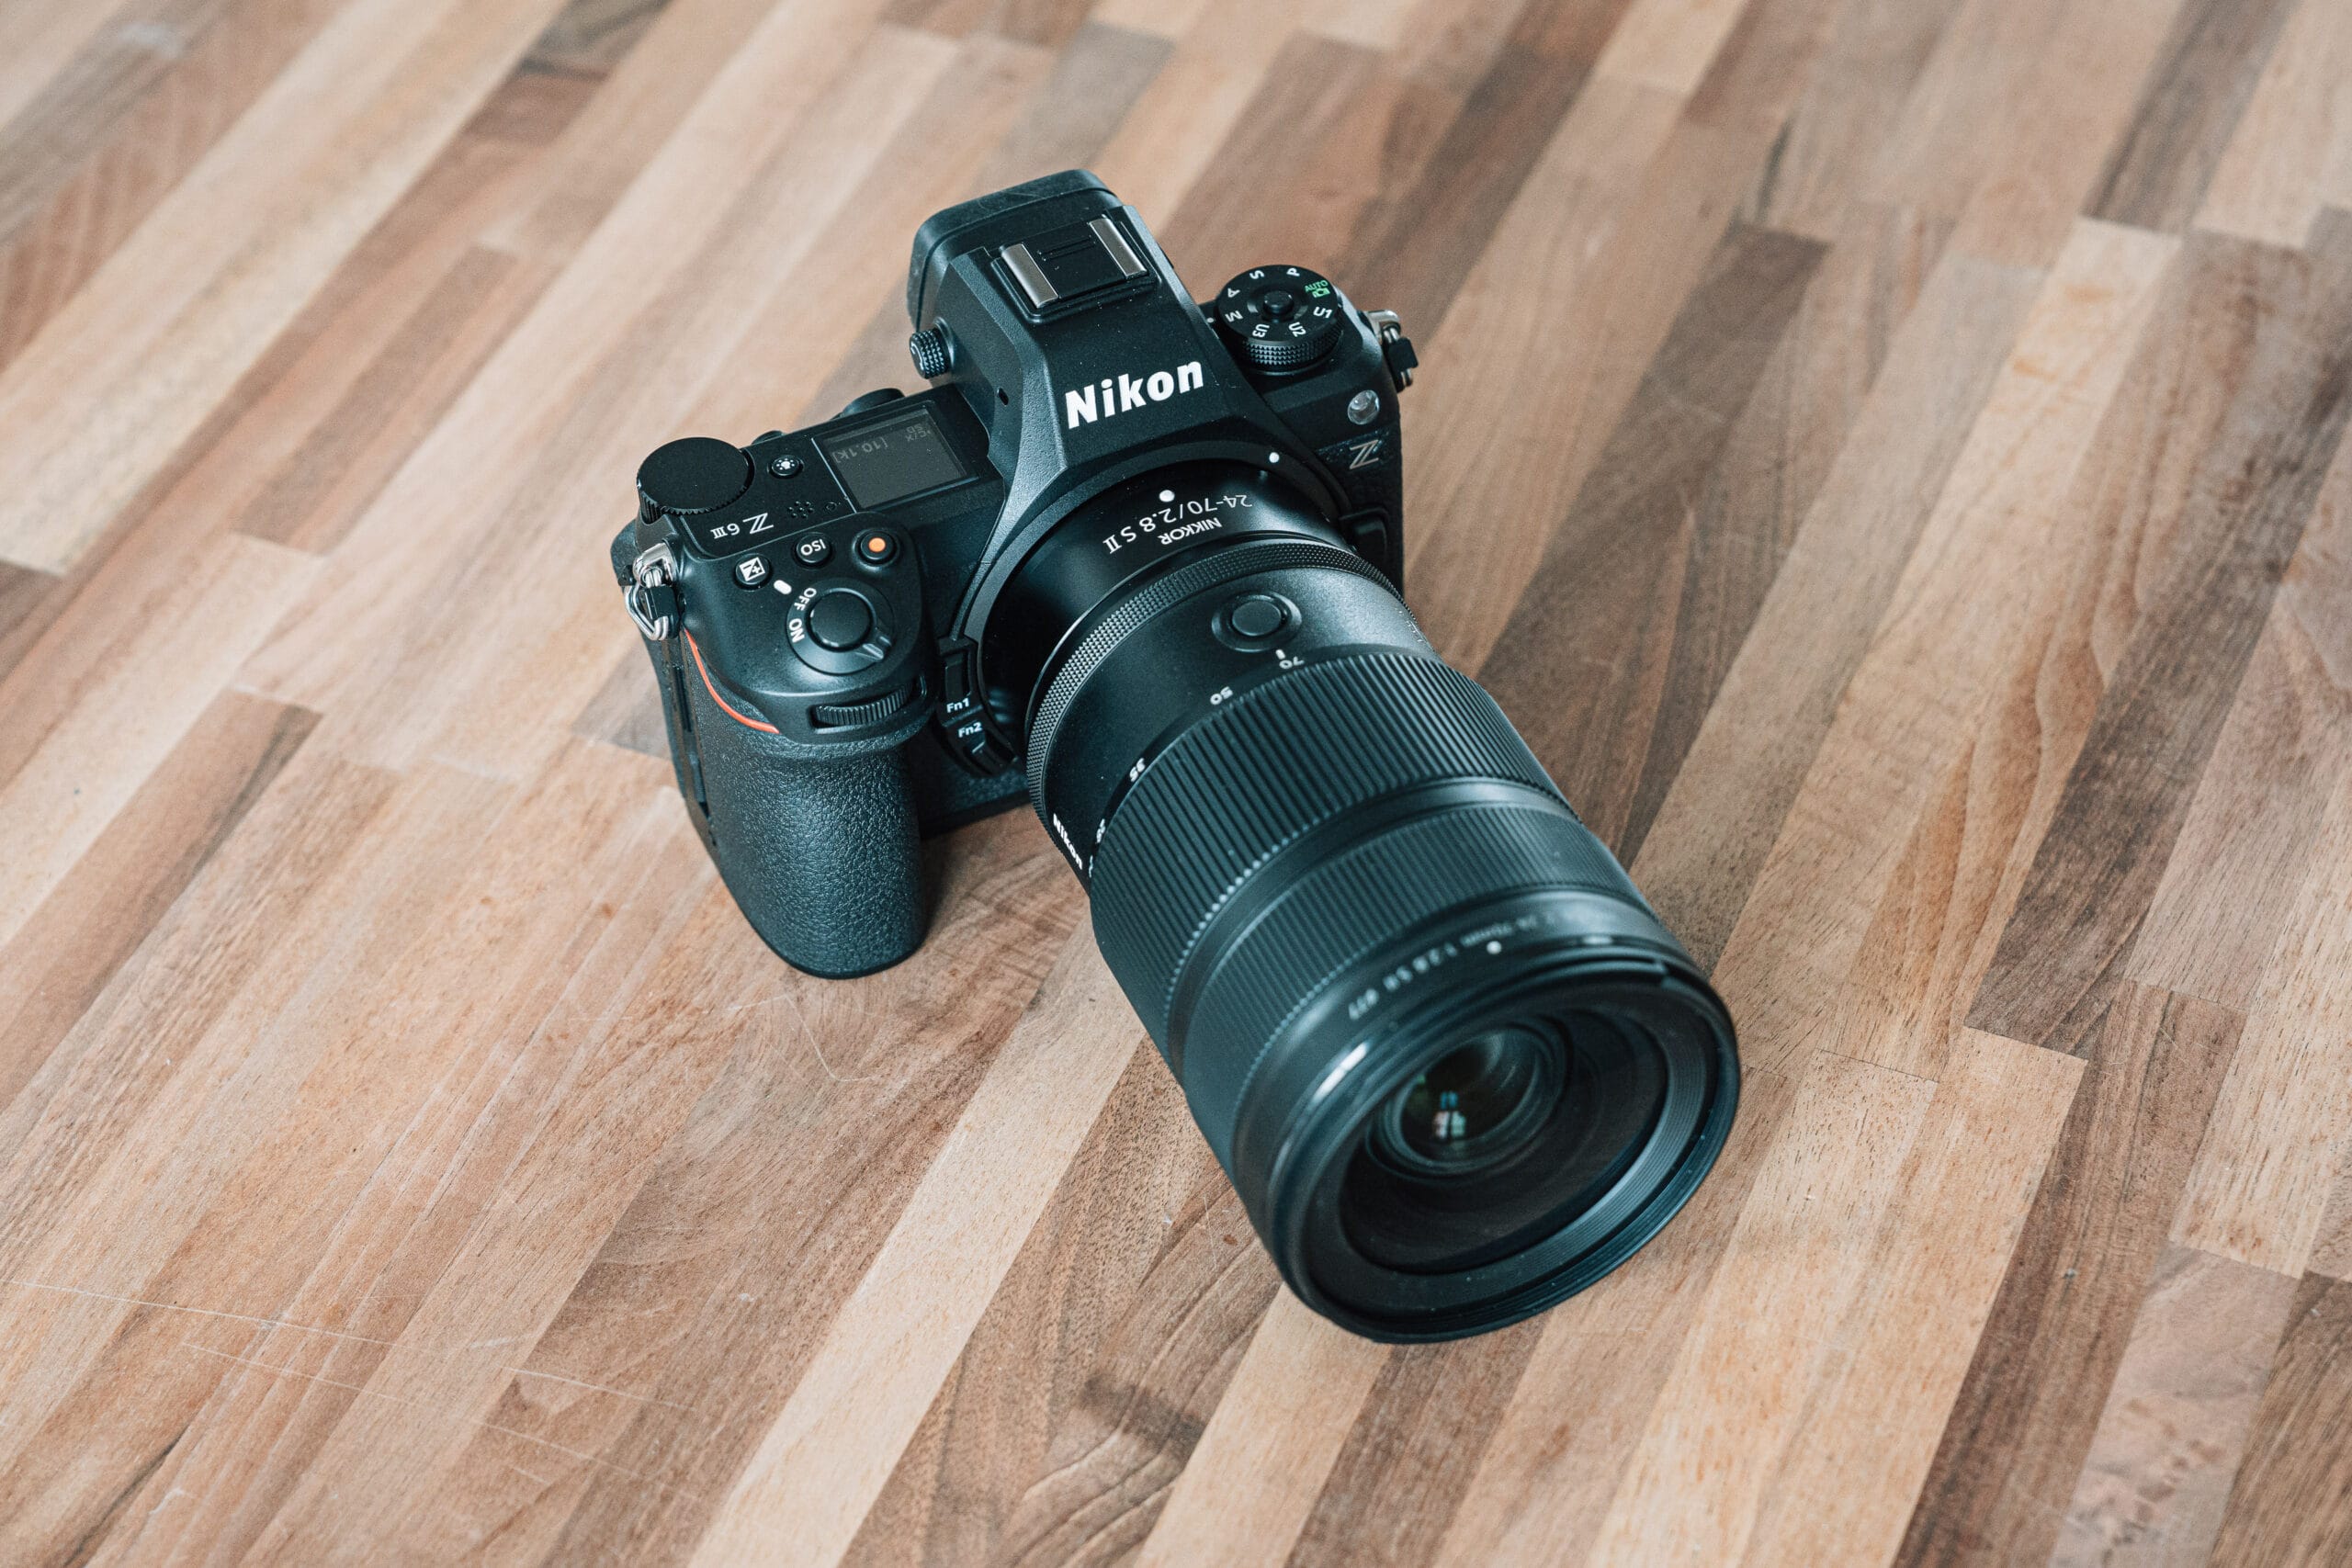
I shot all of the footage for this project on the Sony A7 V with the 50-150mm f/2 G Master lens, and the SD card goes right into the hub on the back of the iPad. I actually made a separate video about the accessories I’m using with my iPad setup, so check the description for that if you’re curious.
Importing Footage: Skip the SD Card Direct Import
Here’s a tip that will save you time: don’t import directly from the SD card into Final Cut Pro. It takes longer, and sometimes it’s hard to tell when the import process has actually finished.
Instead, I copy everything from the SD card to an external drive first. Open the Files app, navigate to your SD card, select all the clips you need, and drag them into a folder on your external drive. If you have plenty of storage on your iPad itself, you could also copy to a local folder — just don’t import straight from the card.

One thing I’ve found is that I’m fastest when editing with a mouse. If I don’t have my mouse, I’ll use the Magic Keyboard trackpad. And sometimes I’ll use a combination of touch on the screen and the mouse. But the mouse-first approach makes me feel like I’m editing the same way I would on my laptop, which keeps things efficient.
Setting Up Your Project
Back in Final Cut Pro, I create individual projects rather than multiple timelines within one project. On the Mac version, I’d typically create a library, but that option doesn’t exist on iPad. So creating a separate project for each edit makes the most sense — unless you’re using the same media across multiple projects, in which case additional timelines would be the better approach.
For this basketball highlight reel, I shot everything in portrait mode on the camera. So when creating the new project, I go to Format, choose Custom, and switch from landscape to portrait. That flips the orientation to match my footage.

Then I import my footage by choosing “Import from Files,” navigating to the external drive, selecting all clips, and opening them. Everything loads into the project and we’re ready to go.
Starting with Music and Beat Detection
Since this is a highlight reel edited to the beat, the music needs to come first. I go to File > Import, bring in my audio file from the Downloads folder, and drag it down into the timeline.
Here’s where things get good. Right-click on the audio track and hit “Enable Beat Detection.” Final Cut analyzes the audio for a few seconds and drops in vertical lines right on the beat. When you spread the timeline out further, you get additional lines in between the main beats for more precise adjustments.

This is a huge feature for highlight reels. As you drag clips into the timeline, they snap to these beat markers — you even get a little green music icon showing you exactly where the clip is snapping to. It makes the whole process of timing your cuts to the music dramatically easier.
Clip Selection and Editing to the Beat
Now comes the time-consuming but satisfying part: going through all your footage, finding the best moments, setting in and out points, and dragging clips into the timeline.
My process is straightforward. I browse through the clips in the media browser at the top, find an action moment I want to use, set an in point and an out point to isolate just that moment, and then drag it down into the timeline. This is way faster than dragging in a full clip and then trying to find the moment you want from within the timeline.

For each clip I bring in, I immediately turn off the clip audio by clicking on volume and dragging it down. The music track is doing all the audio work here.
Keyboard Shortcuts Make a Difference
If you’re using the Magic Keyboard, the keyboard shortcuts for in and out points are game-changers. Press I to set an in point and O to set an out point. It’s much faster than dragging the sliders around manually, which can get annoying — especially on the iPad’s smaller interface.
Building the Story Through Clip Order
One thing to keep in mind with highlight reels: your clips don’t have to be in chronological order. Most viewers will have no idea that clips are rearranged. What matters is that the energy and action build with the music.
For this edit, the music starts mellow and builds up, so I structured it accordingly. I used the player introductions and jump ball during the quieter intro, and then brought in the high-energy plays — three-pointers, fast breaks, strong drives — as the beat picks up.
I even left one section intentionally black, with nothing on screen while the music builds. That pause creates anticipation before the action kicks in.

The Four-Count Rule
A good rule of thumb for highlight reels: bring in a new clip on every four-count of the beat. One, two, three, four — new clip. One, two, three, four — new clip. This keeps the pacing consistent and gives each moment enough screen time to register without dragging.
Handling Common Issues
Off-Center Shots
When you’re shooting from across a basketball court with a 50-150mm lens, not everything is perfectly framed. Some of my shots were off-center or needed to be punched in tighter.
To fix this, select the clip, open the Inspect panel, and choose Transform. You can zoom in and reposition the clip to better frame the action. Make sure “Lock Proportions” is turned on so you don’t accidentally distort your footage.

Stacking Clips
Sometimes when you’re dragging clips into the timeline, they accidentally stack on top of each other instead of landing next to the previous clip. If that happens, just readjust the clip so it sits properly and snaps to the beat marker.

Finding Previously Used Clips
On the iPad, it can be tricky to tell which clips you’ve already used. Here’s how I handle it: spread out your timeline clips and check the file names. If the last clip you used was file 344, you can select clips in the media browser and see their file names to figure out where you left off.
You can also switch from thumbnail view to list view in the media browser, which can make it easier to track your progress through the footage.
Transitions and Effects
Final Cut Pro on iPad now has a solid set of transitions and effects under the Content and Effects panel.
For transitions, you just find the one you want — cross dissolve being the most common — and drag it onto the cut point between two clips. For a fast-paced highlight reel, I typically don’t use transitions between action clips, but they can work well for intro or outro sections.
Removing a transition is simple: right-click and delete.

Graphics and Generators
The graphics and generators section has gotten a lot of new options. There are countdown timers, which could be great for showing shot clocks in basketball edits. There are also solid generators — I use these frequently as background layers. Drag one in, change the color, and you’ve got a clean backdrop to place text or graphics on top of.
One thing to watch out for: if HDR is enabled, solid white backgrounds can be blindingly bright. You may need to tone down the intensity.

Final Thoughts: Final Cut Pro on iPad Has Arrived
Final Cut Pro on iPad has received major upgrades, and I think it’s finally at a point where it’s genuinely useful. It’s given me a real reason to have an iPad beyond basic consumption, and I believe Apple is serious about making these creative apps work for content creators.
With Apple’s Creator Studio initiative and Final Cut Pro now being a subscription service, I’m actually optimistic about the future. The subscription model signals that Apple is committed to continued development, keeping the app on par with what we’d expect from modern editing software.
I’ve edited a handful of these highlight reels on the iPad now, and I’ve gotten noticeably faster each time. Once you understand the layout and workflow, it becomes second nature.
Watch the final highlight reel edit video.
If you’re a photographer or videographer who’s been skeptical about editing on iPad — I get it, I was too. But give the latest version of Final Cut Pro a shot. It might surprise you.
Want a complete walkthrough of the entire Final Cut Pro for iPad app? Check out my full course!