A Professional Photographer’s Detailed Workflow for High-Volume School Photography
When I received the opportunity to photograph an entire school of 520 students and faculty members, I knew I was facing a significant challenge. Unlike sports team photography where I have extensive experience, school portraits presented unique considerations, especially when working with young children across all grade levels. The biggest constraint? I had just one day to complete everything due to the school’s space limitations while they await a new building completion.
This comprehensive guide details every aspect of my setup, workflow, and lessons learned from this intensive shoot. Whether you’re considering school photography or any high-volume portrait work, these insights will help you prepare for success.
Camera and Lens Selection
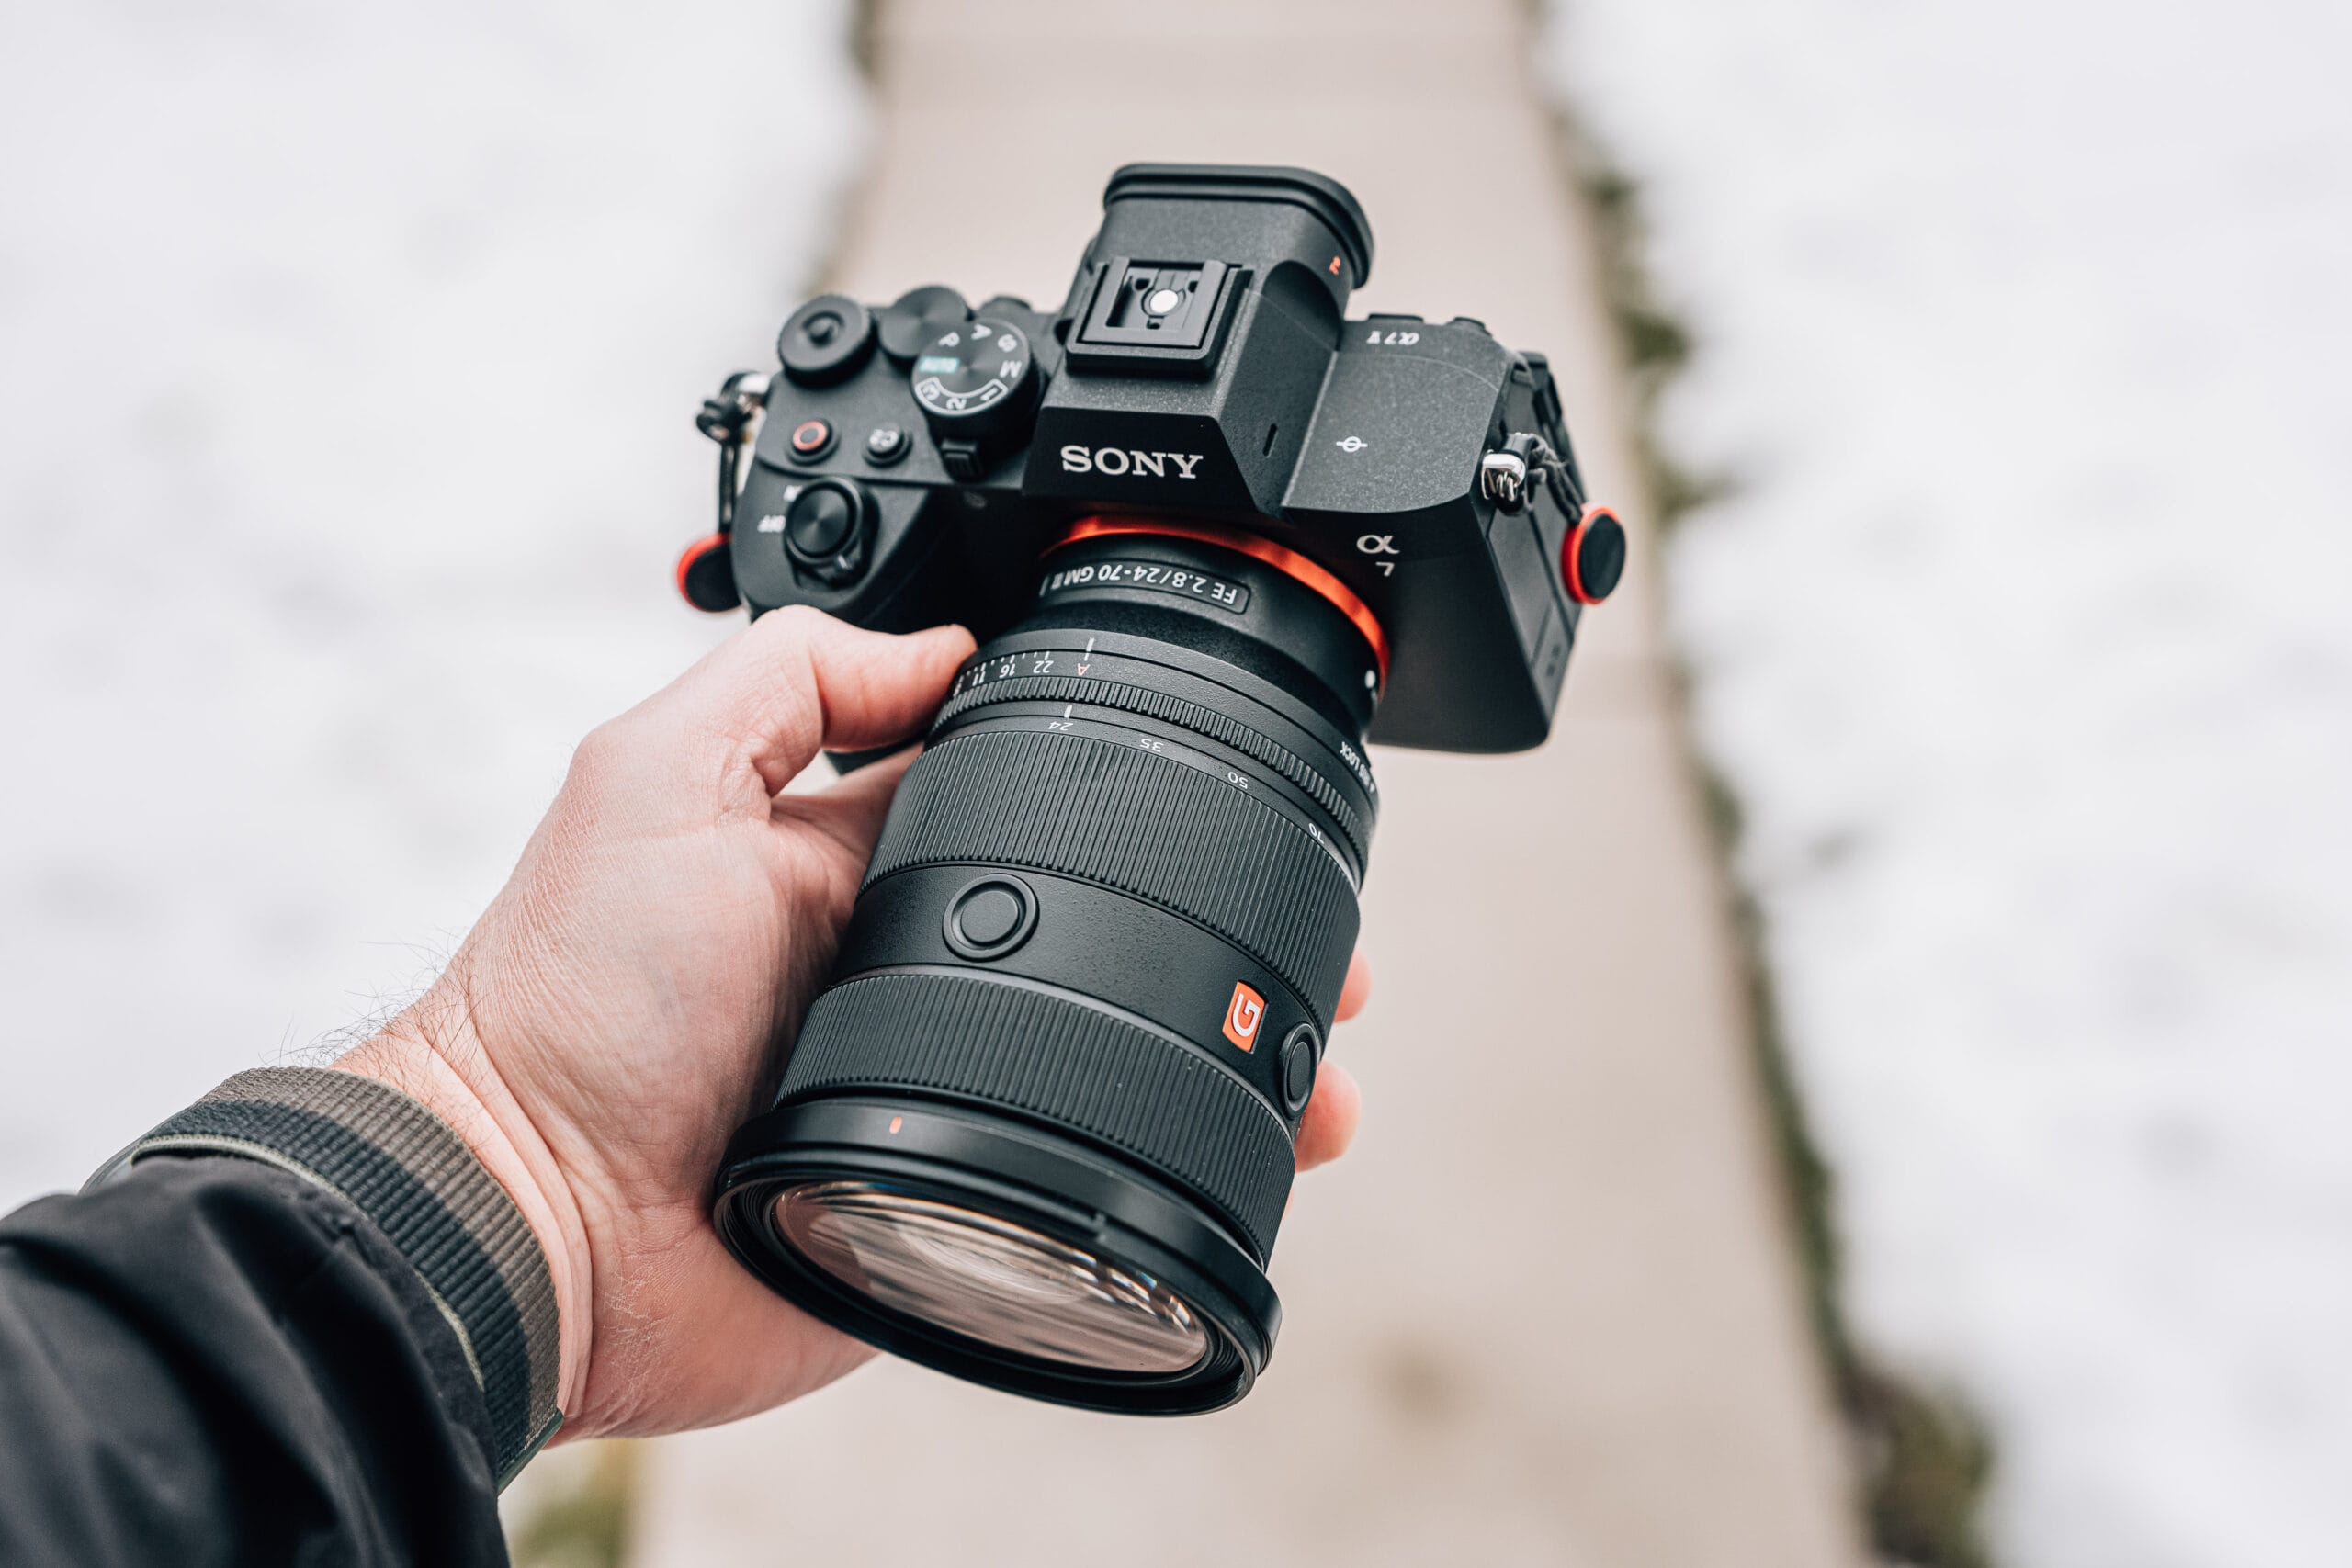
My primary setup centered around the Sony A1 (specifically the A12, the latest edition) paired with the Sony 50-150mm f/2.8 G Master lens. This combination has become my go-to solution, essentially replacing my need for prime lenses in most situations. The 50-150mm focal range provided crucial flexibility since I wasn’t entirely certain about the space constraints I’d be working with.
Why not the traditional 70-200mm? The 50mm end gave me essential versatility for the varying distances I’d need to accommodate throughout the day. Additionally, knowing I’d be shooting in a gymnasium with challenging ambient lighting and using continuous lights rather than strobes, the f/2.8 aperture was essential for maintaining reasonable ISO levels.
A critical but often overlooked addition: I attached a polarizing filter to minimize glare from glasses. With numerous faculty members and students wearing glasses, and uncontrollable overhead gym lighting, this simple addition saved considerable post-processing time.
Sony a1 II: https://jerad.link/sonya1ii
Sony FE 50-150mm f/2 GM Lens: https://jerad.link/sony50150gm
SD Cards I Use: https://jerad.link/progradev90sd128gb
Circular Polarizer Filter: https://jerad.link/polarpro95mmcirpolar
The Backdrop Solution
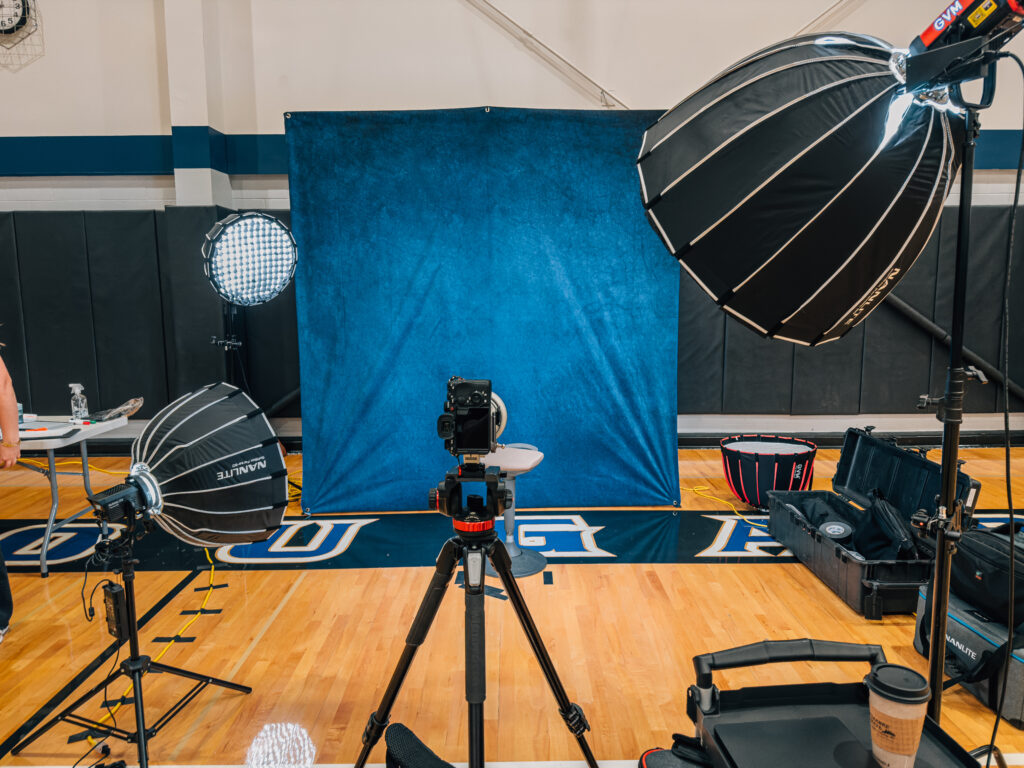
After considering various options, I invested in the Westcott X-Drop Pro system with an 8×8 foot blue concrete backdrop. This lightweight stand system uses a spandex-like fabric that pulls tight, minimizing wrinkles—a significant advantage over traditional paper backdrops. The blue color worked perfectly as it aligned with the school’s colors while providing an appealing, professional look.
The 8×8 foot size provided ample coverage for individual portraits while remaining manageable for a single-day setup. The fabric’s texture, when combined with my shallow depth of field approach, created a pleasing, non-distracting background.
Westcott X-Drop Pro Backdrop Stand: https://jerad.link/westcottxdroppro
Westcott X-Drop Pro Backdrop Blue Concrete 8×8: https://jerad.link/westcottxdropprobackdropblueconcrete
Continuous Lighting: A Strategic Choice
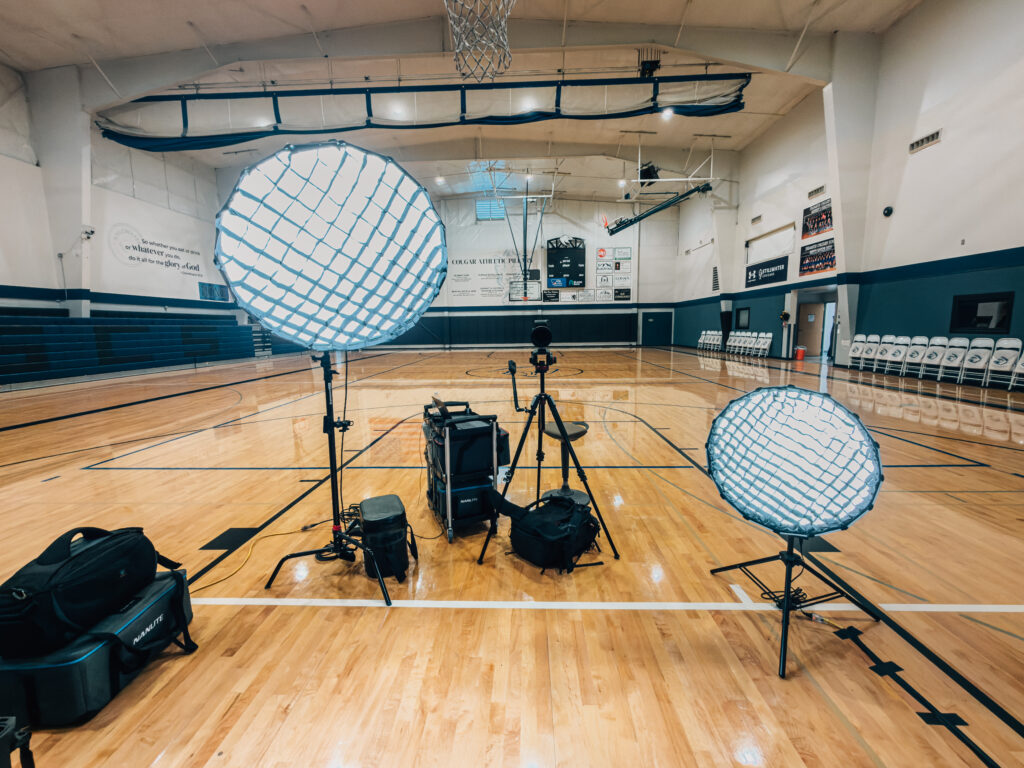
Perhaps my most significant decision was choosing continuous LED lighting over traditional strobes. This choice stemmed from several considerations:
Practical Benefits:
- No battery management concerns during an all-day shoot
- Consistent output without recycling delays
- Visual comfort for subjects, especially young children who can become anxious with repeated flash bursts
- Real-time visualization of lighting effects
The Three-Light Setup:
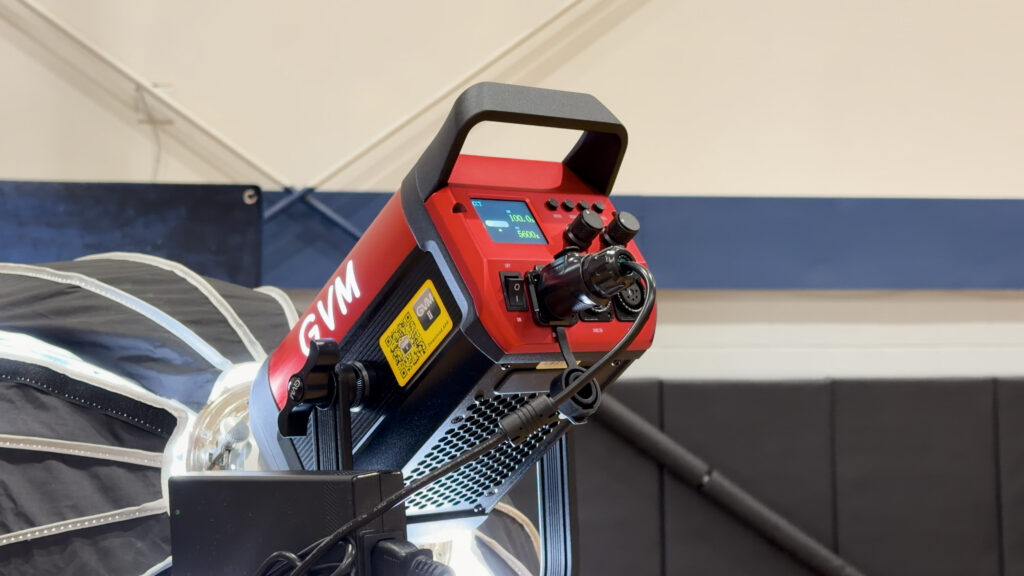
Key Light: Great Video Maker SD-2000B ($185)
- Set at 100% power
- Positioned in a Nanlight Rapid 90 35-inch parabolic softbox
- Mounted on an Avenger C-stand for stability
GVM Pro SD200B: https://jerad.link/gvmsd200b
Nanlite Parabolic 90 35″ Softbox: https://jerad.link/nanliterapid90
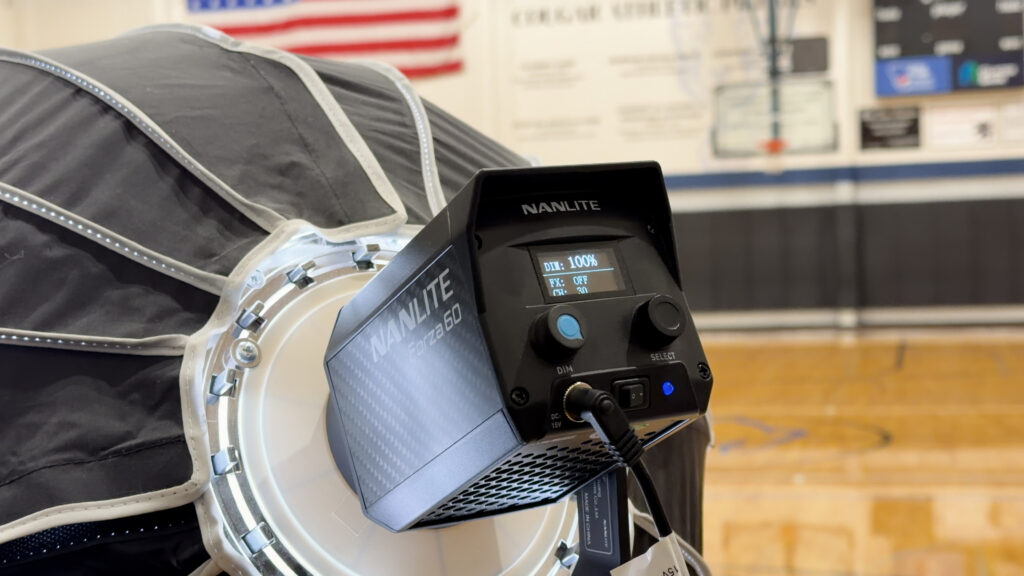
Fill Light: Nanlight Forza 60B
- Set at 60% power
- Positioned low, angling upward to eliminate under-chin shadows
- Used with Nanlight’s dedicated softbox
Nanlite Forza 60: https://jerad.link/nanliteforza60ii
Nanlite Parabolic 90 35″ Softbox: https://jerad.link/nanliterapid90
Hair/Separation Light: Nanlight Forza 60B
- Set at 100% power
- Positioned behind subjects for edge separation
- Critical for preventing subjects from blending with the background
Nanlite Forza 60: https://jerad.link/nanliteforza60ii
Nanlite Parabolic 90 35″ Softbox: https://jerad.link/nanliterapid90
All lights were set to 5600K (daylight balance) with grids attached to control spill and maintain directional lighting.
Lighting Support:
C-Stand: https://jerad.link/impactcstandblk
Light Stands: https://jerad.link/impactairstandblk
Camera Settings and Technical Approach
Consistency was paramount for efficient post-processing, so I maintained these settings throughout the day:
- Shutter Speed: 1/200s (fast enough to freeze minor movement without flash)
- Aperture: f/2.2 (shallow DOF to blur background texture)
- ISO: 1000 (easily handled by modern cameras)
- White Balance: Manually set to daylight (5600K)
- Focal Length: Primarily 150mm, occasionally backing off to 120mm for adults
The manual white balance setting was crucial. Auto white balance would have created subtle variations between shots, complicating batch processing. By matching my camera’s white balance to my lights, I ensured consistency across all 2,000 images.
Essential Support Equipment
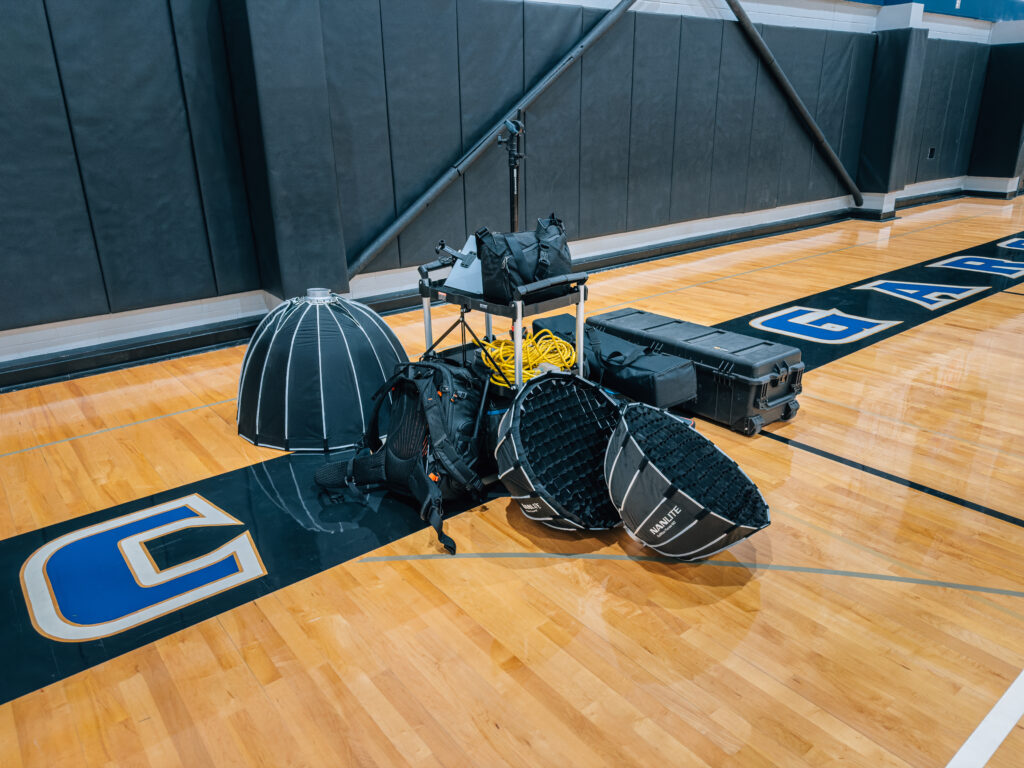
Beyond the core photography gear, several items proved invaluable:
Organization Tools:
- Whiteboard and markers for faculty name identification – https://jerad.link/whiteboardsm
- Student cards with names and ID numbers (provided by school)
- Clipboard with detailed schedule showing class times and student counts
- Laptop for periodic backups throughout the day
Grooming Supplies:
- Bulk combs from Amazon – https://jerad.link/bulkcombs
- Spray bottle with water for taming flyaway hair
- Tissues & Wipes for quick touch-ups
Technical Support:
- Video tripod with fluid head (Manfrotto 500 series) for smooth micro-adjustments
- Falcam F38 quick-release system for rapid camera mounting/dismounting
- Multiple extension cords and power strips
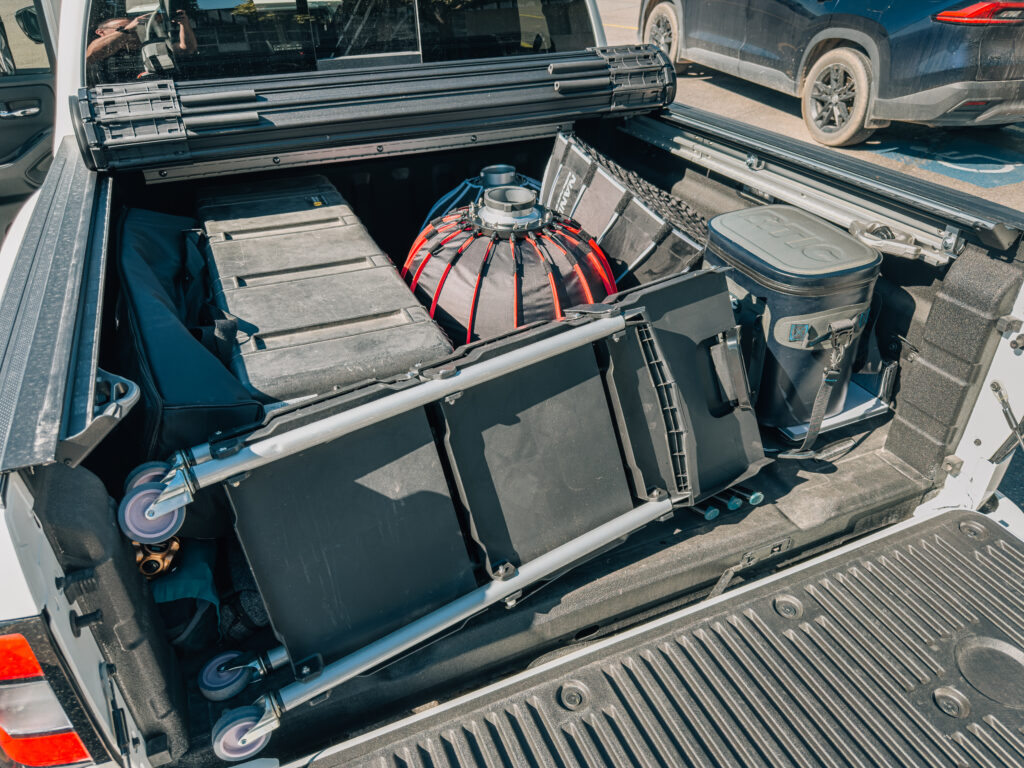
- Rolling cart for equipment organization – https://jerad.link/foldingrollcart
The Workflow That Made It Possible
Success hinged on establishing an efficient, repeatable process:
Pre-Shoot Preparation:
- Arrived early for setup (started shooting at 7:30 AM)
- Tested all equipment and backup systems
- Coordinated with school staff on student flow
- Established clear roles with my assistant (my wife, who was instrumental to our success)
During the Shoot:
- Students arrived with pre-printed cards containing their information
- My assistant handled positioning and directing
- I focused solely on camera operation and capturing expressions
- Cards were photographed first for each faculty member (for identification)
- Maintained approximately 30-second intervals per student
Critical Success Factors:
- Having a skilled assistant who could direct subjects while I operated the camera
- Pre-organized student cards with ID numbers
- Clear communication with school staff
- Periodic backups to prevent data loss
Post-Processing Workflow
The technical consistency during shooting paid dividends in post-production:
- Immediate Backup: SD card contents backed up to NAS immediately upon returning
- Synology 723+ NAS: https://jerad.link/synology723plus
- Lightroom Classic Import: Created dedicated catalog in Dropbox folder for cloud backup
- Batch Processing: Applied subtle, natural corrections uniformly
- Quality Check: Reviewed each image for specific issues (darker skin tones, red hair requiring adjustments)
- Export and Delivery: Two sets created—one for school database (named by student ID) and one for parent gallery
Total post-processing time: Approximately one hour for nearly 2,000 images.
Lessons Learned and Future Improvements
What Worked Exceptionally Well:
- The continuous lighting approach eliminated child anxiety
- Video tripod provided superior control over traditional photo tripods
- Having an assistant transformed efficiency
- Pre-organization by the school was invaluable
What I’d Change:
- Multiple poses: We finished ahead of schedule; I could have captured 2-3 poses per student
- Earlier setup: Additional preparation time would have reduced initial stress
- Alternative backdrop colors: Offering options could increase sales potential
Unexpected Discoveries:
- Modern LED lights are more than adequate for portrait work
- Children respond better to continuous light than strobes
- Efficiency gains compound—small optimizations created significant time savings
- The polarizing filter was more valuable than anticipated
Financial and Business Considerations
For photographers considering school photography:
- Platform Selection: Currently using Pictime, but Got Photo appears better suited for volume school photography
- Pricing Structure: Consider packages with multiple pose options
- Retake Policy: Plan for 2-3% absence rate requiring return visit
- Equipment Investment: My complete LED setup cost less than a comparable strobe system
Final Thoughts
Successfully photographing 520 subjects in a single day required careful planning, the right equipment choices, and efficient workflow design. The decision to use continuous LED lighting, while unconventional for portrait work, proved ideal for working with children and maintaining consistent output throughout a long day.
The key to managing high-volume photography isn’t just about speed—it’s about creating systems that minimize friction at every step. From the moment a student sits down to the final exported image, every decision should support efficiency without sacrificing quality.
This experience demonstrated that with proper preparation and the right approach, what initially seemed overwhelming became not just manageable but enjoyable. The combination of modern equipment capabilities, thoughtful workflow design, and skilled assistance made it possible to exceed expectations while maintaining professional standards.
For photographers considering entering the school photography market, remember that success lies not in having the most expensive equipment but in understanding the unique requirements of the environment and adapting your approach accordingly. The relationships you build with schools and the systems you develop for efficiency will ultimately determine your success in this specialized field.

