How to Use Manual Mode on the Sony a7 IV: Aperture, Shutter Speed, and ISO
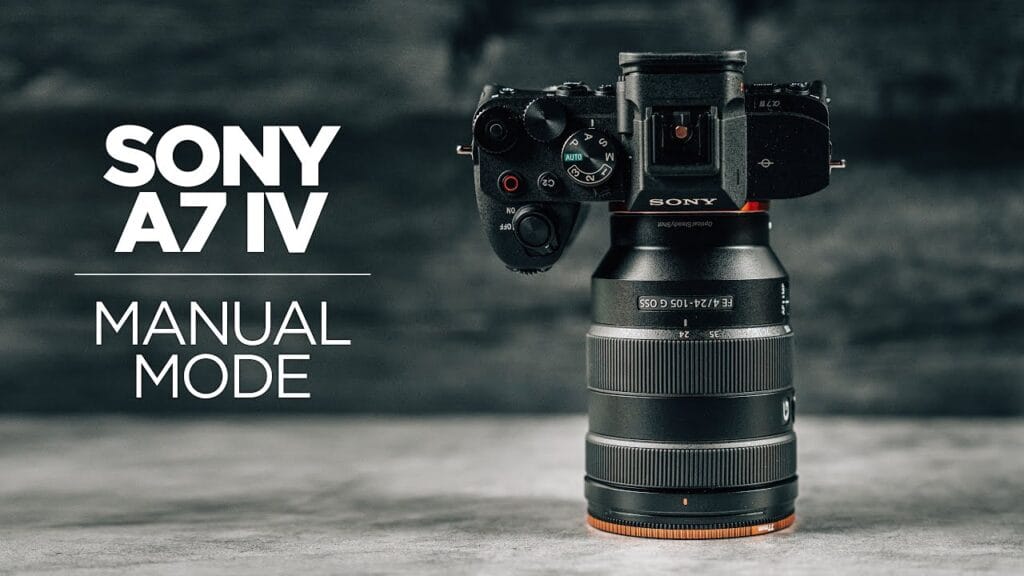
In manual mode on the Sony a7 IV, you control the aperture, shutter speed, and ISO. Aperture controls light and depth of field, shutter speed controls light and motion blur, and ISO brightens the image at the cost of noise. The front dial sets aperture, rear dial L (the top dial on the back) sets shutter speed, and pressing right on the control wheel gets you to ISO. Outward is darker, inward is brighter. For a portrait, I start around 1/125 to 1/160 and f/4 to f/5, then use ISO to get the exposure I want.
Video
Manual mode is a great setting to know and understand. Most of the really engaging images you’ve seen published online were shot in manual mode, or one of the manual assist modes on your camera. In this guide, I’m going to show you how to use manual mode on the Sony a7 IV: what aperture, shutter speed, and ISO actually do, which dial controls each one, and where I start my settings.
Manual Mode on the Sony a7 IV: Quick Reference
| Setting | What It Controls | How to Adjust It on the a7 IV | To Make the Image Brighter |
|---|---|---|---|
| Aperture | How much light comes through the lens, and depth of field | Front dial | Roll it in toward the lens (lower f-number, wider aperture) |
| Shutter speed | How long the sensor is exposed to light, and motion blur | Rear dial L (the top dial on the back) | Roll it in toward the camera (lower number, longer shutter) |
| ISO | How sensitive the sensor is, with more noise at higher numbers | Press right on the control wheel, then rotate it | Raise the number |
The Shooting Modes
Let’s talk about the different modes really fast.
- Manual mode (M) is fully manual. You control the aperture, the shutter speed, and the ISO.
- Shutter priority (S) and aperture priority (A) fix one of those two. You set your shutter speed or your aperture where you want it, and the camera adjusts the rest to produce a properly exposed image.
- Full automatic takes all of that out of the question and lets the camera make every adjustment.
Why the Camera Doesn’t Give You the Shot You Want
If you can’t get those images with a beautiful, blurry background that still looks really great and a perfectly exposed subject, it’s likely because your camera is doing too much of the computation. It’s trying to figure everything out.
What your camera wants to do is produce a properly exposed image based on its metering, and by default most of these cameras look at the entire scene the sensor can capture and try to expose all of it properly. If you’re outside, or anywhere the lighting varies, the camera does its best to find a happy medium. How do I make the sky still look somewhat blue while keeping the subject somewhat exposed? There’s a meeting in the middle somewhere, and it’s not always perfect.
Taking control of your camera and telling it what you want is how you get the intended effect, and that’s how you get beautiful images.
Aperture: Light and Depth of Field
The aperture is inside your lens. It’s the iris that opens up to let more light in, and closes down to let less light in. So the light coming through your lens is controlled by the aperture.
But it’s not just a control of light. It also controls depth of field. Those images where the subject just pops off the background because the background is so blurry and the falloff is so shallow? That shallow depth of field is the result of a wide aperture. You can’t really get a shallow depth of field with a small aperture. A small aperture gives you a deeper depth of field. So in images where a lot is in focus from the foreground to the background, the aperture was likely a lot smaller, and a lot less light was let in as a result.
Shutter Speed: Light and Motion
The shutter controls how long the sensor is exposed to the light coming through. It works kind of like doors that open and close. When they open, the light comes through and hits the sensor, and when they close, no more light.
When the shutter stays open longer, it lets in more light, increases the exposure, and makes the image brighter. A really fast open and close doesn’t let in as much light, so the exposure is lower. In bright situations, you need a faster shutter speed to get a properly exposed image. In lower light, you need a slower shutter speed to let more light in.
Just like with aperture, there’s a cause and effect. Anything that moves while the shutter is open is going to be blurry, because the camera is trying to create one freeze-frame image out of whatever it sees. How many times have you taken a photo in low light, maybe even with your smartphone, and pressed the shutter and thought, what is it doing? Then it finally stops, and the image is all blurry. That’s the shutter staying open for a long time to let in as much light as possible, and the sensor capturing all the movement that happened while it was open.
On the flip side, a fast shutter speed doesn’t let in a lot of light, but it freezes the action. So shutter speed isn’t only a control of exposure. It’s also a control of how sharp you want the elements in your image to be.
ISO: Sensitivity and Noise
ISO is the sensitivity of the sensor. As you increase it, you increase the exposure and brighten up the image. But it has limitations, and every camera is different in how far you can push ISO before the image starts to get grainy. Once you go beyond what that sensor can do cleanly, you’ll start to see artifacting, noise, color noise, and all sorts of stuff in your image.
For me personally, I use ISO to get me to the exposure I want, while I use the other two settings for creative control. Aperture and shutter speed are truly creative control settings, for both light and the look and feel of the image. ISO helps you get there. If you need more light, you can use ISO to boost things up.
How to Adjust Aperture, Shutter Speed, and ISO on the a7 IV
Aperture: Front Dial
By default in manual mode, your aperture is controlled by the front dial. Rotate it left and right with your finger and you’ll see the change on the back of the camera. As I pull my finger out, away from the camera, I’m darkening my image by making the number higher. As I push my finger in toward the camera, rotating toward the lens, I’m opening up to a wider aperture that lets in more light.
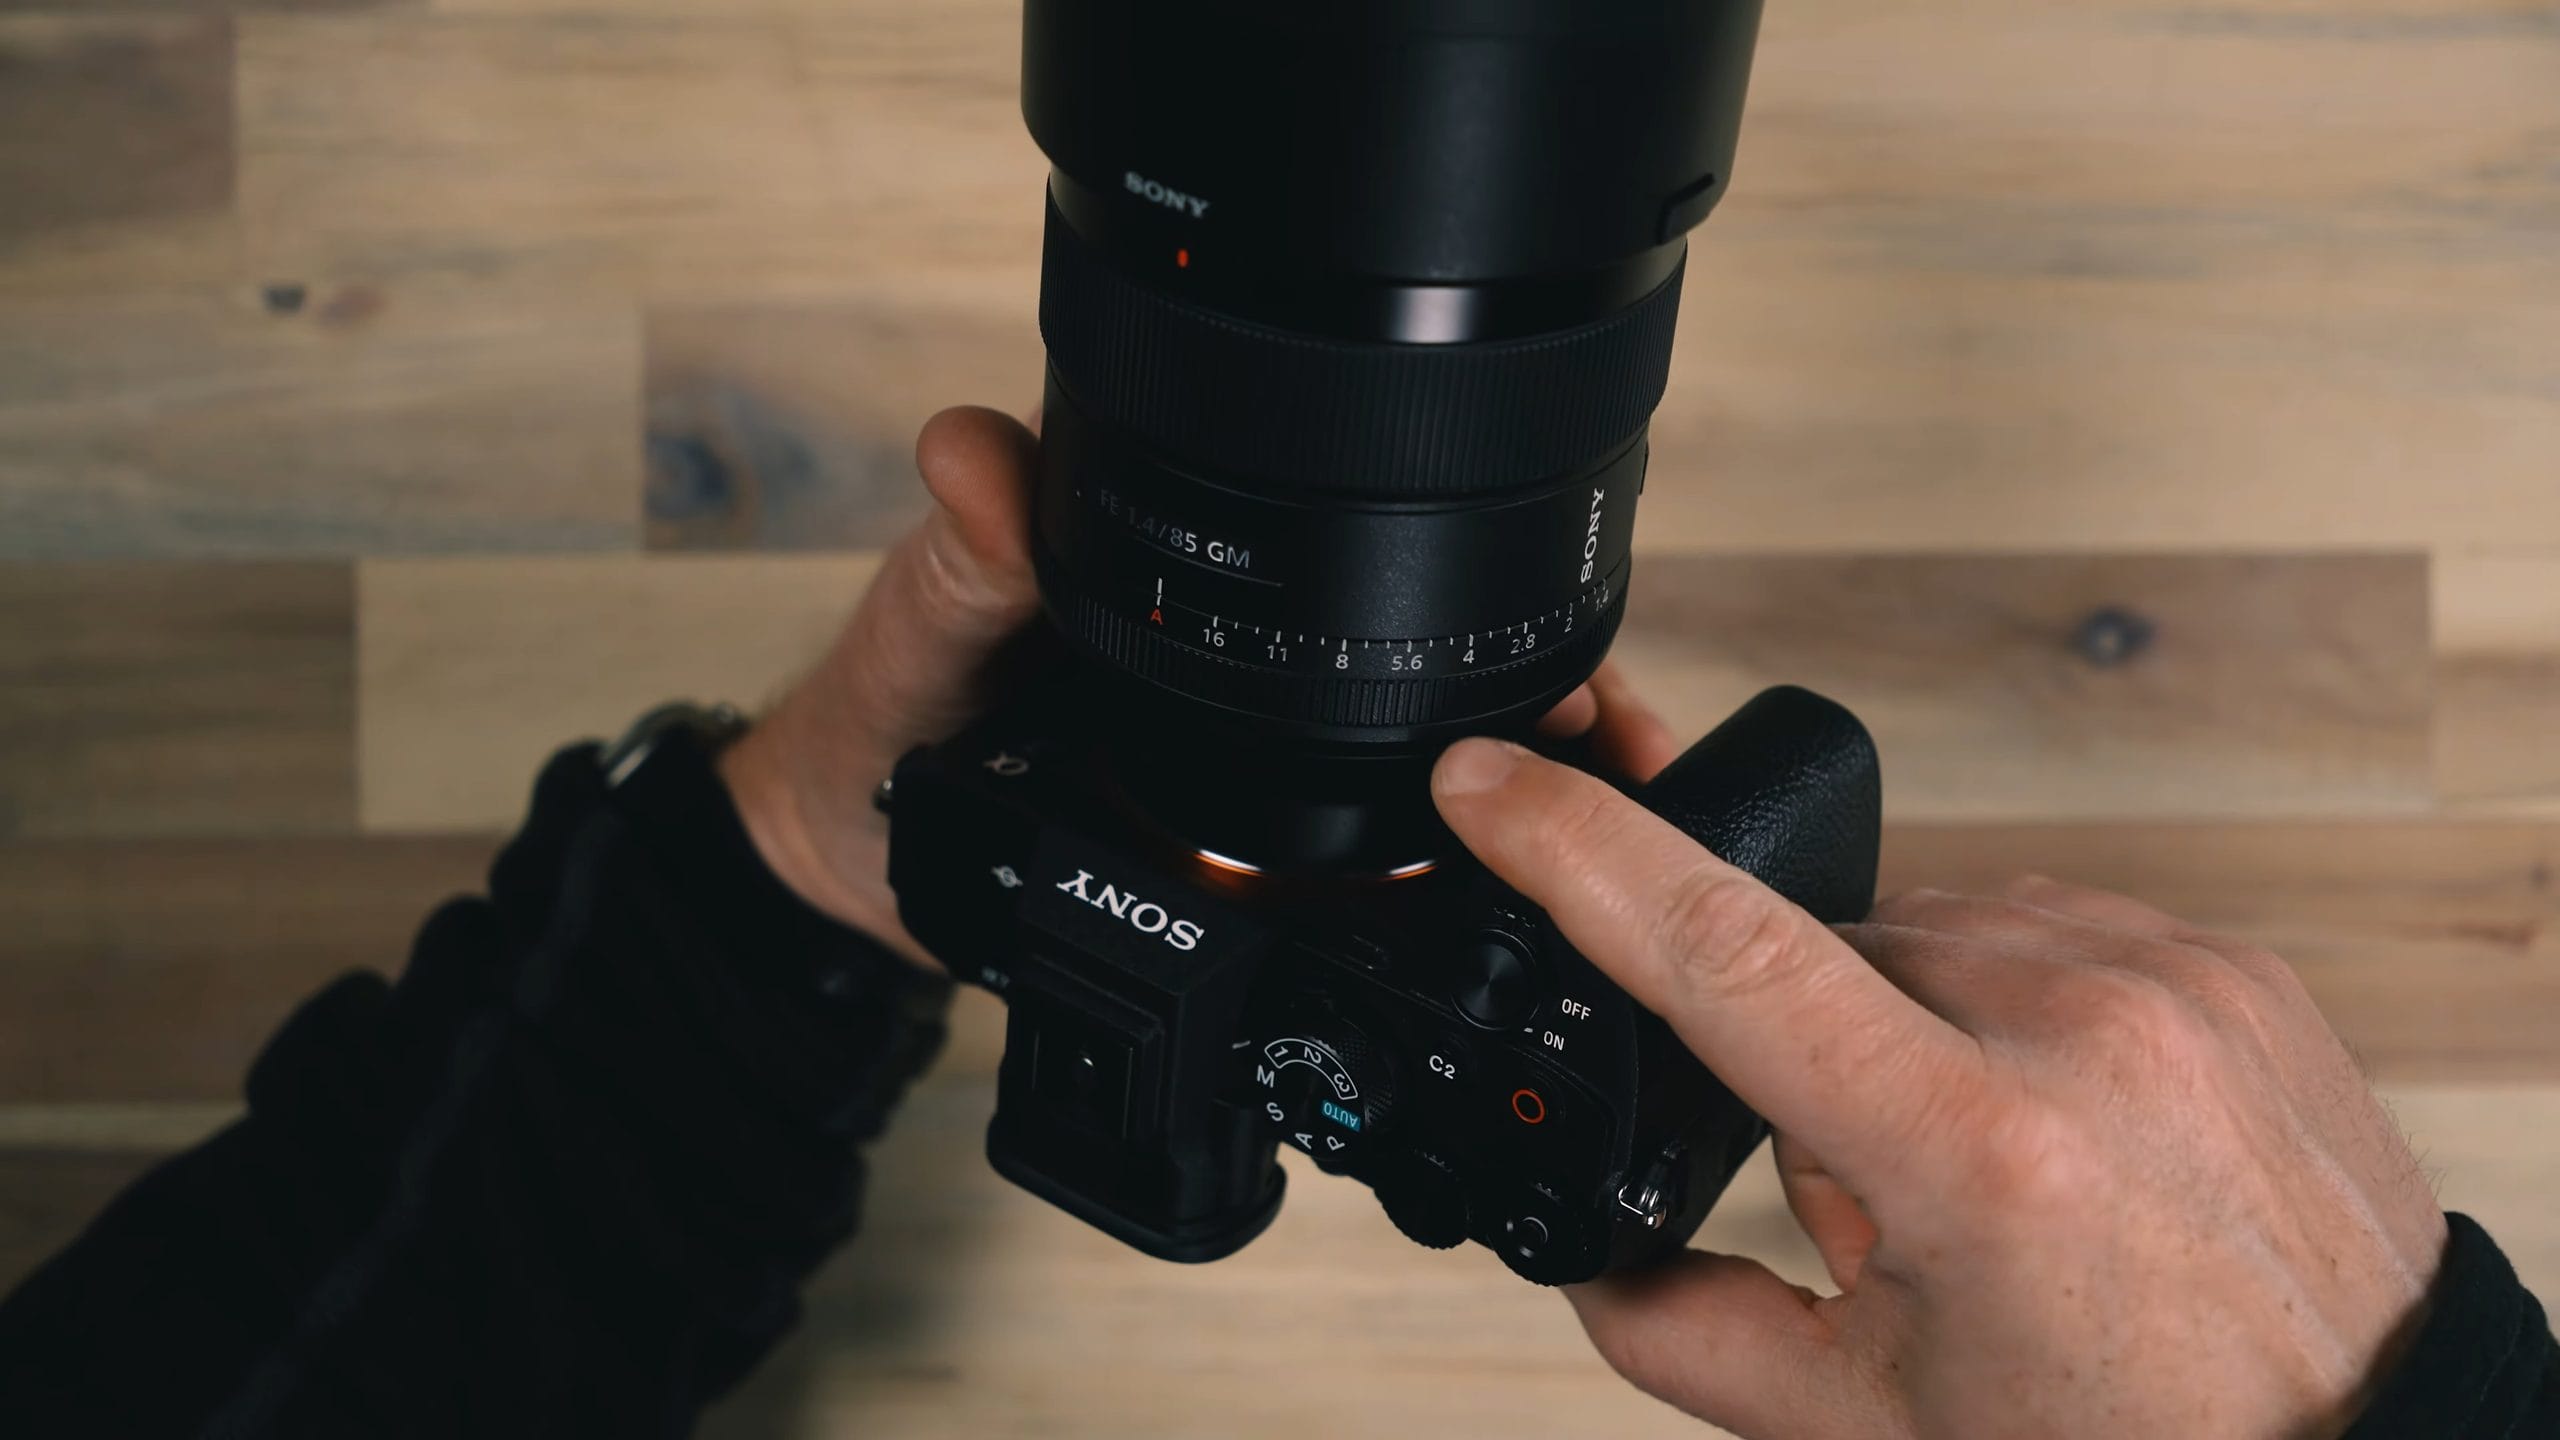
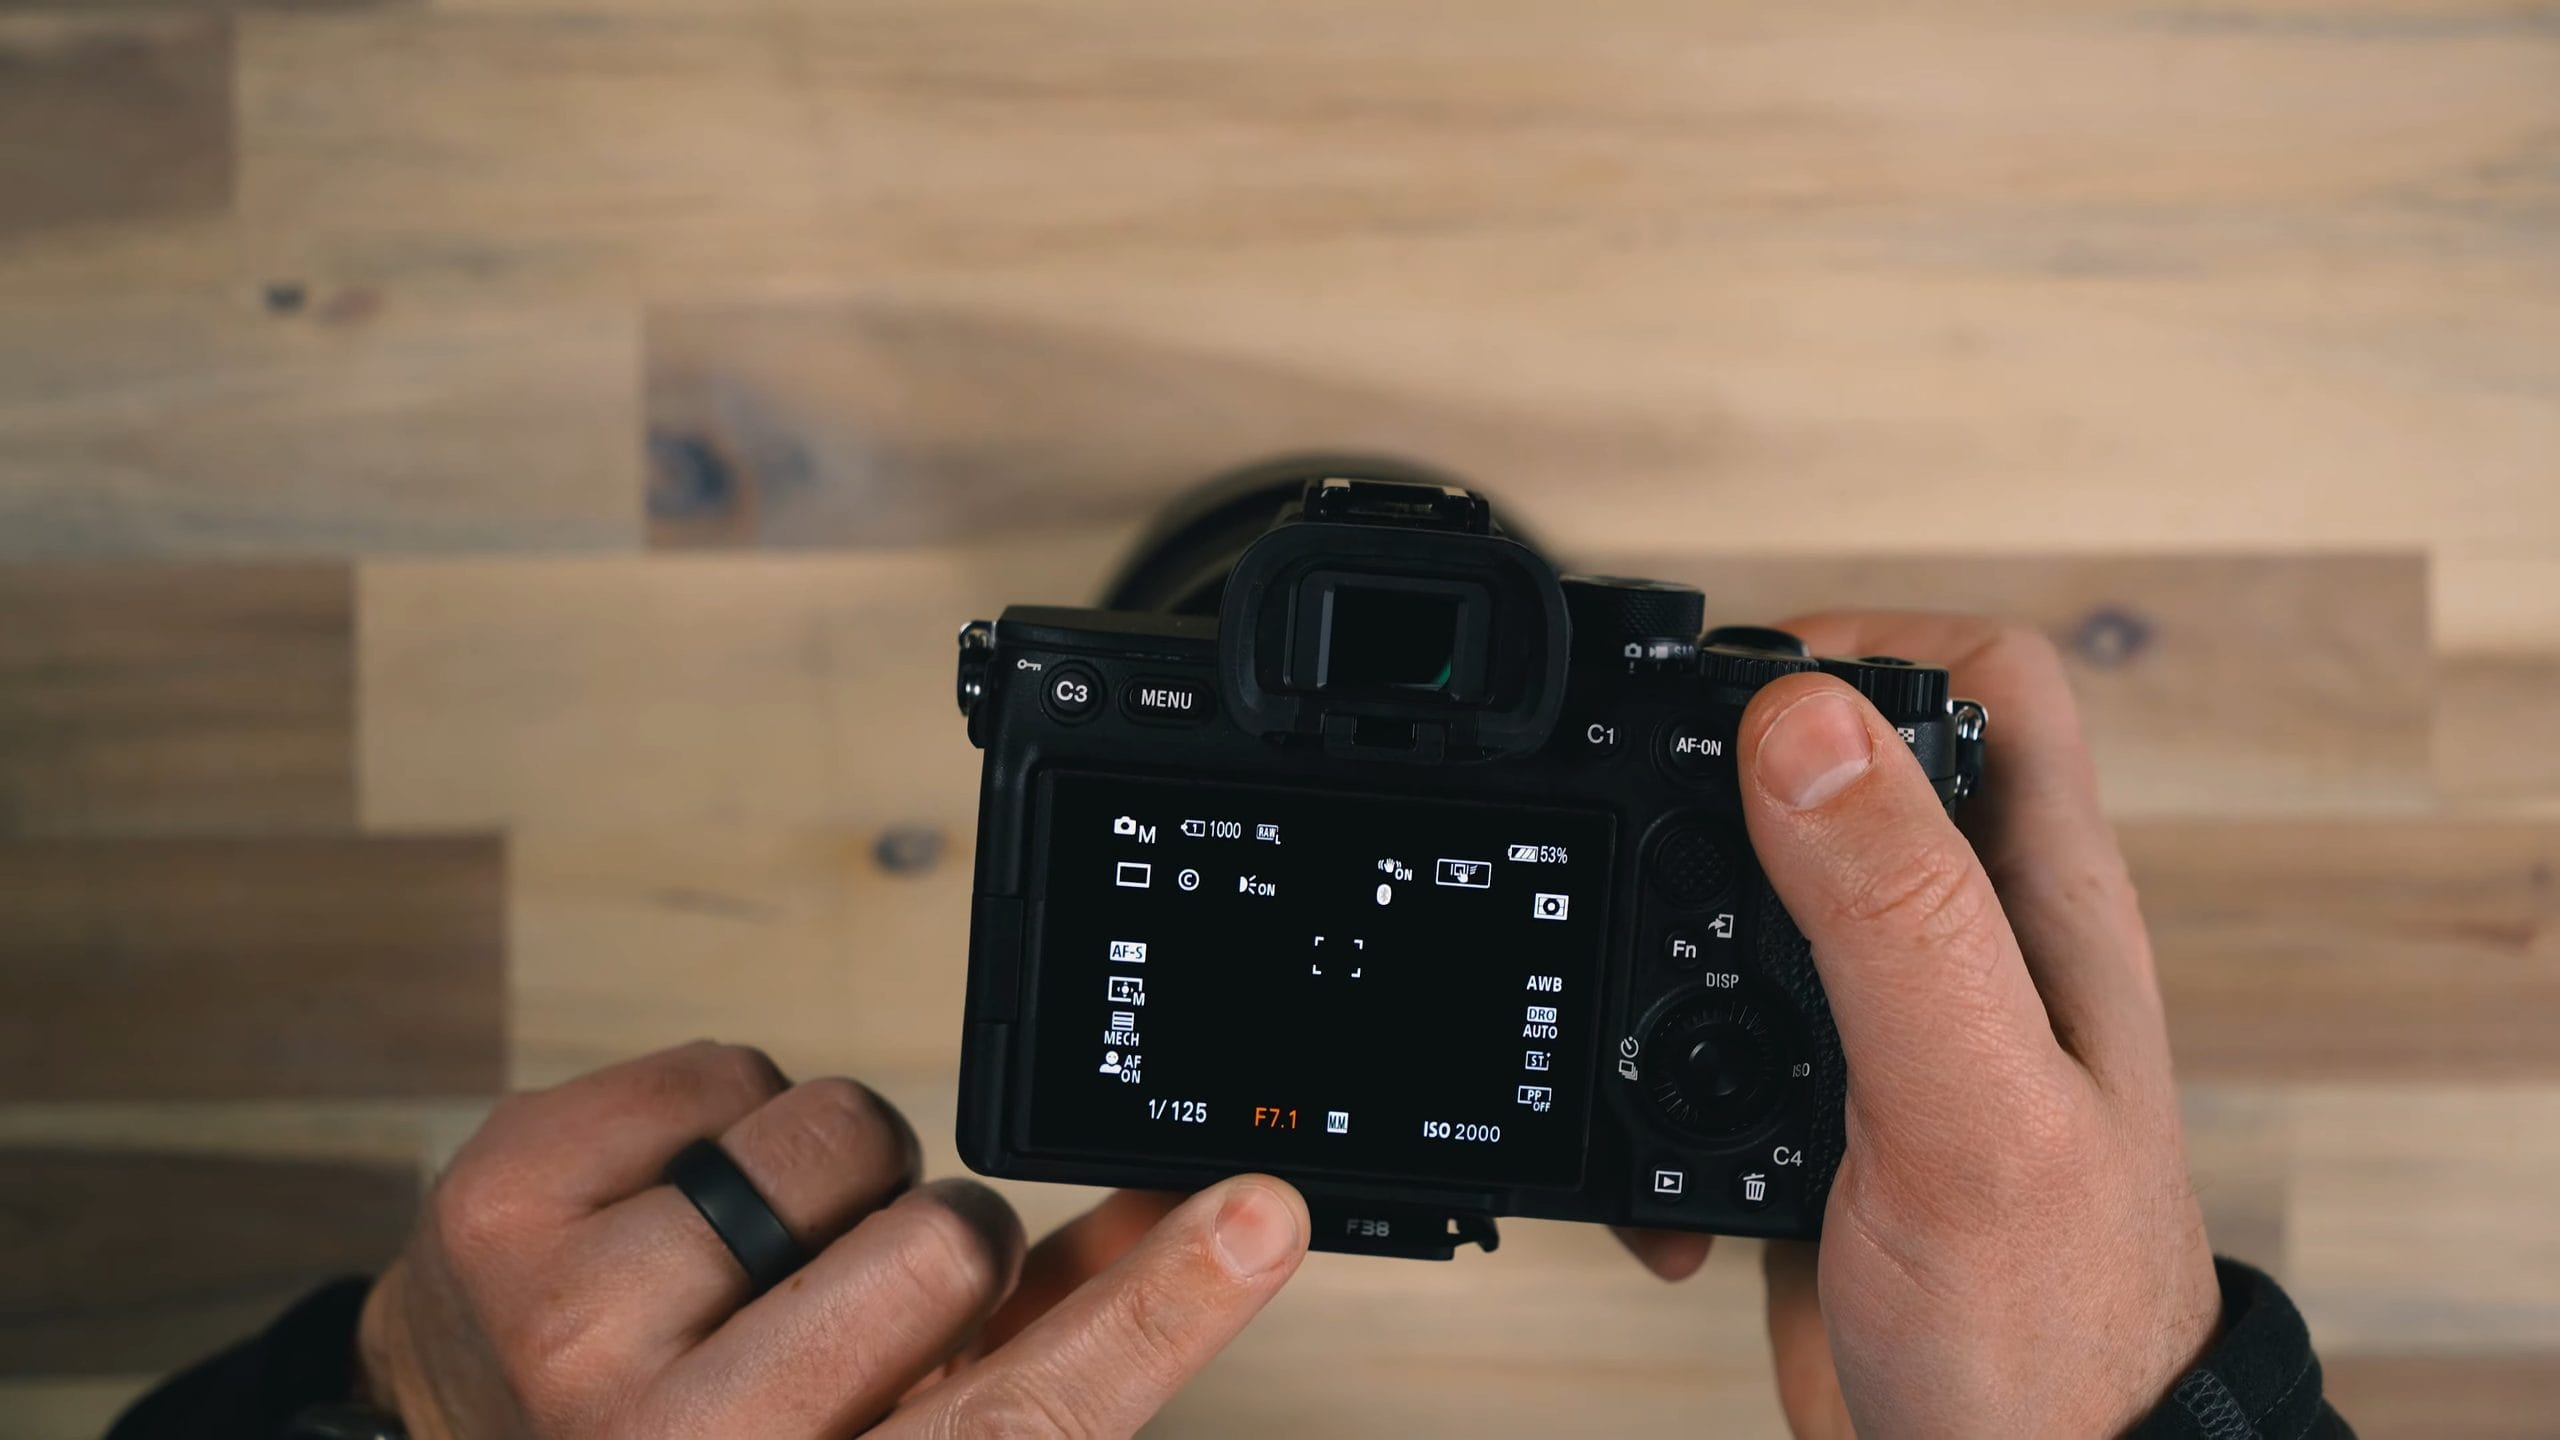
Some cameras are backwards, so depending on what make and model you have, the rotation could go either way. But in one direction you’re opening up the aperture, and in the other you’re closing it down.
Shutter Speed: Rear Dial L
On this camera, the shutter speed is adjusted with the dial on the top of the back of the camera, which Sony calls rear dial L. It’s not the lockable one on the far right. As I rotate it outward, away from the camera, I get a higher number, which darkens my image. As I rotate it in toward the camera, I get a lower number, which is a longer shutter. The shutter stays open longer and lets in more light.
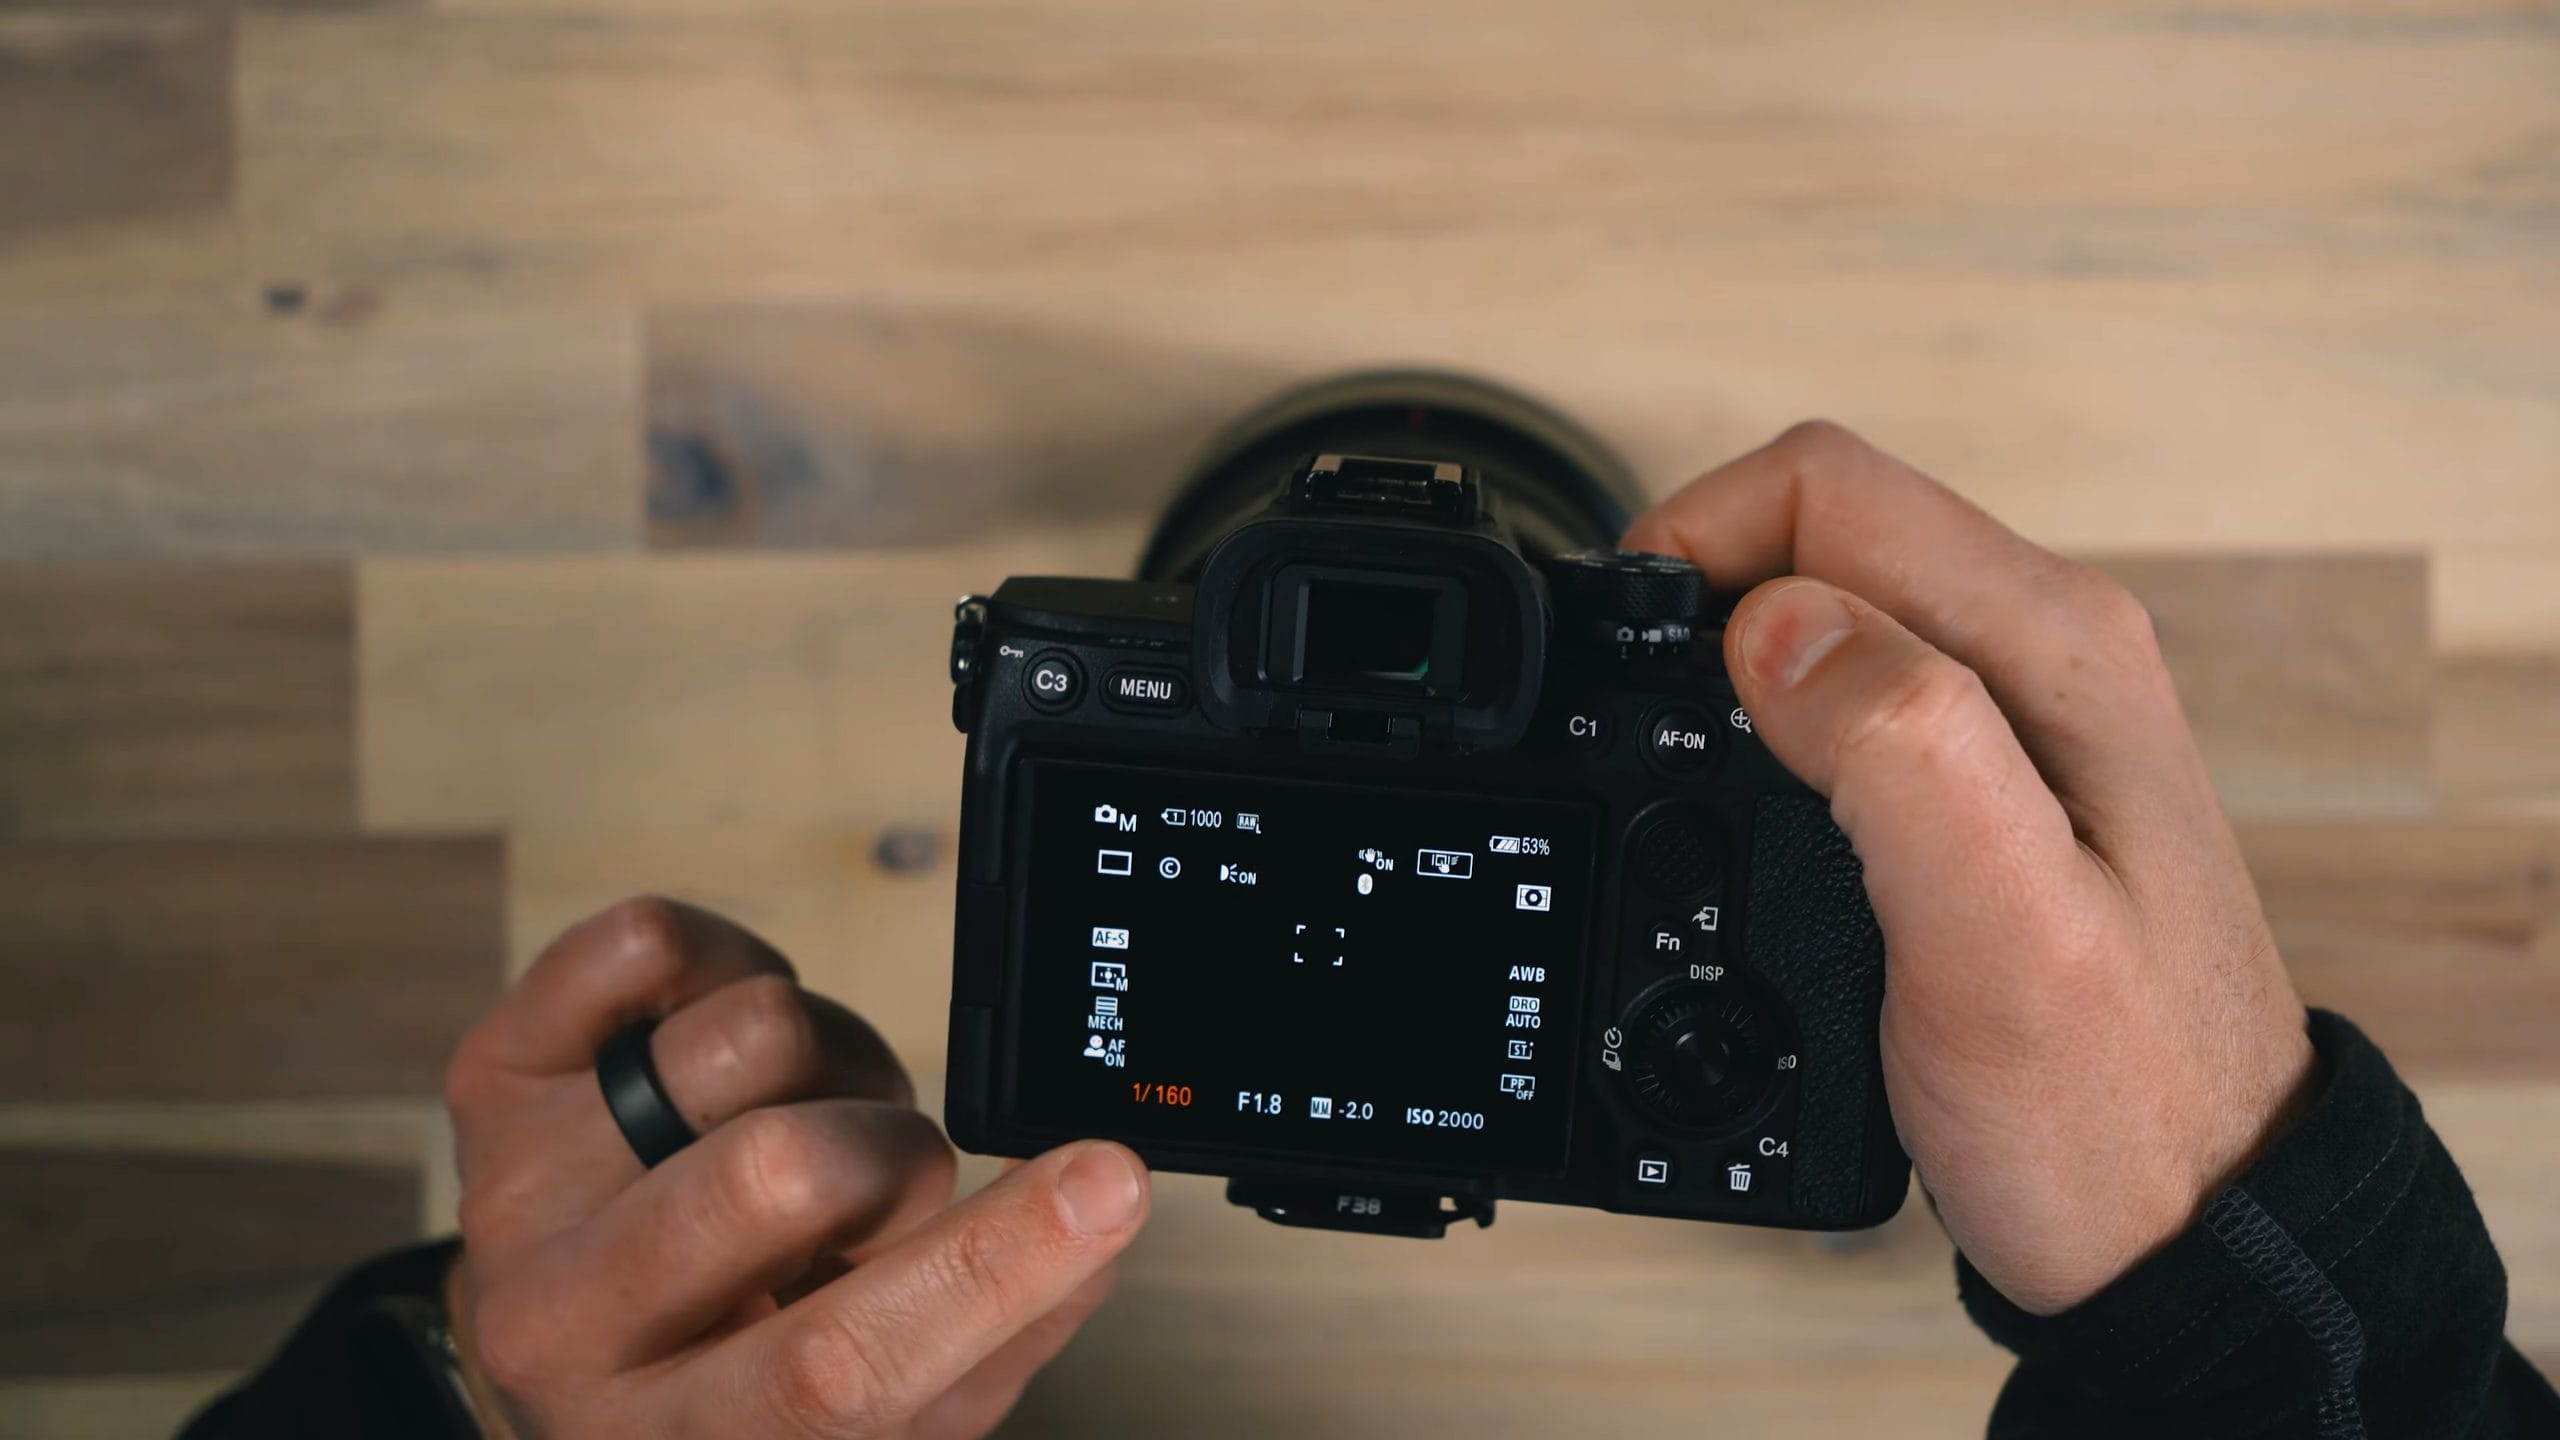
It’s the same finger movement for both, inward or outward, which makes it easy to remember and work into muscle memory. When I’m out shooting, I can make these adjustments without even thinking about which direction I’m going. I don’t have to look, because I do it often enough. Just remember: outward is darker, inward is brighter.
ISO: Control Wheel
Press the control wheel to the right to get to ISO, then rotate it to raise or lower the ISO. A higher number increases the sensitivity of the sensor and brightens the image. A lower number decreases the sensitivity.
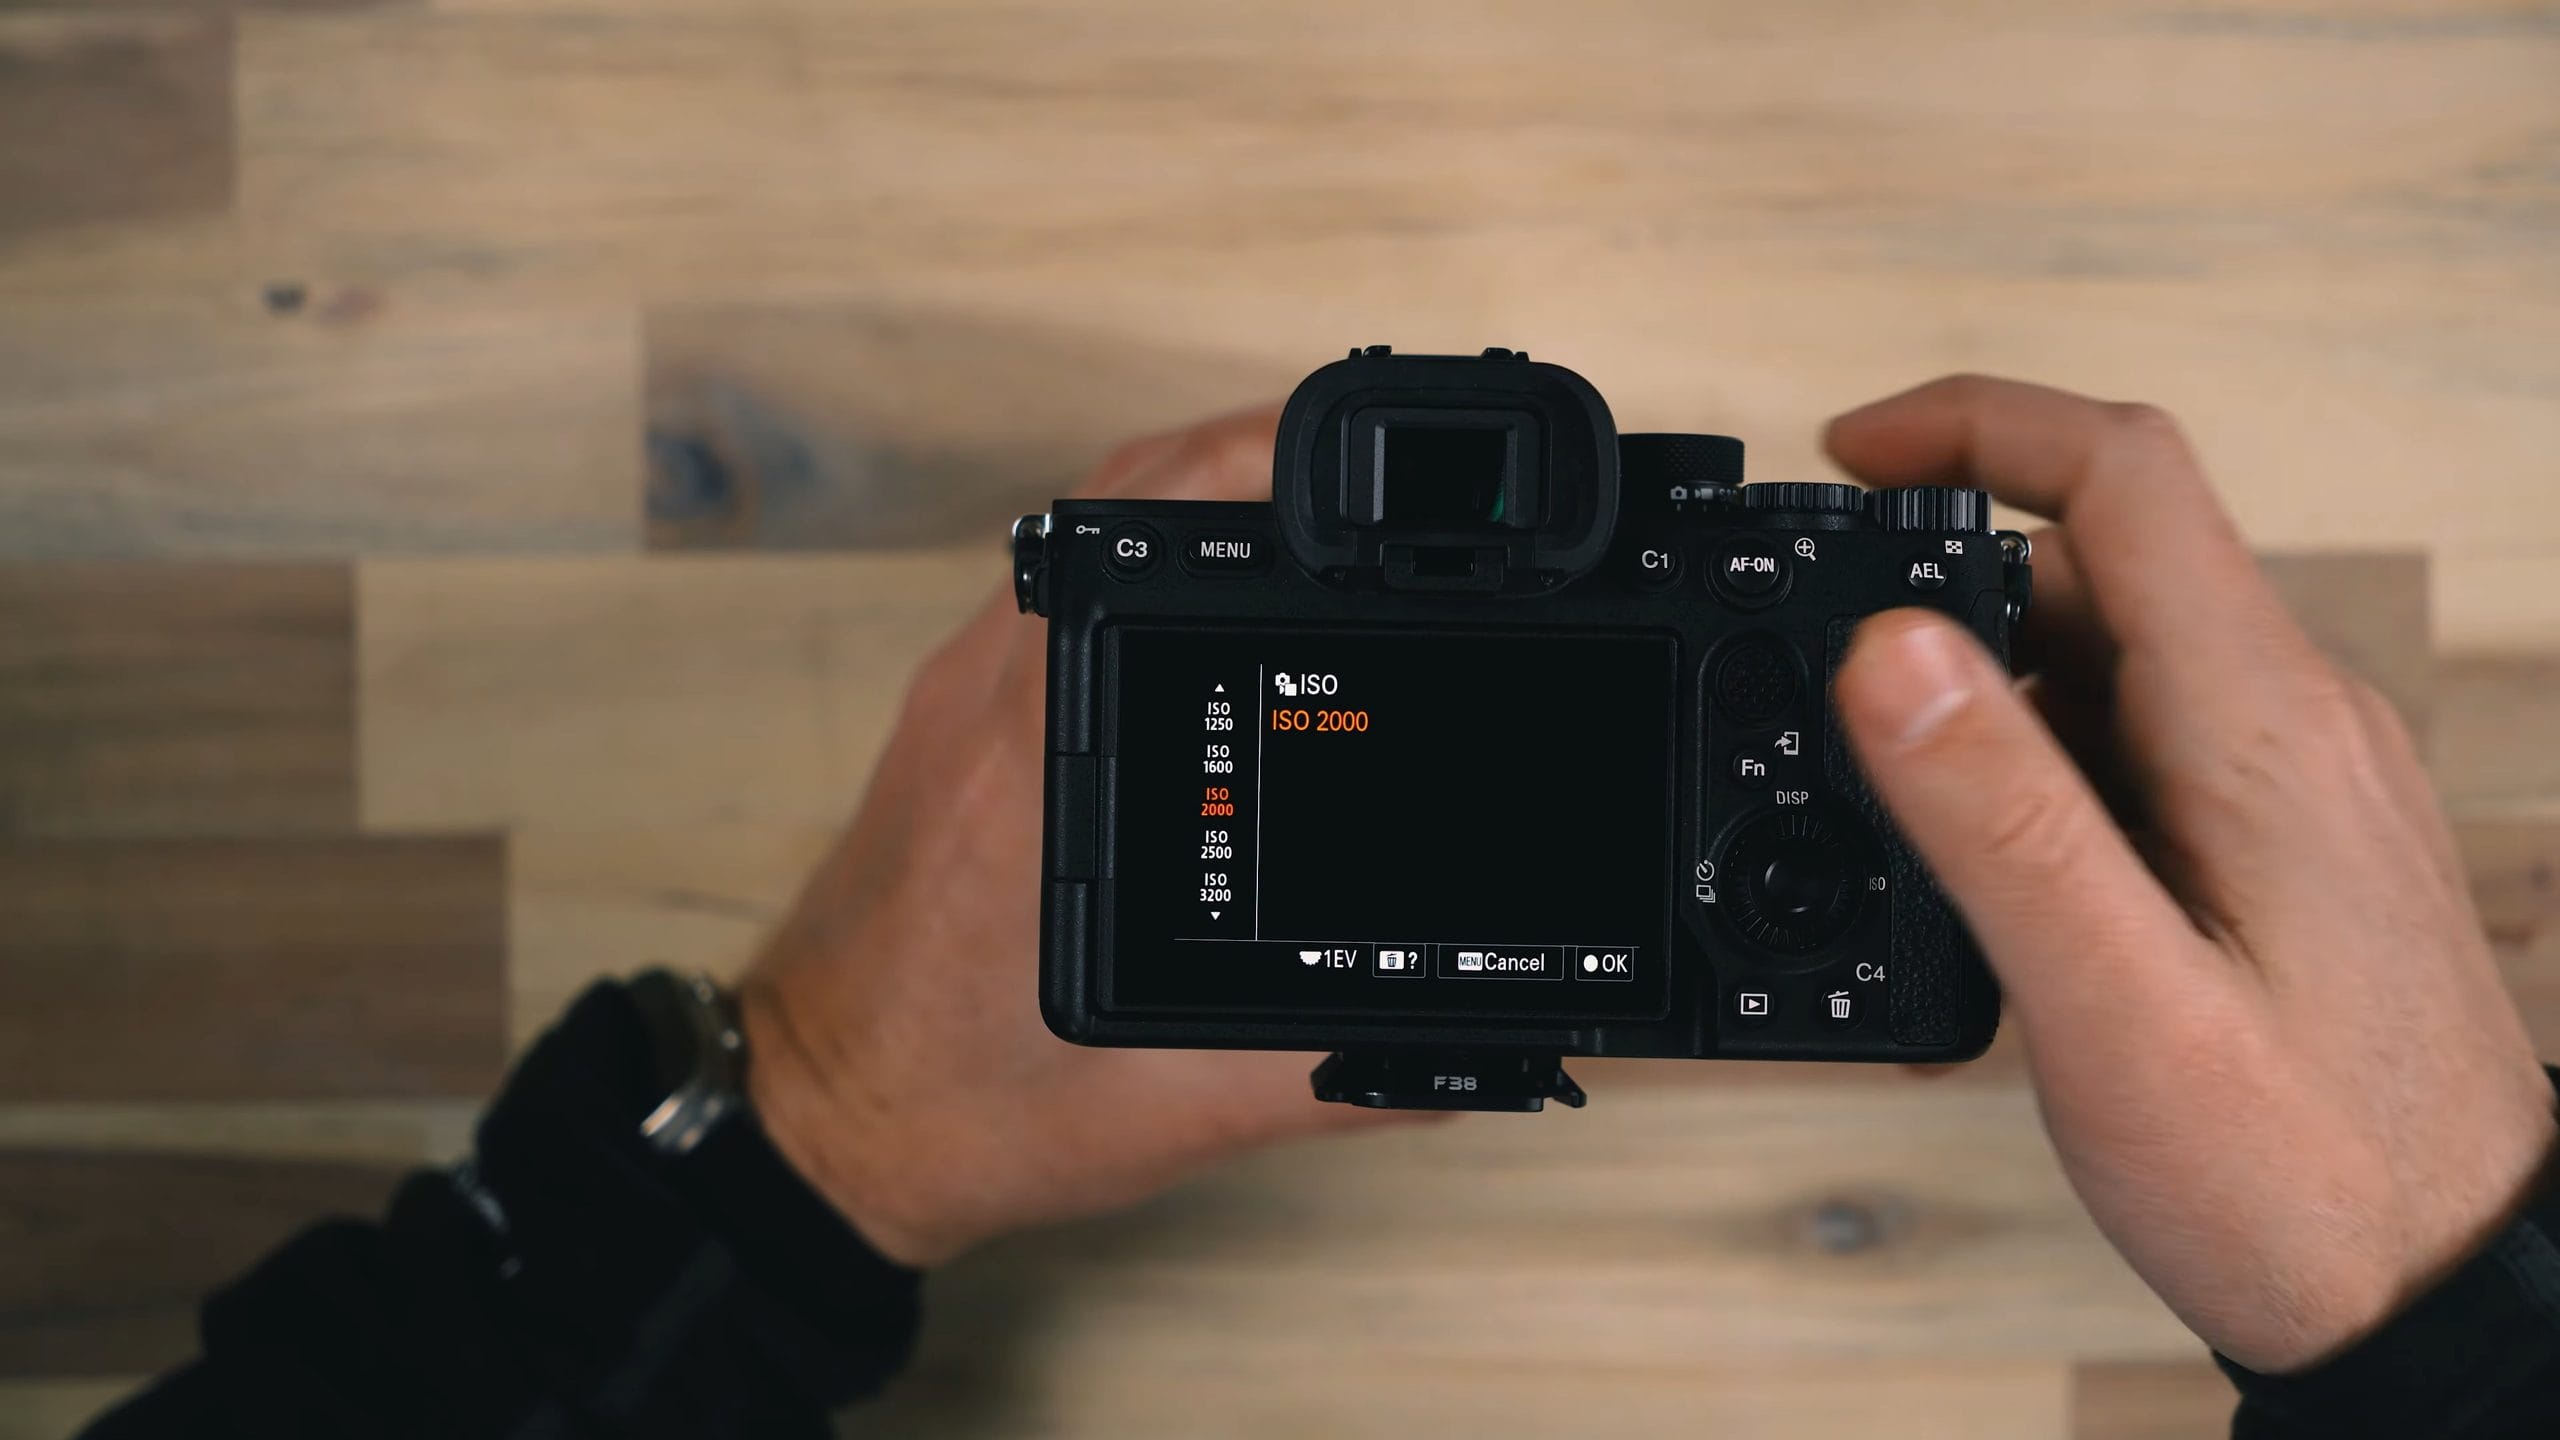
Those three settings need to be in some sort of balance to get a properly exposed image.
Where to Start Your Settings
Start with the image you want to capture in mind. If you’re shooting something that could be moving, even lightly, like a person trying their best to stand still who doesn’t stand completely still, you need a shutter speed fast enough to freeze them. You don’t want blurry ears, eyes, and noses. You want those features frozen, nice and sharp. So I tend to start out around 1/125 to 1/160.
Then I use my aperture to get creative control over depth of field. Especially with a lens like the one I’m using here, which goes all the way down to f/1.4, the depth of field is very shallow, and sometimes that’s not the best option for a portrait or for getting detail in something I’m photographing. So I may go to around f/4 or f/5 to have a little bit of depth in my image.
These are settings you’re going to need to play around with, especially depth of field, because aperture controls the emotion of your image so much more often than shutter speed or ISO does. There’s understanding what these settings do, and then there’s truly understanding how they work in real life. That’s why I highly recommend my free Ditch Auto course. It goes into much more detail on what these look like: what a shallow depth of field looks like versus a deeper one, and what a fast shutter speed looks like versus a slow one.
Not Ready for Full Manual? Start with the Assist Modes
I don’t necessarily recommend diving straight into manual mode if you’re only comfortable in automatic. You can use the manual assist modes first.
For example, go into shutter priority and set your shutter to 1/160, because you’re taking a portrait and the person might move a little bit. You want to let enough light in but keep them sharp at the same time. Then let the camera adjust the aperture and the ISO. You can easily put ISO on Auto and let the camera handle it.
After you take the image, look at the settings the camera produced. What aperture did it come up with, and why do you think it had to? If you wanted a shallow depth of field but the camera went with f/8, it probably means it was just really bright outside, and your shutter speed needed to be faster, like 1/500 of a second, to let less light hit the sensor so your aperture could be wider.
That’s why these assist modes are great at teaching you how the camera works before you go full manual. Aperture priority works the same way in reverse: you change the aperture, and the camera responds with the shutter speed, and the ISO as it needs to, to create an image that’s hopefully sharp and properly exposed.
Why Manual Mode Is the Goal
Those are great modes to get started with, but the goal is probably to shoot in manual mode, where you have the most control. Not because these cameras are incapable in any way, but because you want consistency in your images.
If you’re shooting a bunch of images and the camera keeps jumping your settings around, you’re going to have inconsistencies in your depth of field and in any motion blur in the background. When you look through that series of images, they’re going to feel different, because the camera may have chosen different settings, and that gives each one a different look and feel. Manual mode is the only option that keeps your settings fixed, and it gives you creative control and consistency across multiple images.
Learn the Rest of Your Sony a7 IV
If you want to go further, check out my Sony a7 IV Fast Start Guide. It’s a full course on how to use this camera from start to finish, and by the time you’re done, you’ll have a complete understanding of how to shoot with the a7 IV for both photo and video.
Was this helpful?
Frequently Asked Questions
How do I change the aperture on the Sony a7 IV in manual mode?
How do I change the shutter speed on the Sony a7 IV?
How do I change ISO on the Sony a7 IV?
What settings should I start with for portraits on the Sony a7 IV?
What's the difference between manual mode and aperture or shutter priority?
Should beginners start in manual mode?
Why shoot in manual mode instead of automatic?
Related Guides