Sony a7 IV Beginner’s Guide: How to Use Your New Camera
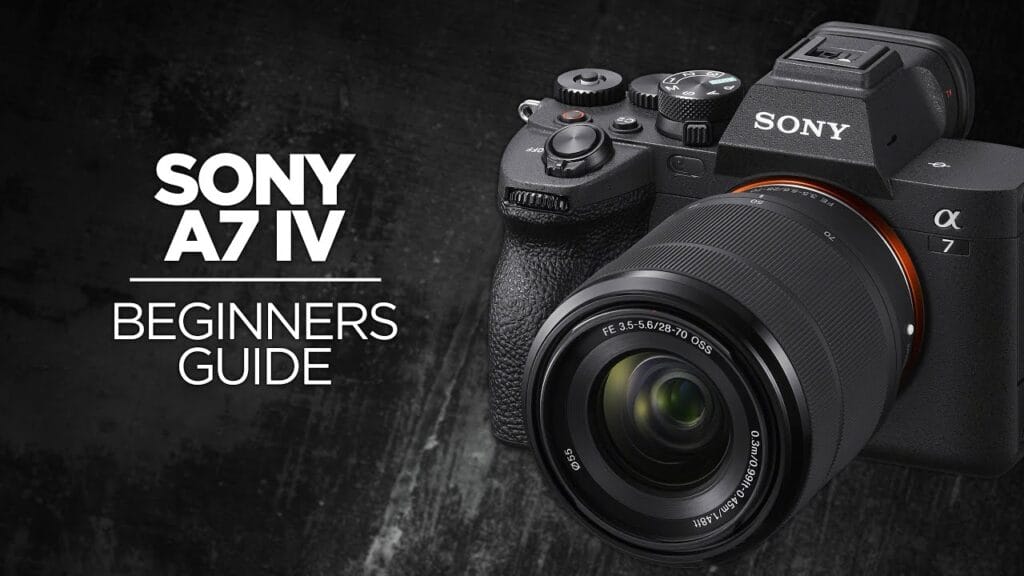
The Sony a7 IV is a hybrid camera that shoots great photos and great video. This guide walks around the top and back of the camera, the card slots, ports, and lens controls, then covers the menu settings I use: RAW to one card and JPEG to the other as a backup, video recording to both cards, XAVC S 4K at 24p (60p when I need slow motion), and formatting cards in the camera. If you want to learn everything there is to know about this camera, check out my Sony a7 IV Fast Start Guide course.
Video
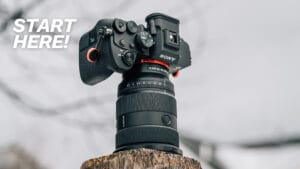
So you went out and got yourself a Sony a7 IV, and now you want to learn how to use it. The a7 IV is a fantastic camera in the hybrid category, which means it’s a great, capable photo camera that also shoots fantastic video.
In this guide, I’m going to walk you around the camera, from the top and the back to the card slots, ports, and lens controls, and then go through a few of the menu settings I use. If you want an in-depth look at your camera, including how the whole menu system works, how to set it up, how to take better photos with it, and how I’ve used different settings to capture different types of photos, check out my Sony a7 IV Fast Start Guide course.
Sony a7 IV Controls at a Glance
| Control | Where It Is | What It Does |
|---|---|---|
| Mode dial | Top | Shooting modes, including three custom modes (1, 2, 3) for saved settings |
| Still/Movie/S&Q dial | Top, right below the mode dial | Switches between photo, video, and S&Q. Press the lock to turn it. |
| C2 button | Top, next to the record button | Focus Area by default |
| Front dial | Front, by the shutter button | Aperture |
| Rear dial L | Top rear | Shutter speed |
| Rear dial R (lockable) | Top right | Exposure compensation by default |
| C3 button | Back | Focus Mode on my camera |
| C1 button | Back | White Balance on my camera |
| AF-ON button | Back | Autofocus, and zooms in on images during playback |
| AEL button | Back | Locks exposure until you let off |
| Multi-selector | Back | Moves the focus point, and moves around a zoomed-in image during playback |
| Fn button | Back | Customizable quick menu |
| Control wheel | Back | Up: display modes. Left: drive modes. Right: ISO. |
| Playback and trash buttons | Back | Review and delete images |
The Top of the Camera
On the top of the camera, we’ve got the mode dial for the different shooting modes. I typically shoot in manual mode, but there are several shooting modes here like on most cameras, including three custom modes that let you save settings so you can recall them later.
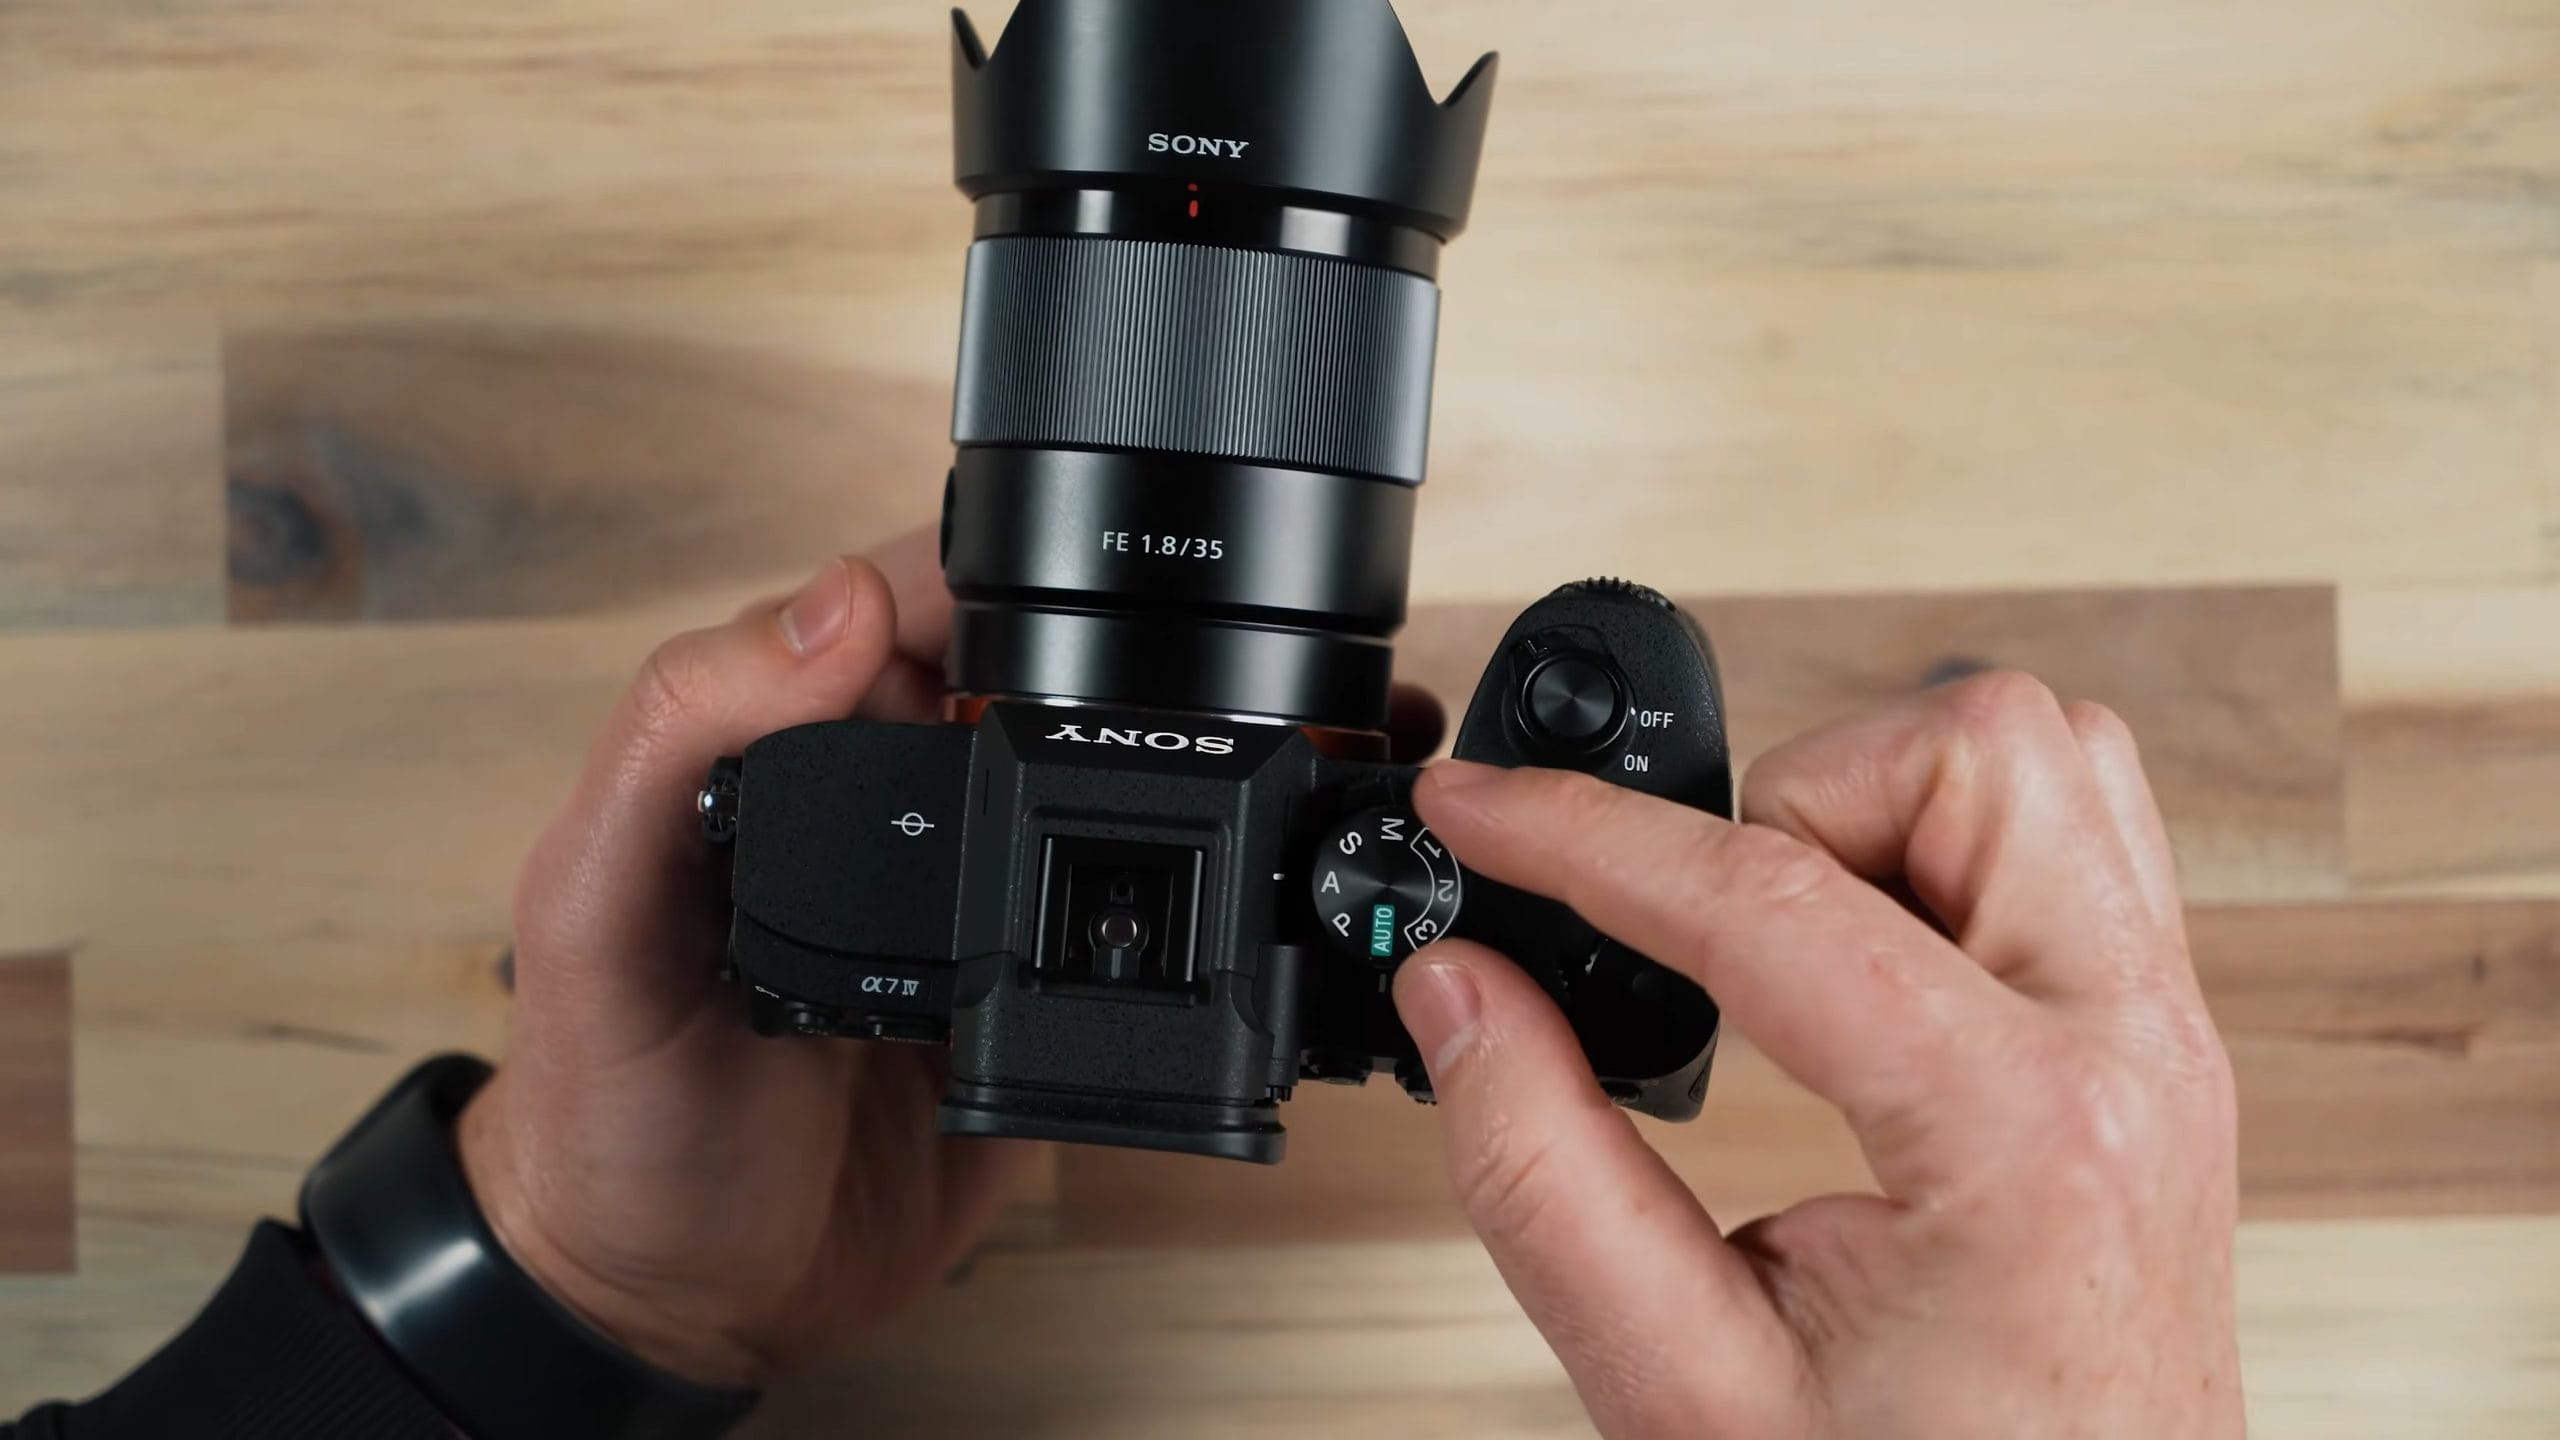
One of the new things on this camera is that Sony moved the video switch right below the mode dial. It’s a dial that lets you rotate between photo mode, video mode, and S&Q mode, and it has a little lock on it, so you have to push in a little bit with your fingertip and then rotate it.
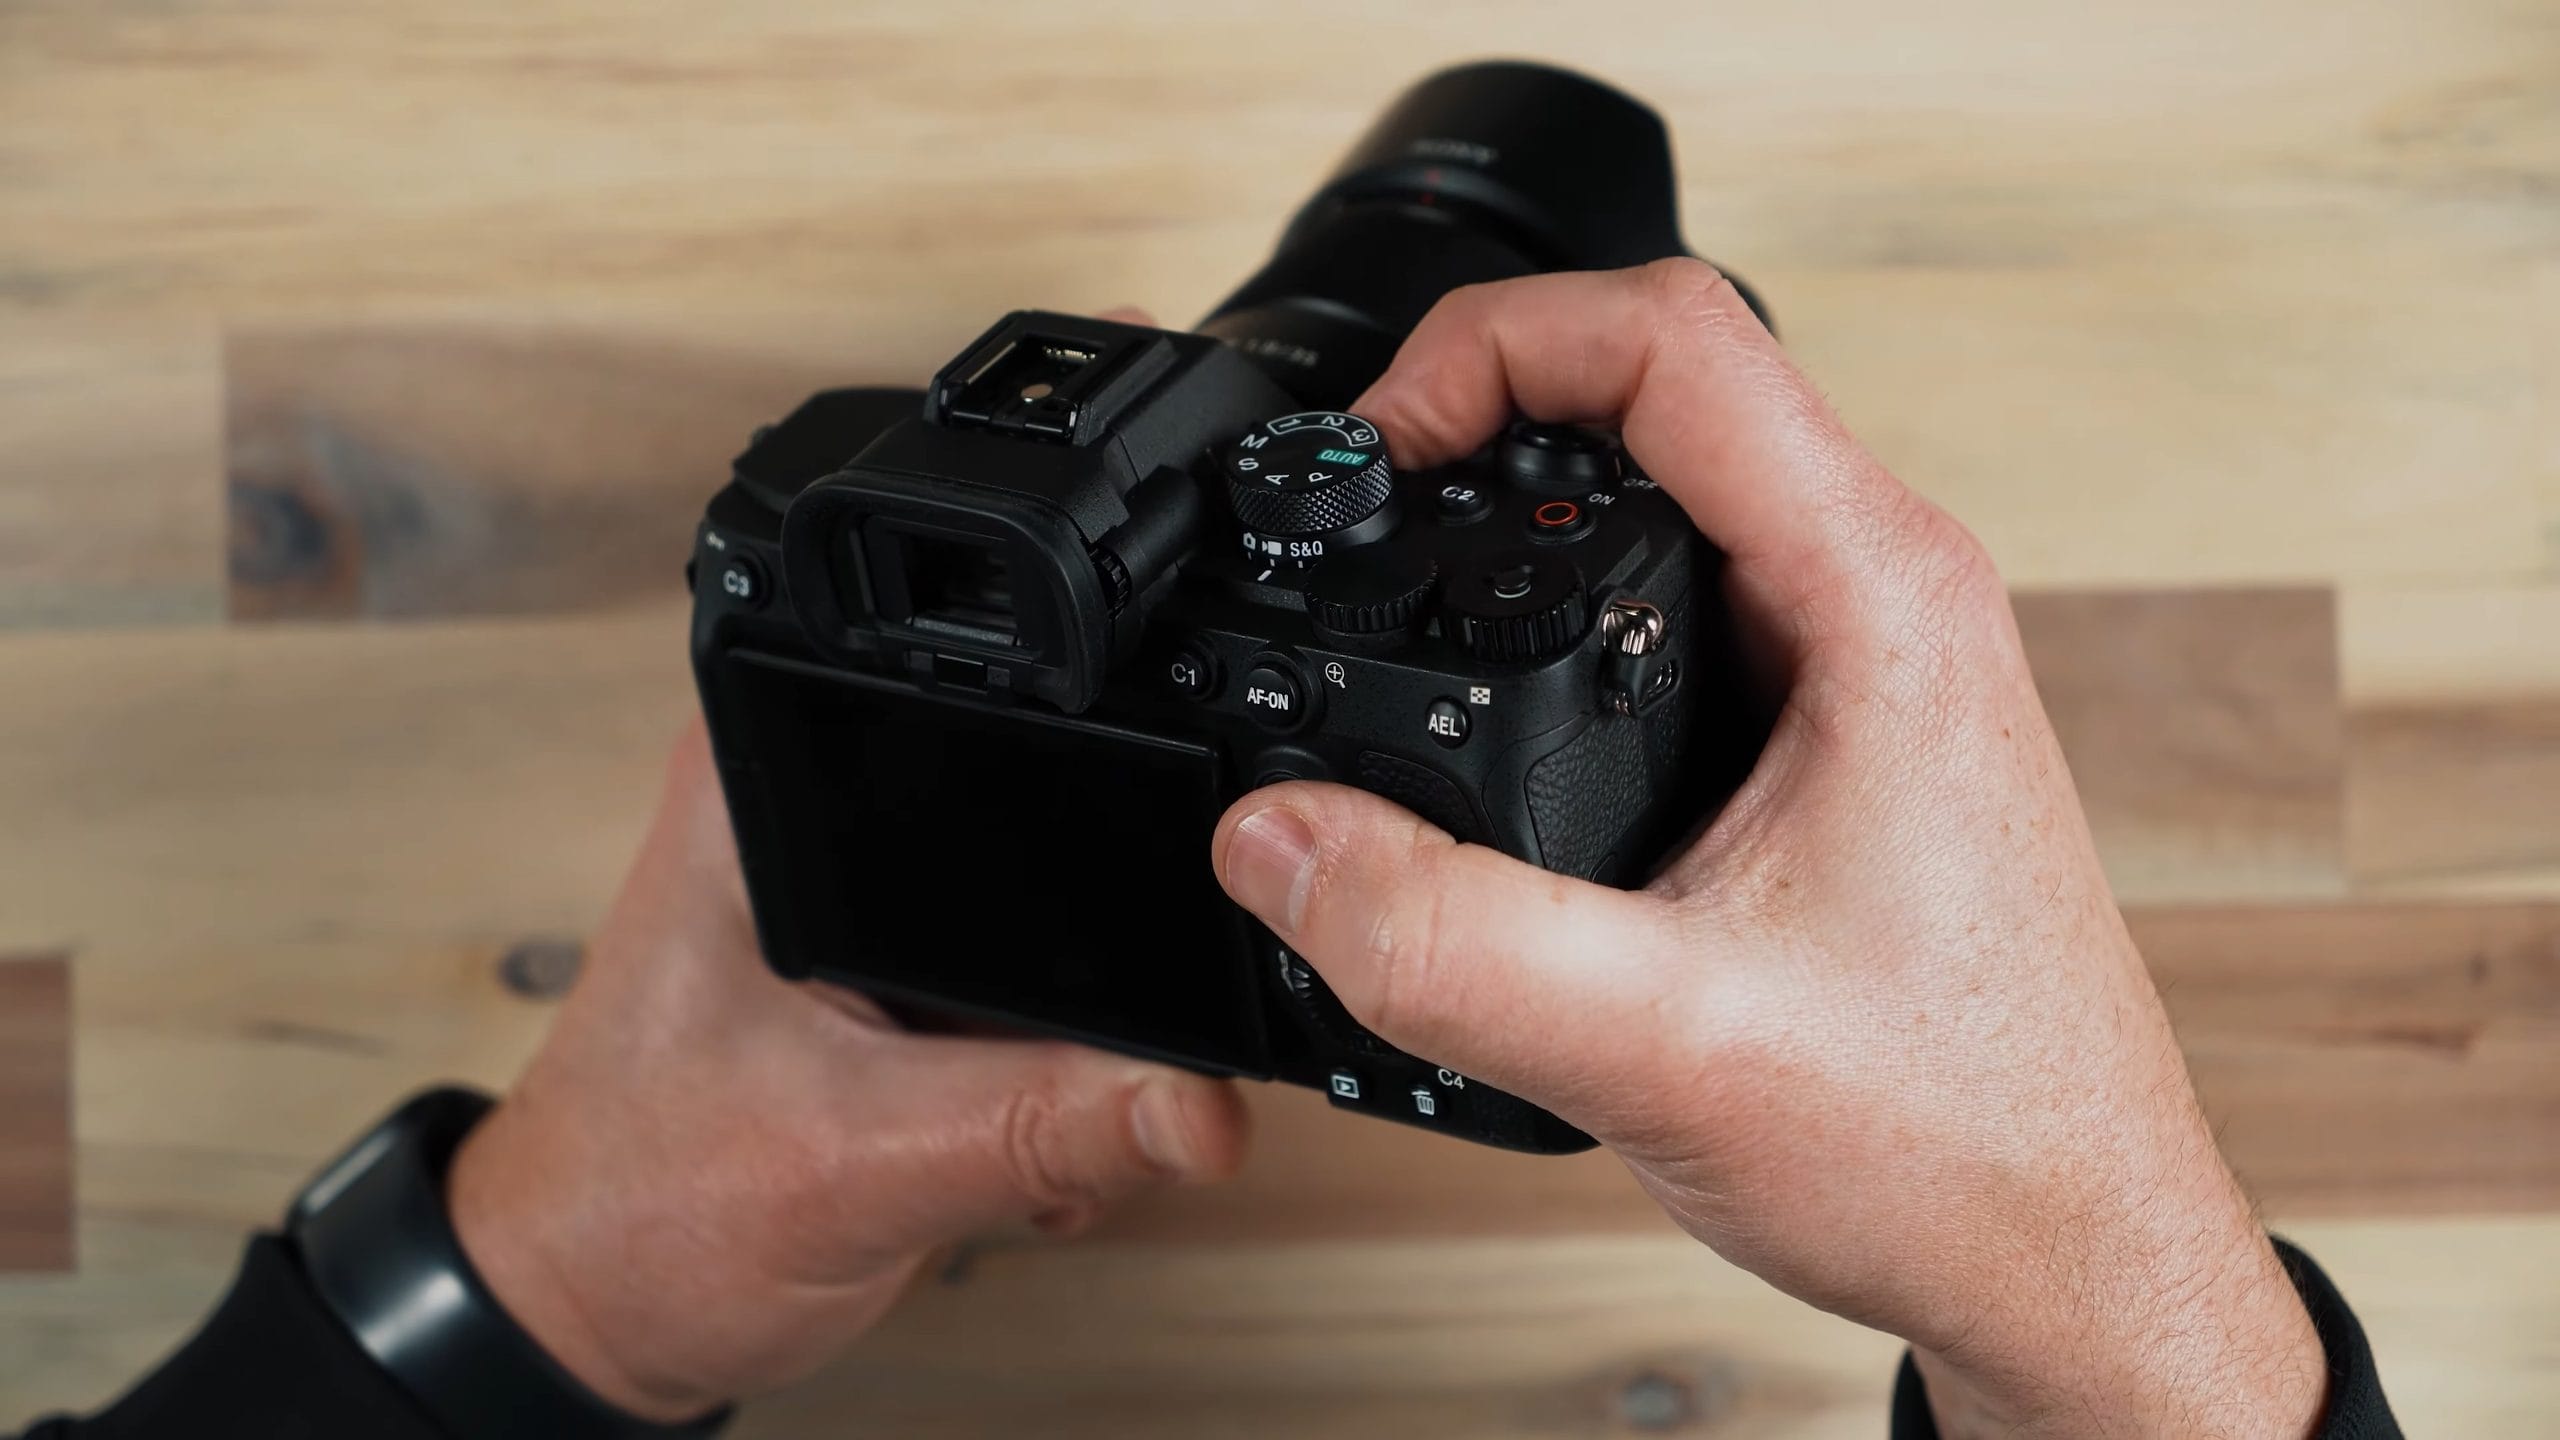
What’s great about this is that it’s easy to get between the two modes, but you can still shoot video when you’re in photo mode. You don’t have to switch. The camera is always ready to go for shooting video. But if you switch to video mode, you get more of those video-specific settings, like seeing your audio levels before you hit record, and video settings that are separate from your photo settings. So switching into video mode is the best option before you hit that record button.
We’ve also got the on/off switch, the record button, and a custom button on top, C2, that comes mapped to your focus area by default. Just like most cameras, you adjust your aperture with the front dial if you’re in a mode that allows it. There’s a dial on the back for adjusting your shutter speed, and a dial over on the right that’s set to exposure compensation. That one is lockable.
The Back of the Camera
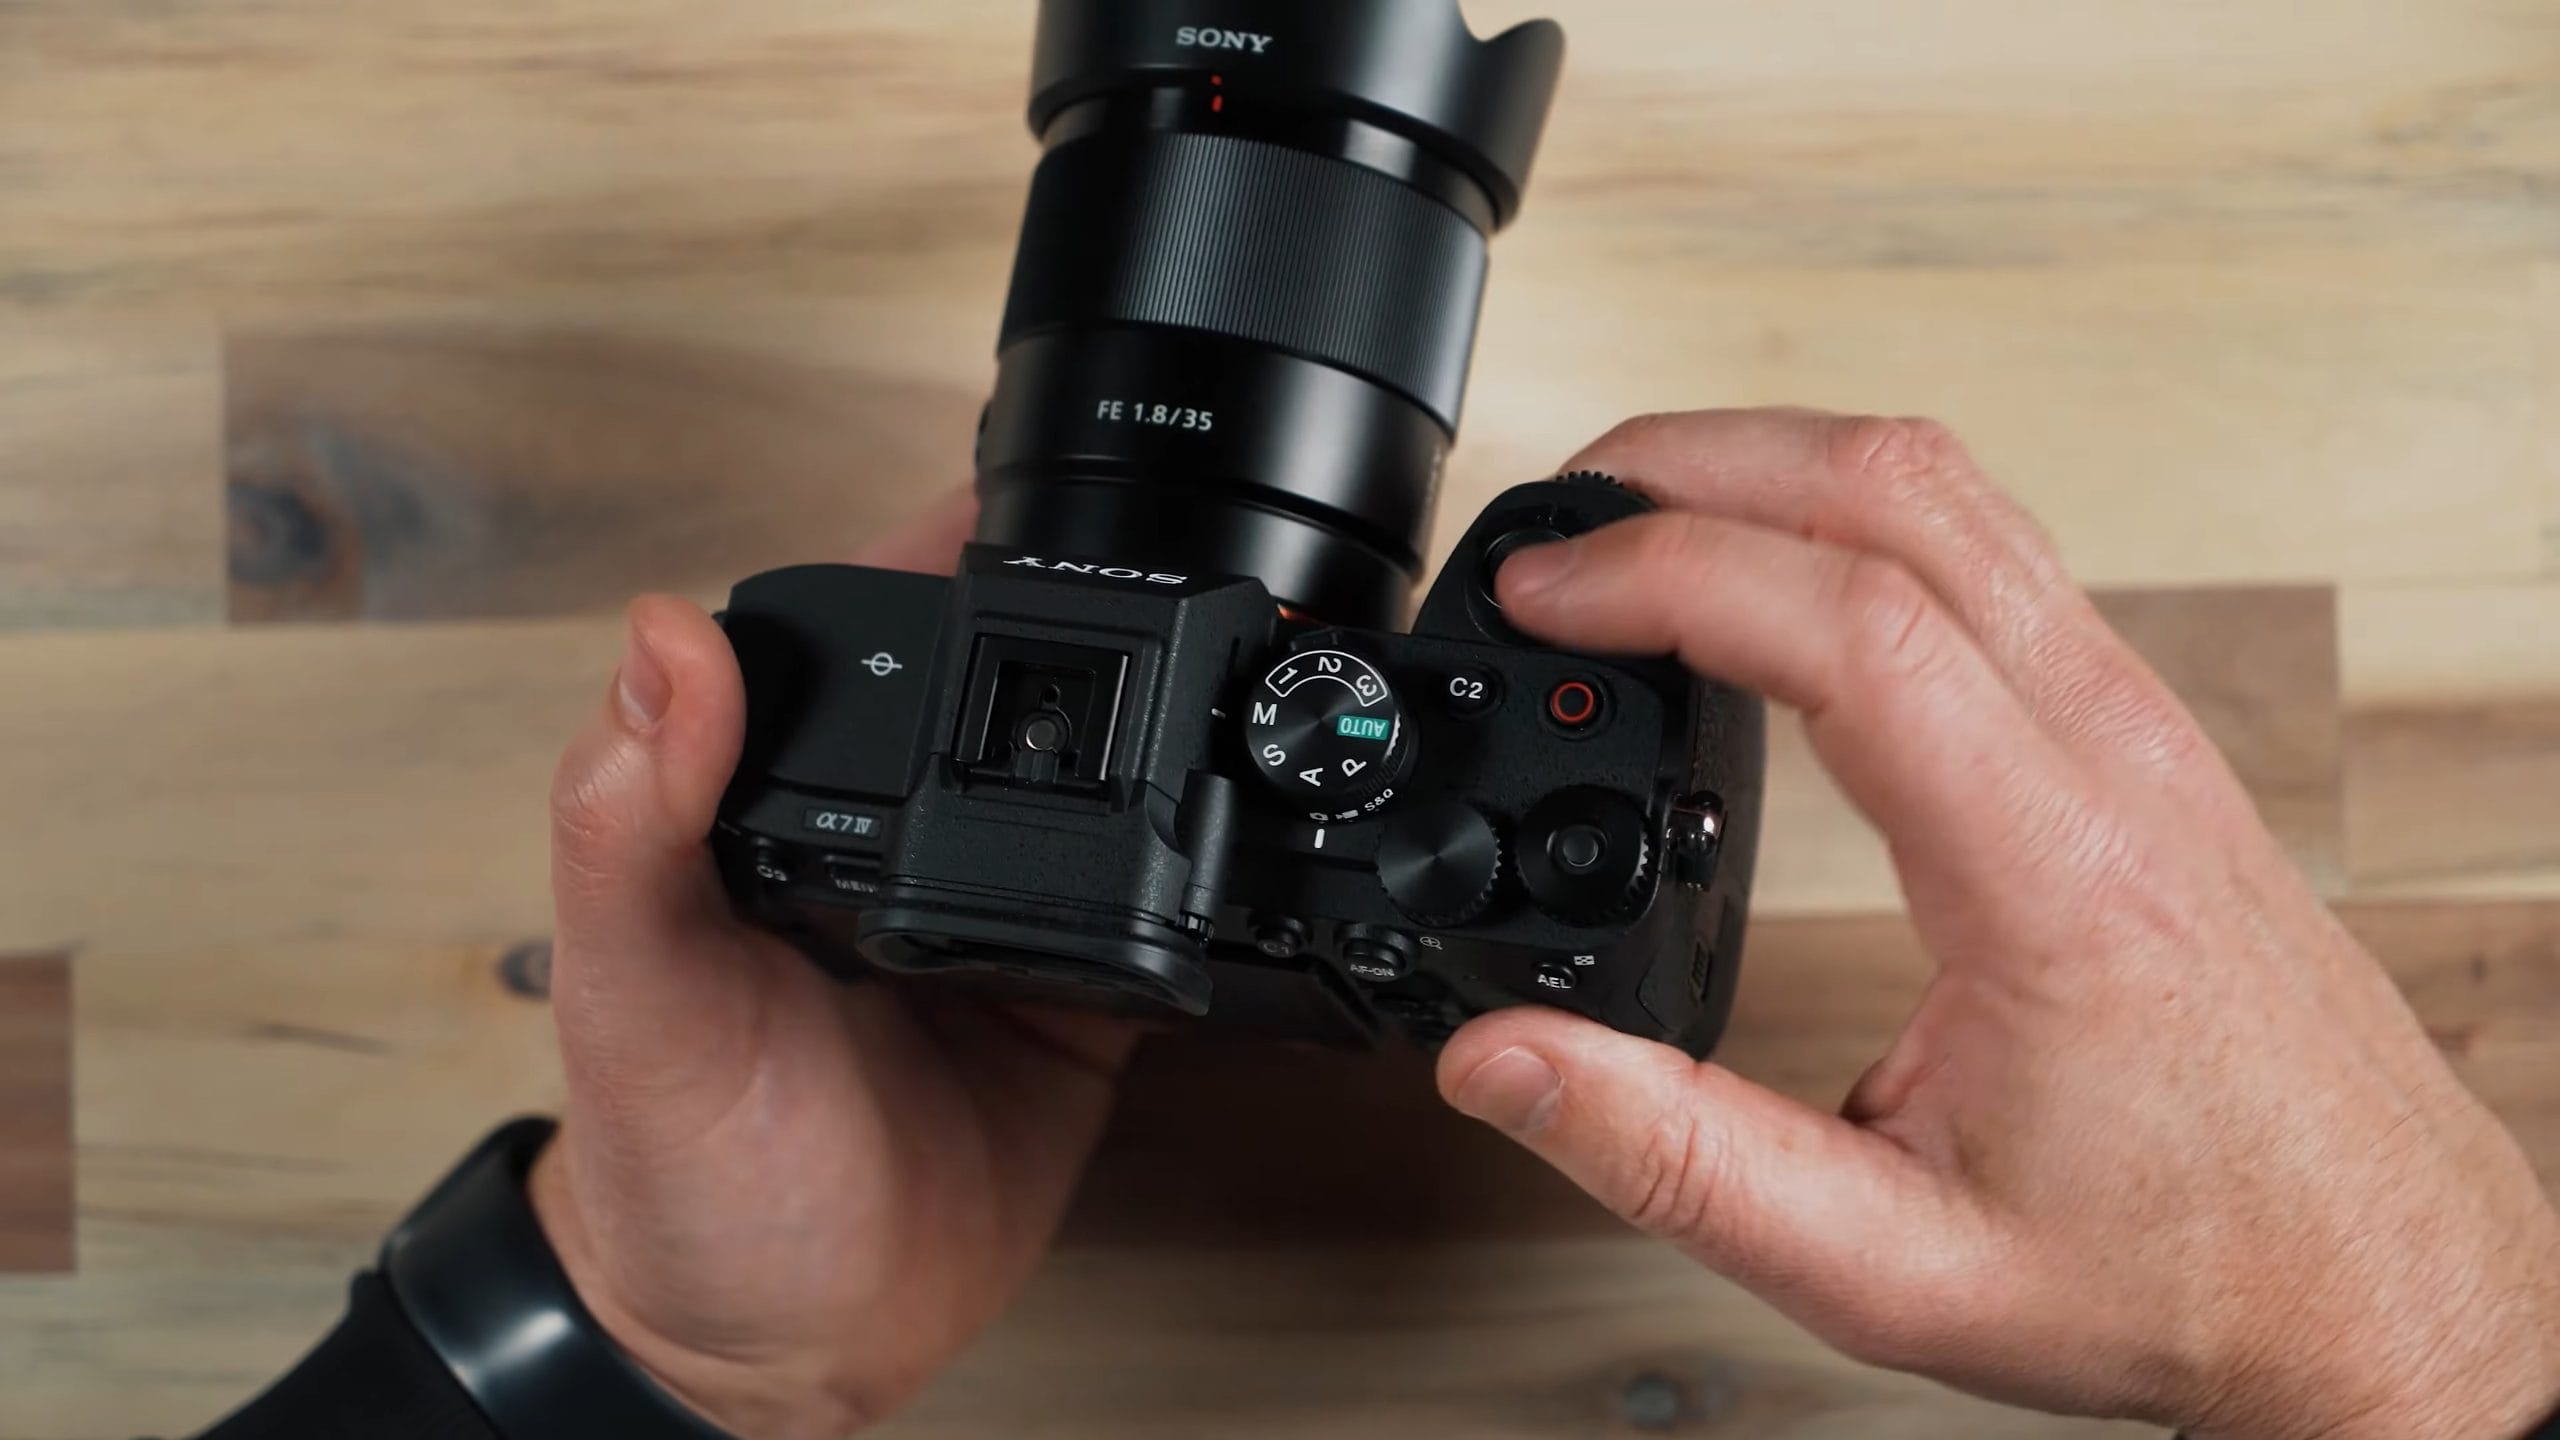
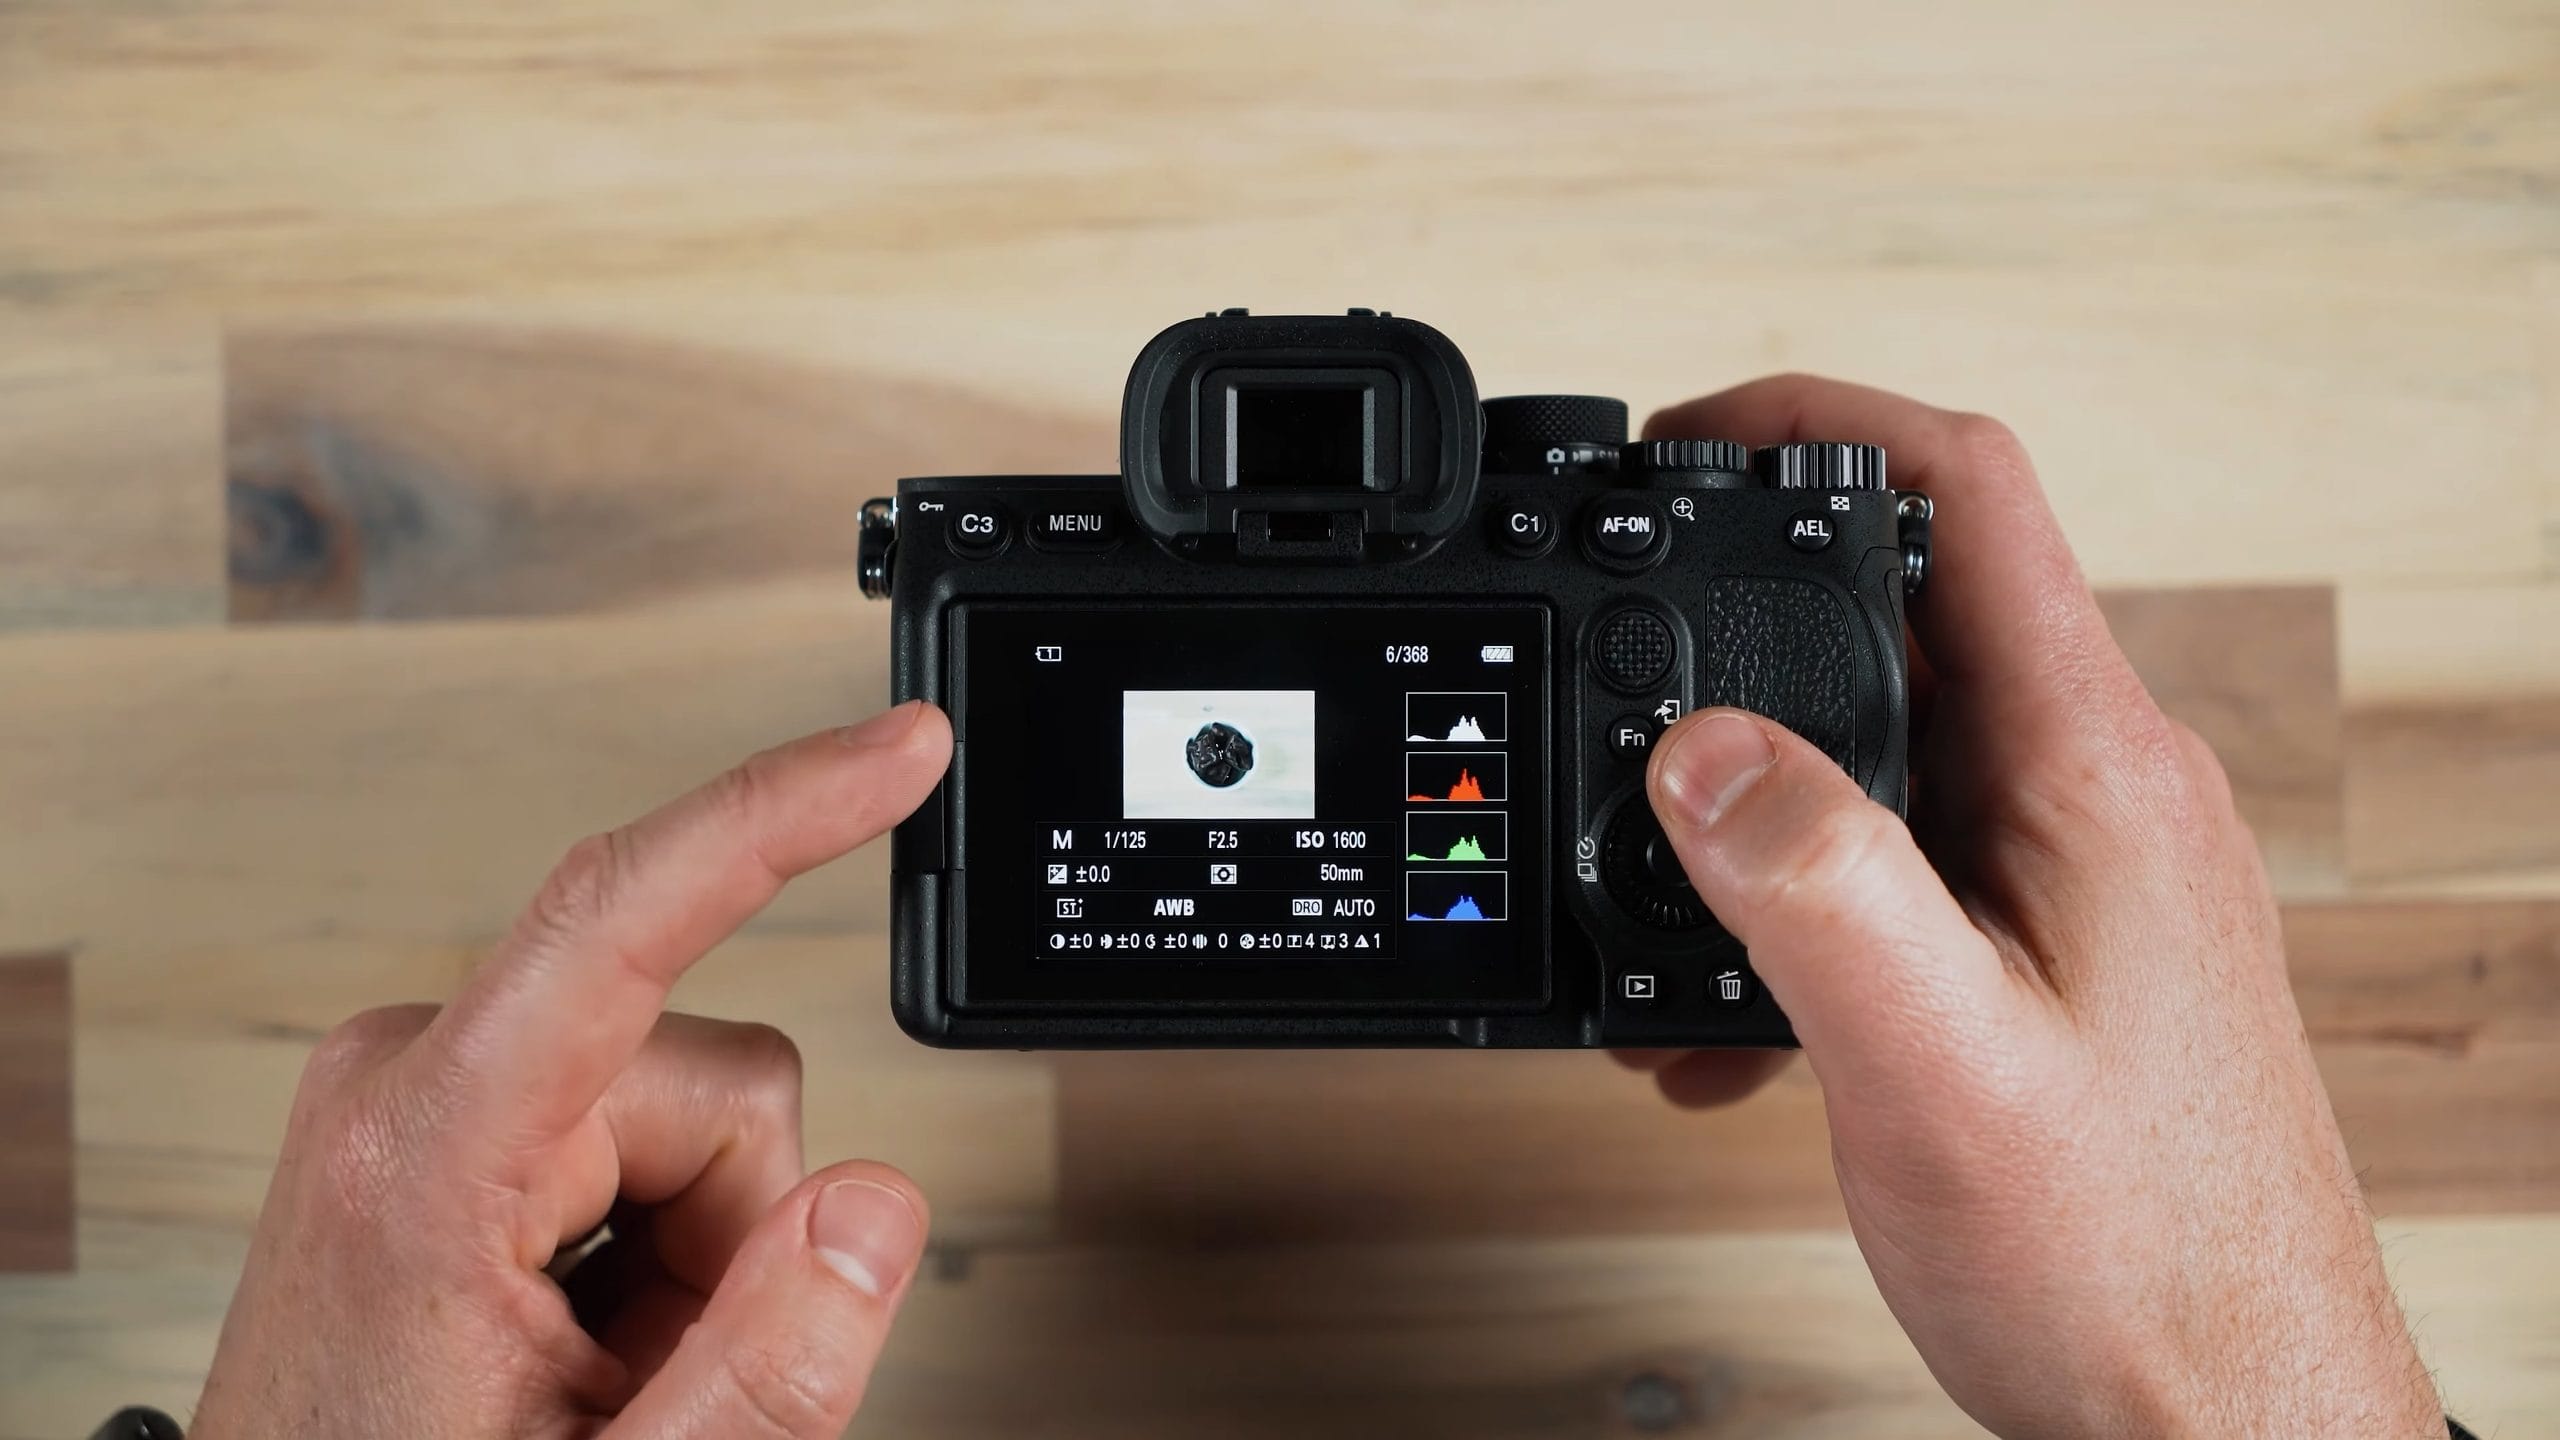
On the back of the camera, we’ve got another custom button, C3, which on my camera is mapped to focus modes. We have the MENU button, which we’ll go into in a moment, and the C1 button, which is mapped to white balance.
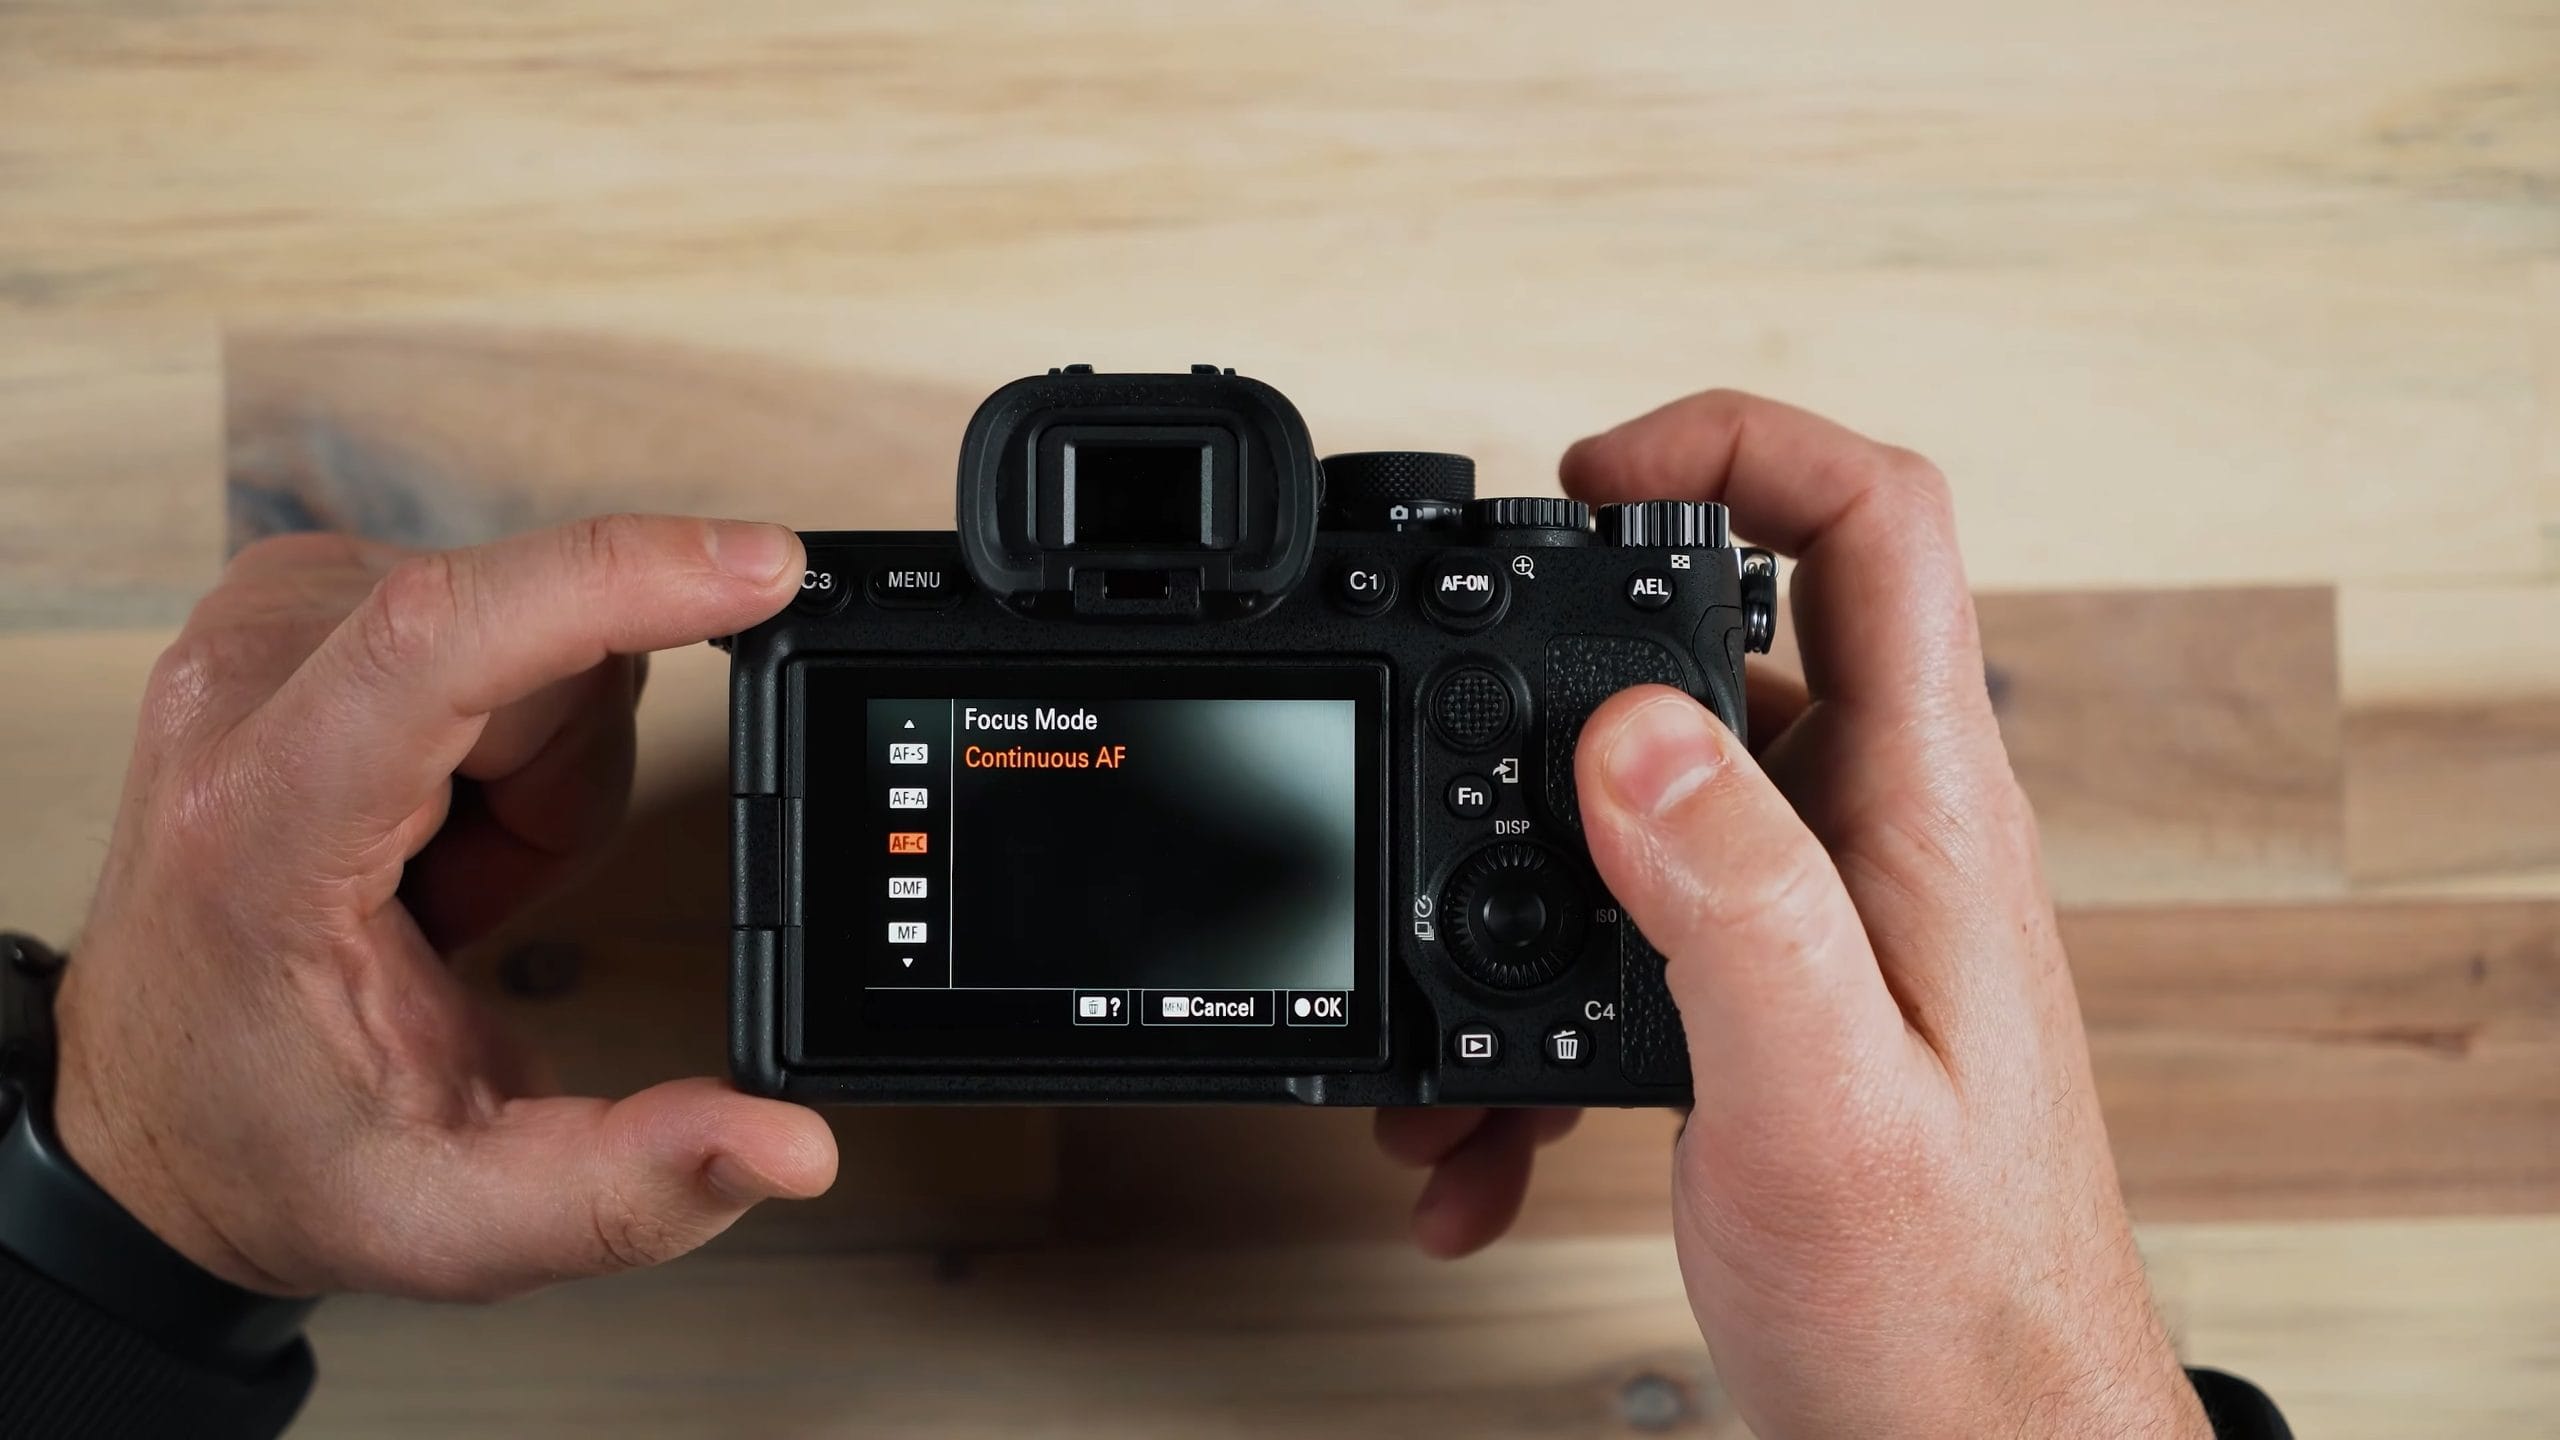
There’s the AF-ON button, which is also the zoom-in button if you’re using Clear Image Zoom or looking back at an image. If I’m looking at an image and want to zoom in, I press that button and it zooms right in. Then I can rotate the dial to zoom in and out, and use the multi-selector to move around and see more of the image.
We also have the AEL (auto exposure lock) button on the right, which is for the manual assist modes, as I call them: shutter priority, aperture priority, and P for program. AEL locks your exposure. It’s an exposure lock, just like a focus lock. It holds the exposure until you let off, and then the camera re-measures exposure.
Moving Your Focus Point
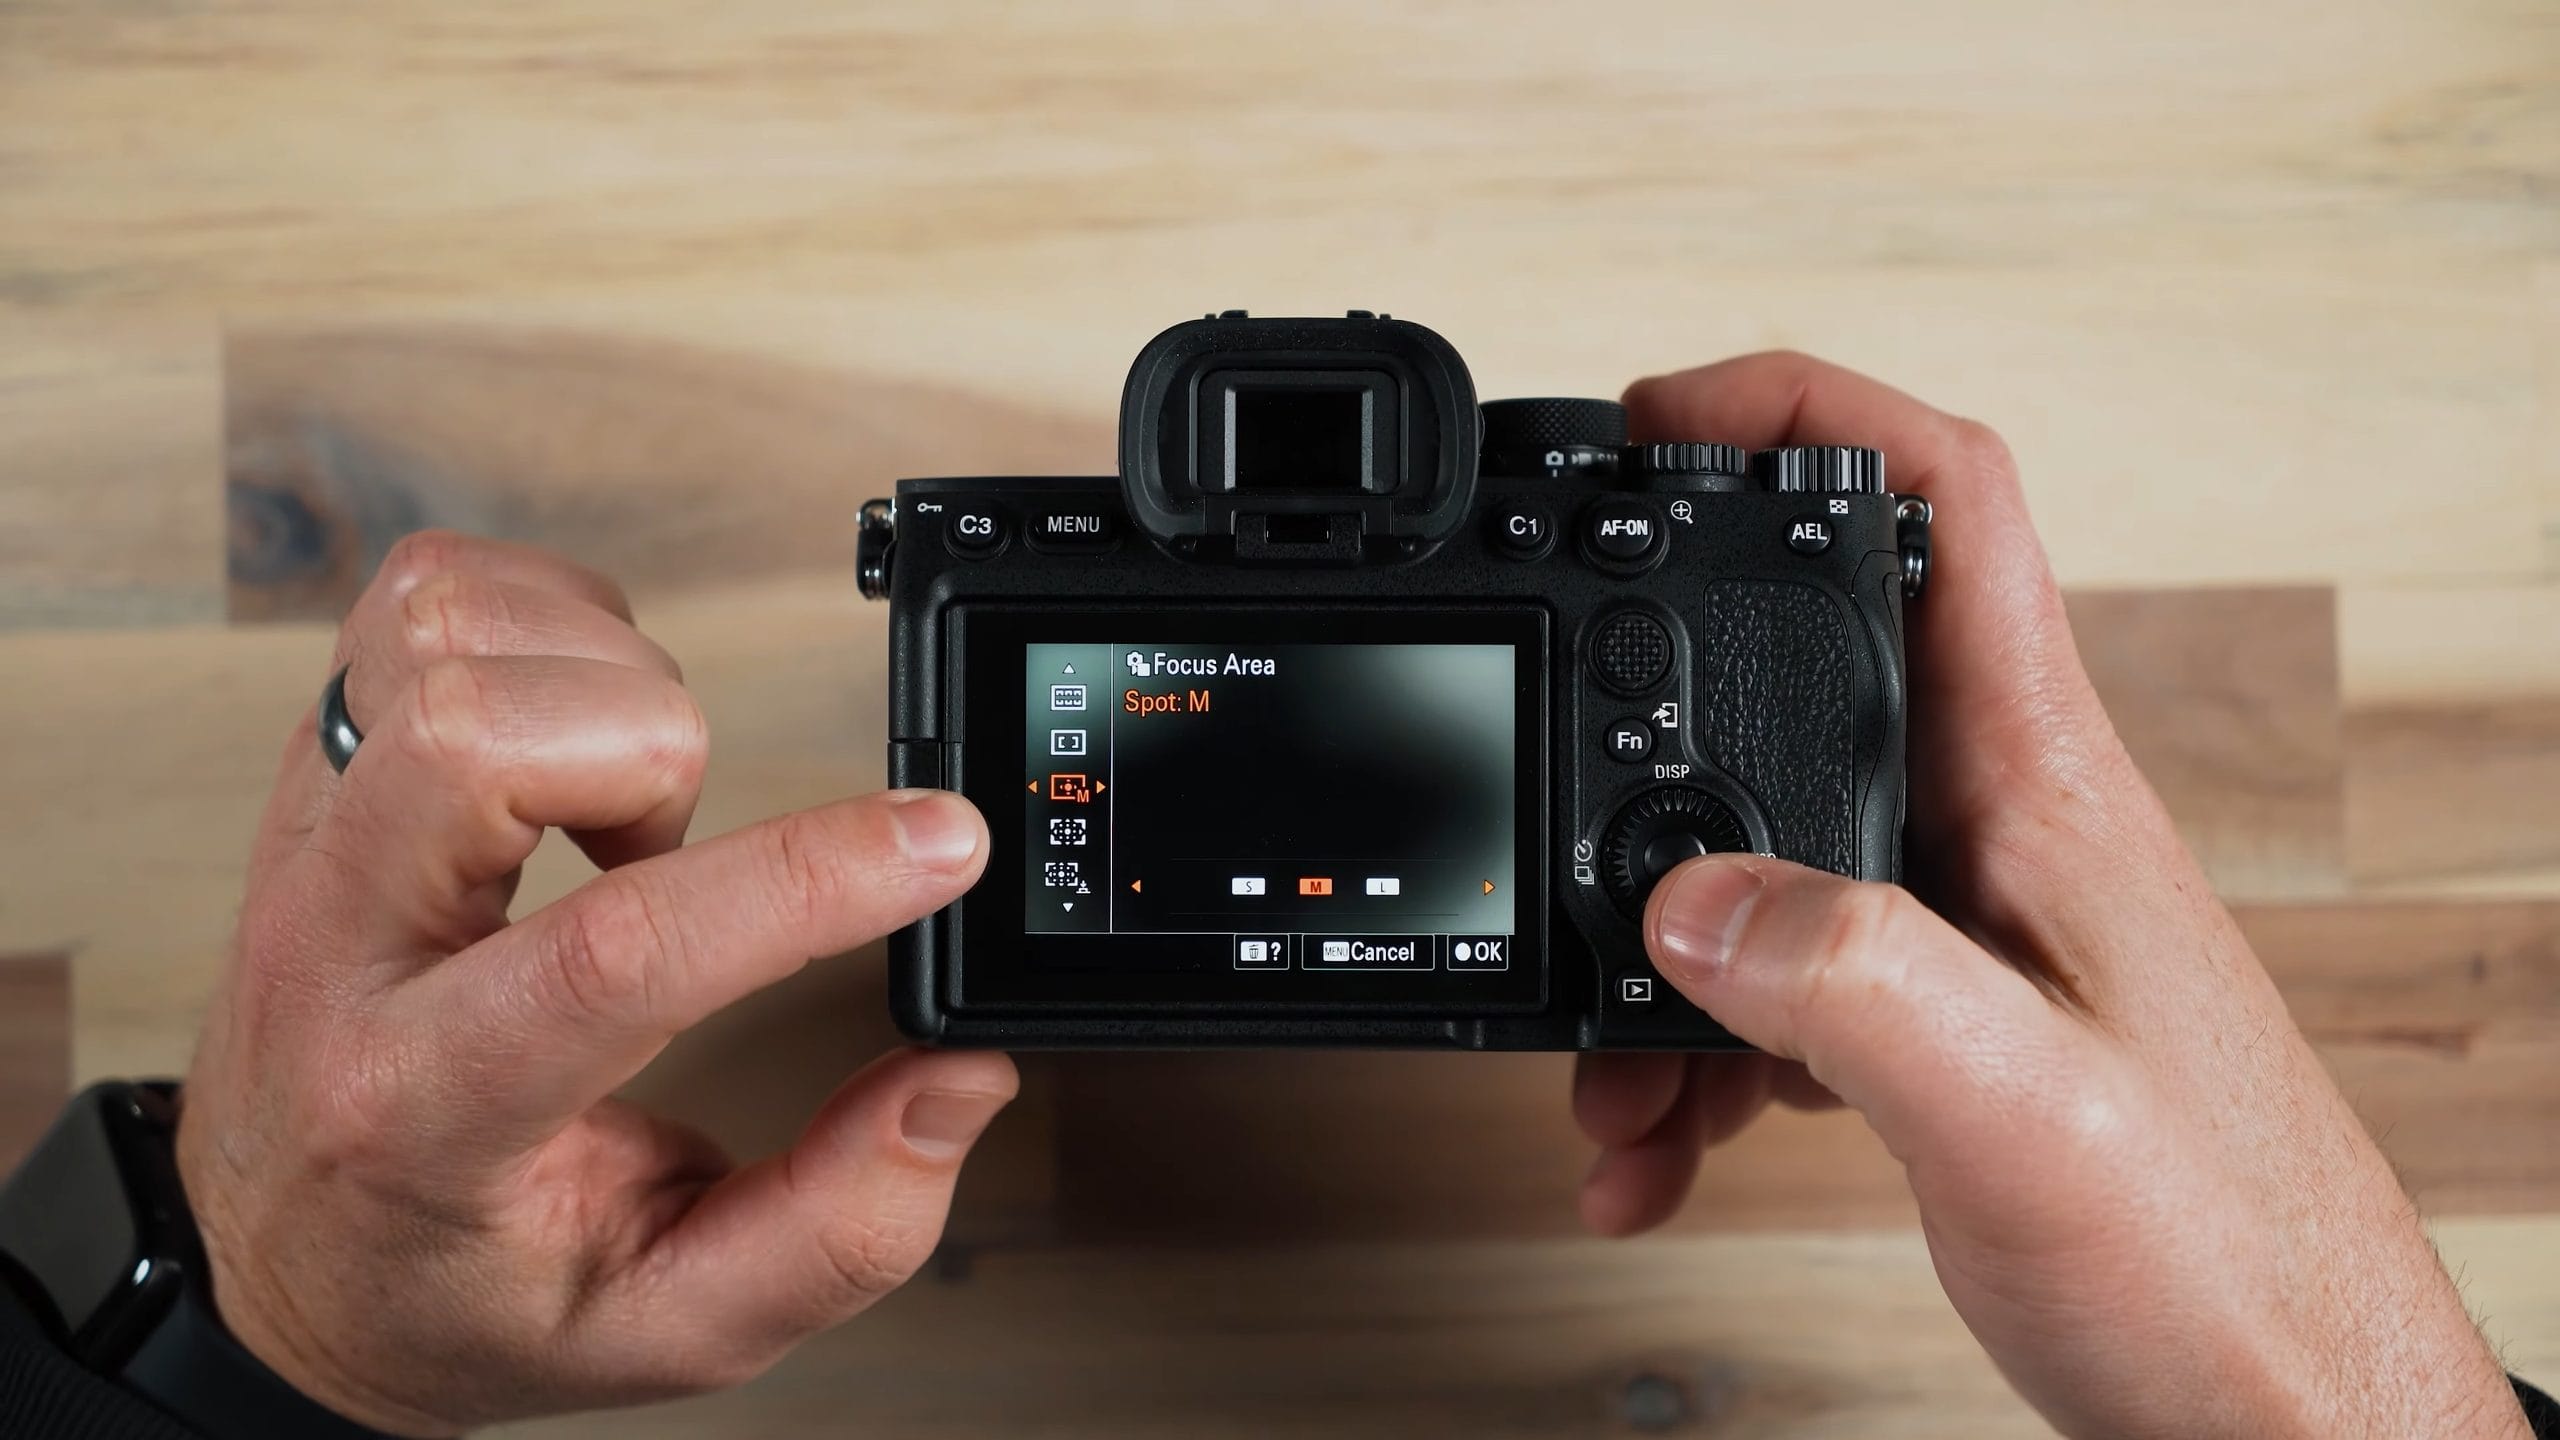
Because I use a smaller autofocus point, I can move it around with the multi-selector, the little joystick on the back, which I like to do. I’d rather put a smaller focus point on the area I want the camera to focus on than give the camera full rein to focus on anything it can see. I like to limit it down a little just to make sure I’m not missing focus on the specific area I’m taking a picture of.
For example, when I’m shooting real estate, there’s a focal point in the house I want in focus, so I use a selected point rather than letting the camera choose the back wall, which isn’t what I want in focus. When I’m shooting portraits, the camera is getting really good at eye detect autofocus and even knows which eye is closest to the camera. But sometimes I want the camera not to have to think too hard about it, so I use a flexible focus point.
I get to it by pressing the C2 button and changing the focus area from something wider down to Spot. Then you can pick the size of the box: S, M, L, or XL.
The Fn Button and the Control Wheel
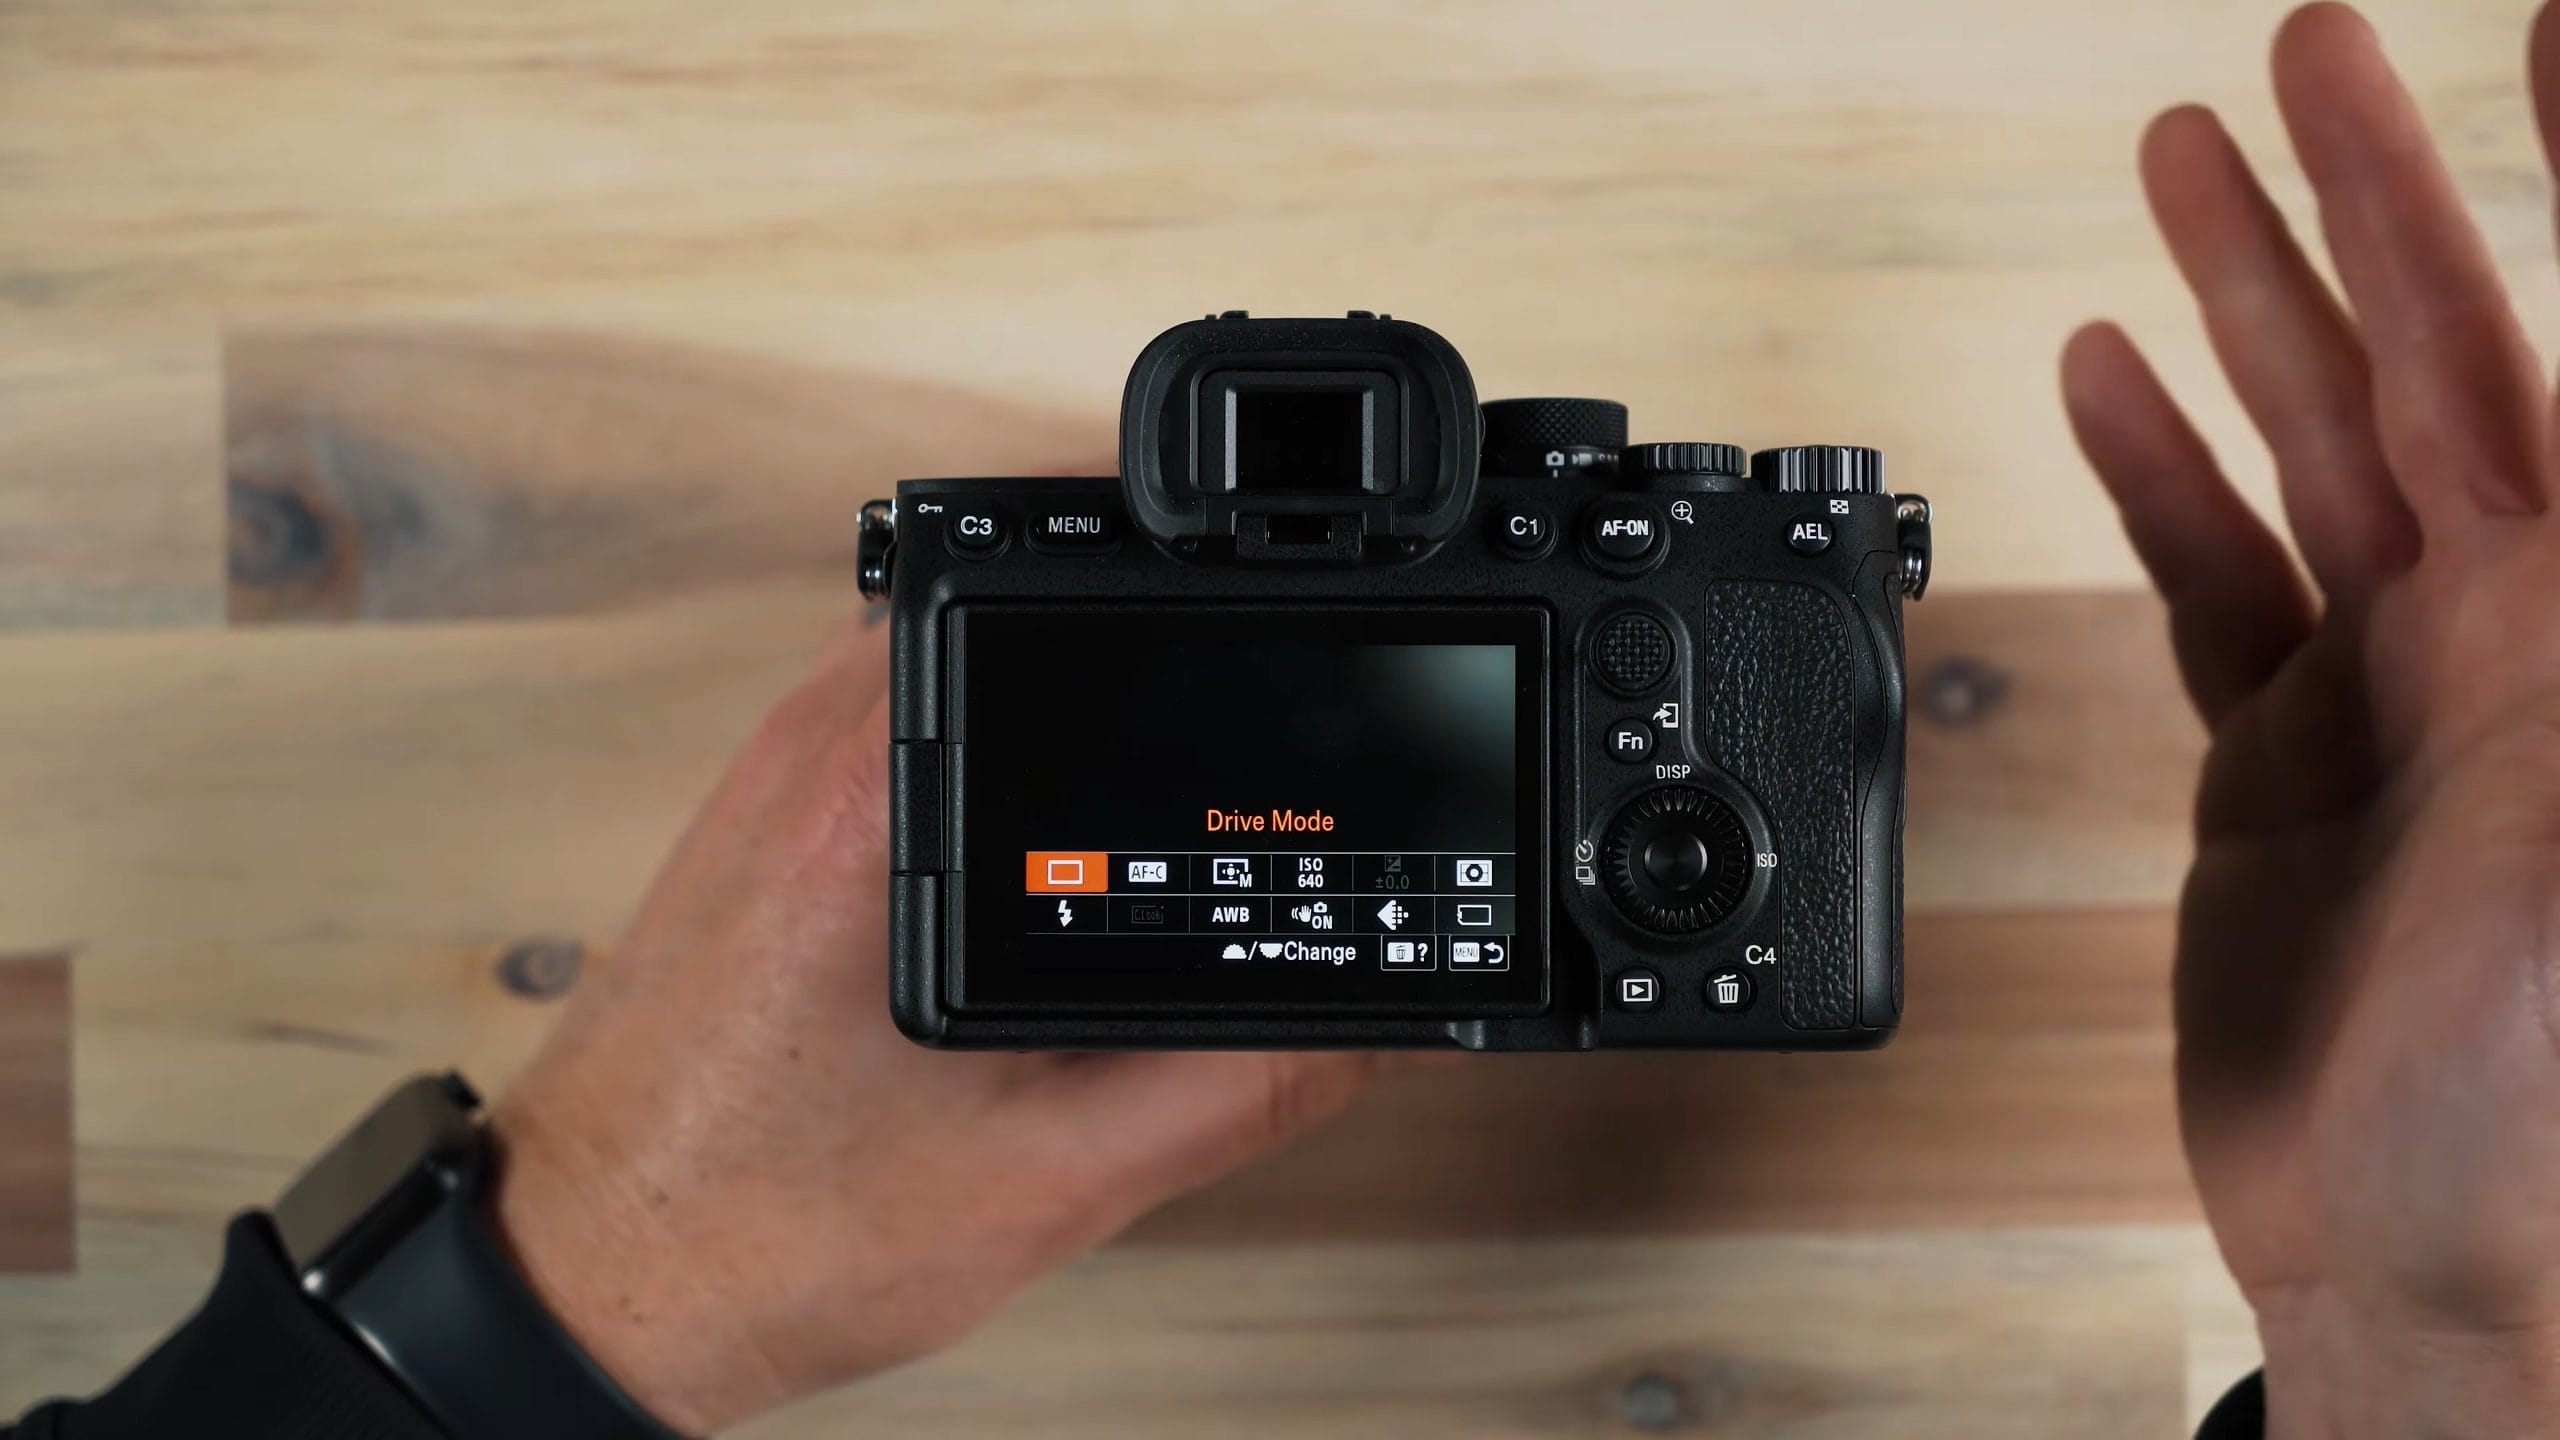
We also have the Fn button, which gives you quick access to a bunch of functions, like drive mode, focus mode, focus area, ISO, and stuff like that. A lot of these are also on the custom buttons we’ve been looking at, but this is another way to get to them and more, and this whole menu is customizable.
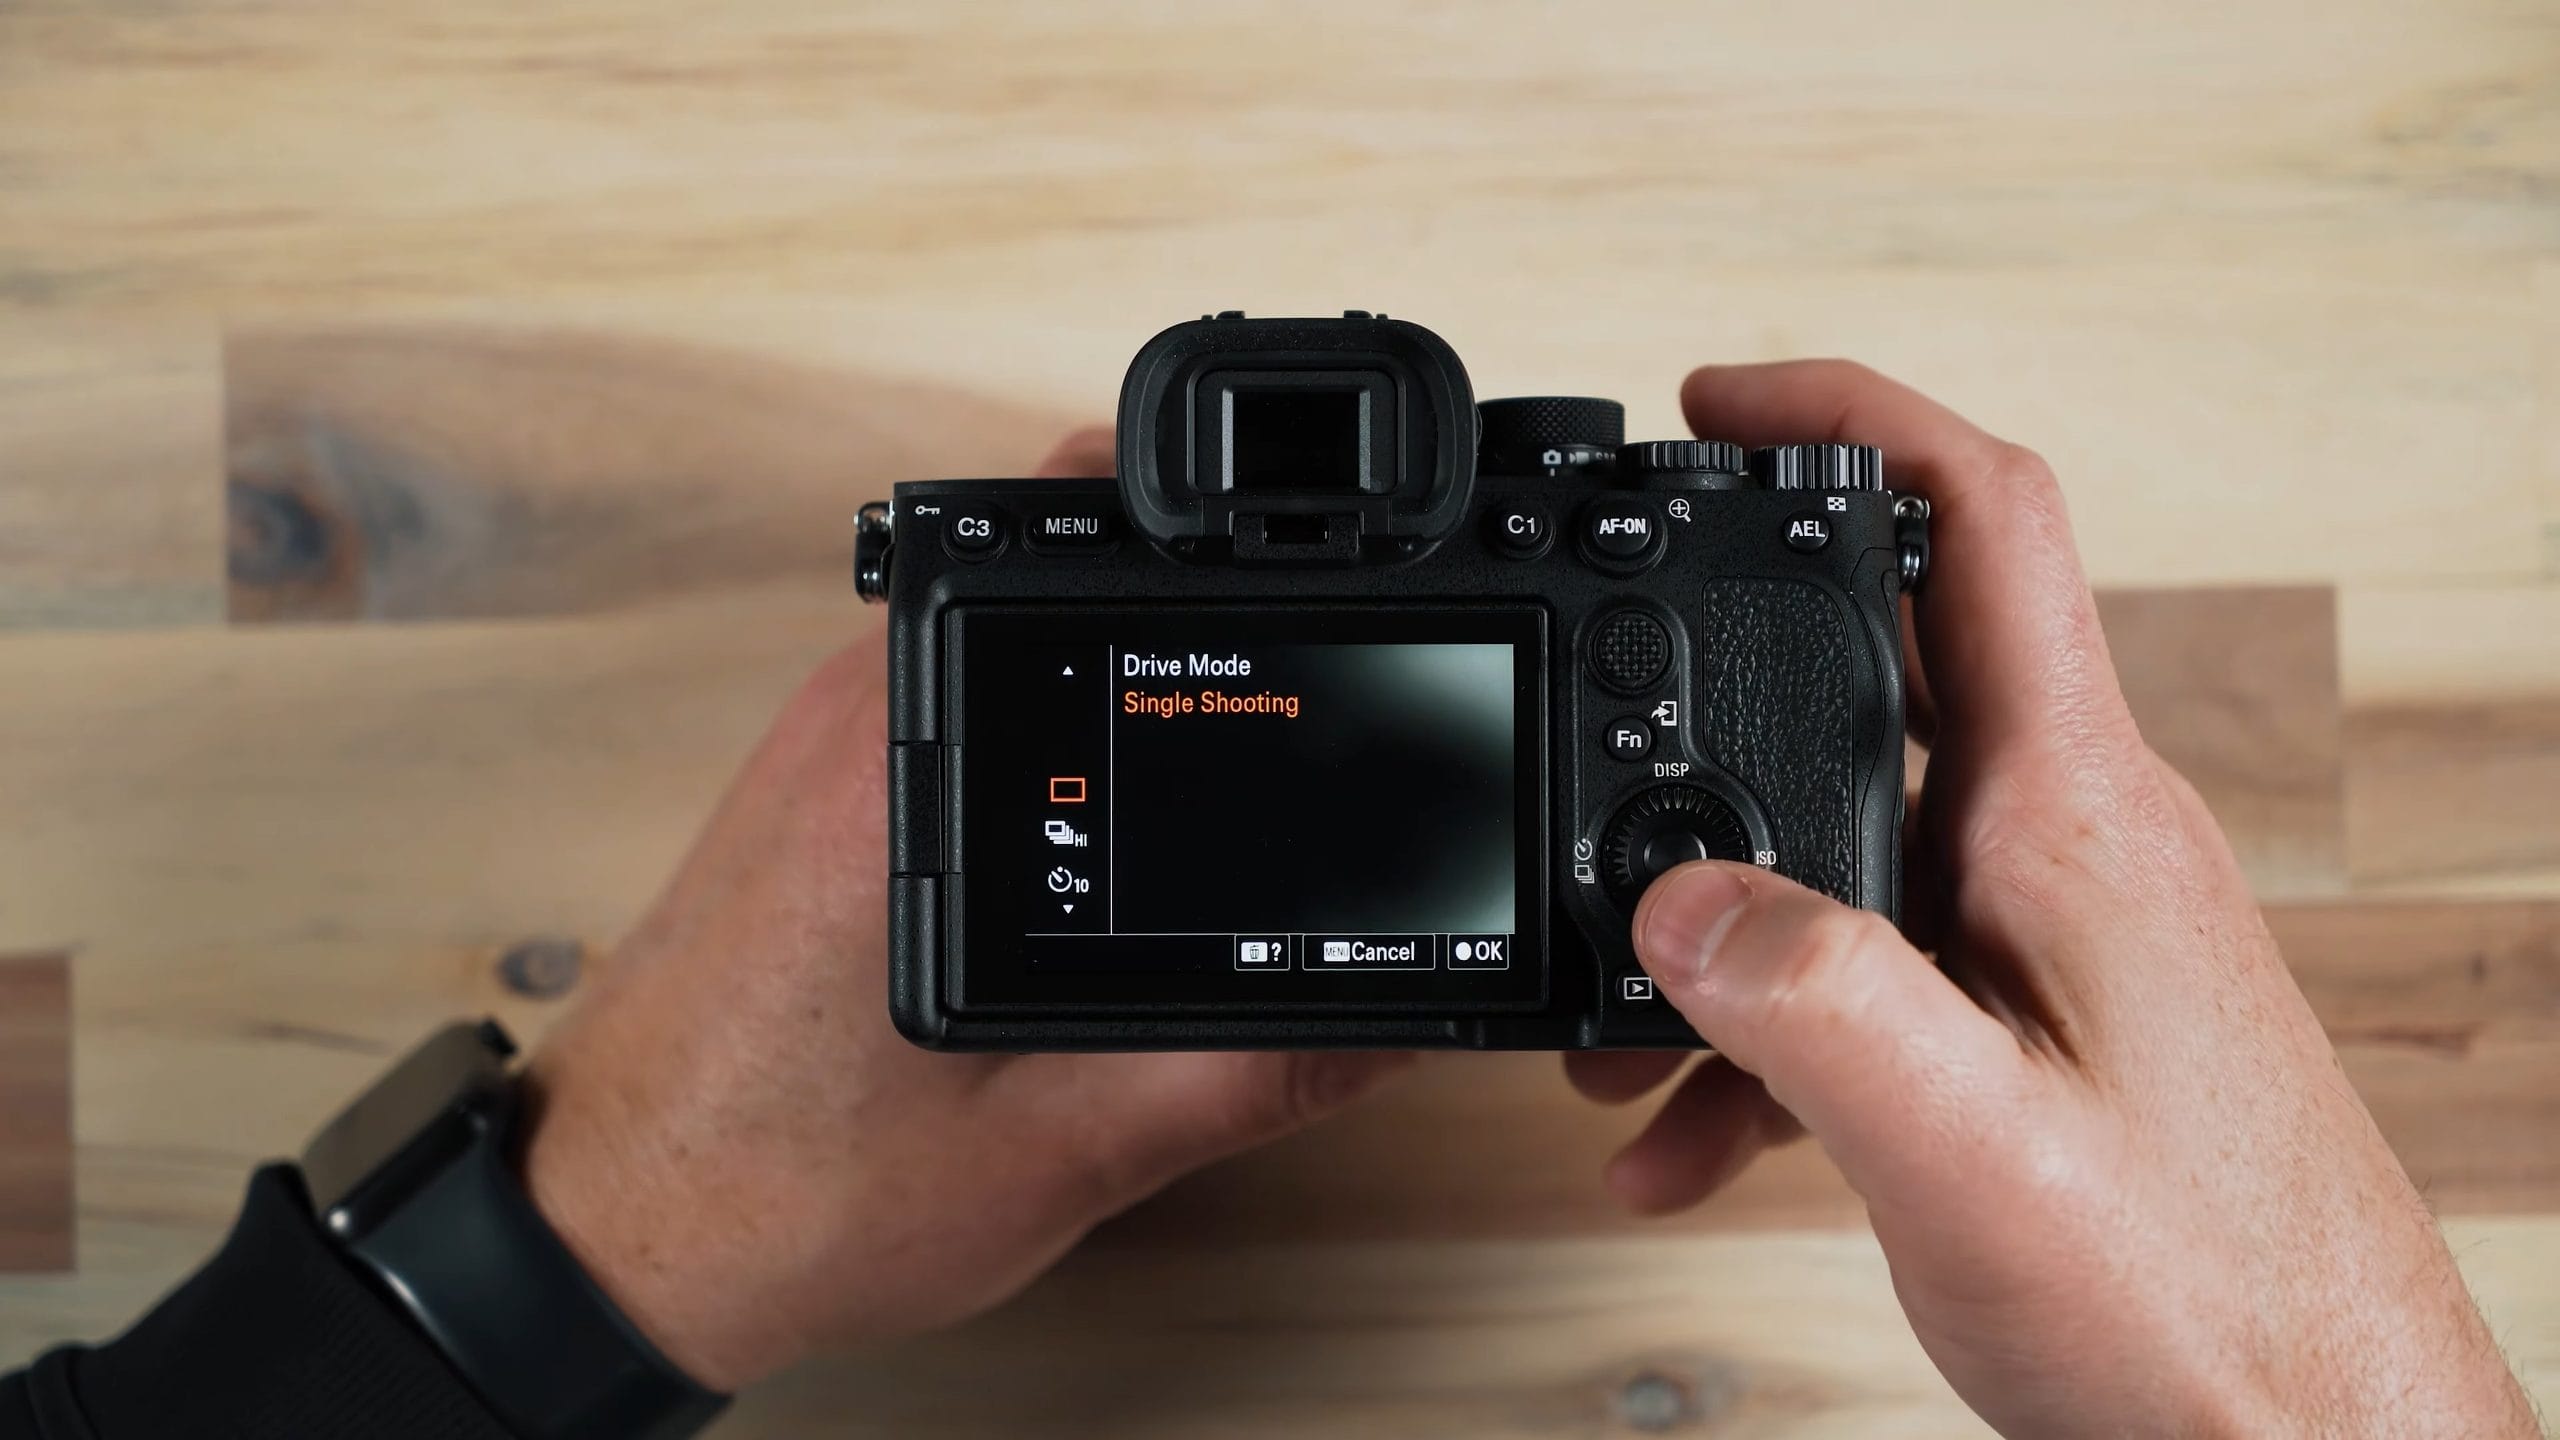
On the control wheel, pressing up switches between the different display modes so you get different information on the screen. Pressing left gets you the drive modes, like single shooting, continuous for holding down the shutter and letting the camera rip and grab as many photos as possible, the countdown self-timer, and a continuous self-timer. Some other options will be grayed out if you’re not set up to shoot in those modes. Pressing right gets you ISO.
One thing I’ve changed is what happens when I rotate the control wheel. I don’t want to have to press right to get to ISO. I just want to rotate the wheel and change the ISO, so I mapped the rotation of the wheel to ISO in my settings.
Playback
The playback button shows your previous images, and you can move between them by pressing side to side on the control wheel. The trash can is self-explanatory. It’s for deleting images, so be careful there. When you’re playing back an image, you can do a variety of things, like see the histogram, and see the little blinkies that show areas that are too dark or blown out. You can also toggle through to get the information on that image.
SD Card Slots
The door on the side of the camera gives you access to your memory cards. The top slot, slot 1, also accepts a CFexpress Type A card. I own one, but I never use it, because I use V90 SD cards. The one I’m using is a Lexar V90 SD card. V90 cards are the fastest SD cards they make, and it’s more than fast enough for this camera.
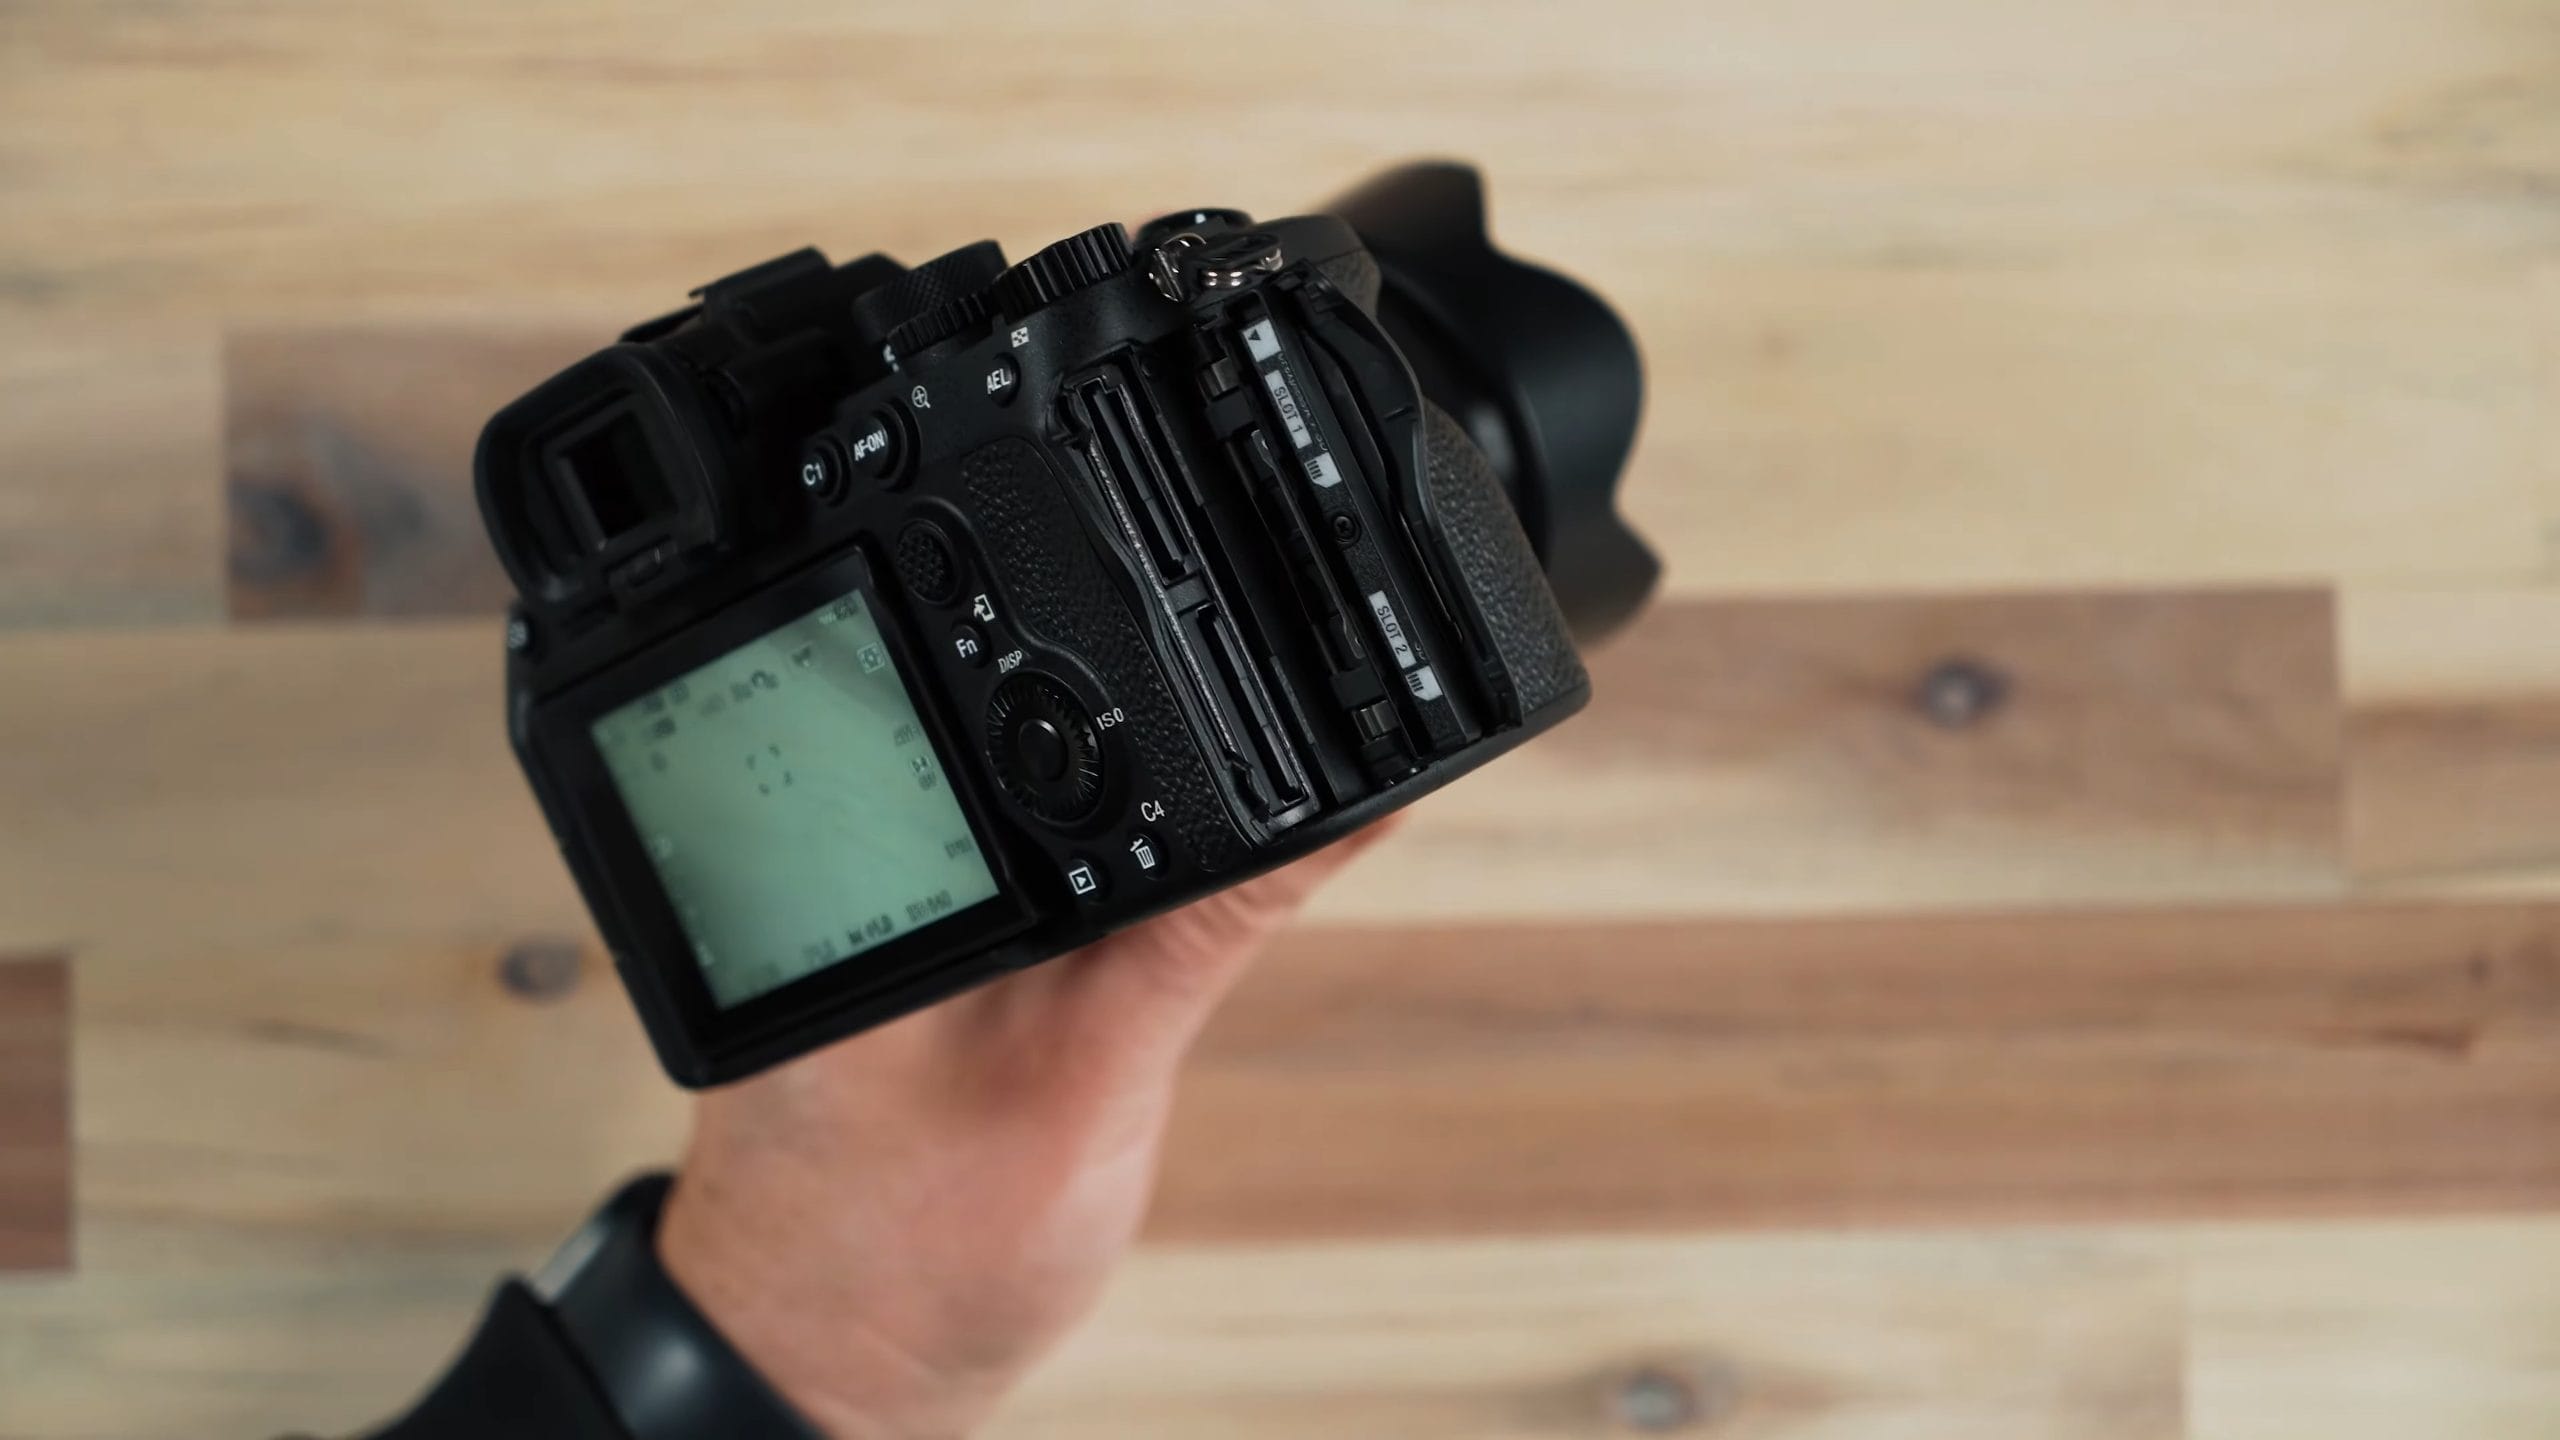
If you’re not going to shoot a lot of fast continuous for a long period of time, you don’t even need a V90 card. You can go with a V60 card, and you could probably even get away with a V30 card. But if you’re going to shoot 4K video at 60p, I recommend at least a V60 card, if not springing for the V90.
A faster card makes it easier for your camera to read and write data. And when you take that card out and put it in your computer, copying the data off the card is going to be much faster too, because the read and write speeds are much faster.
Ports
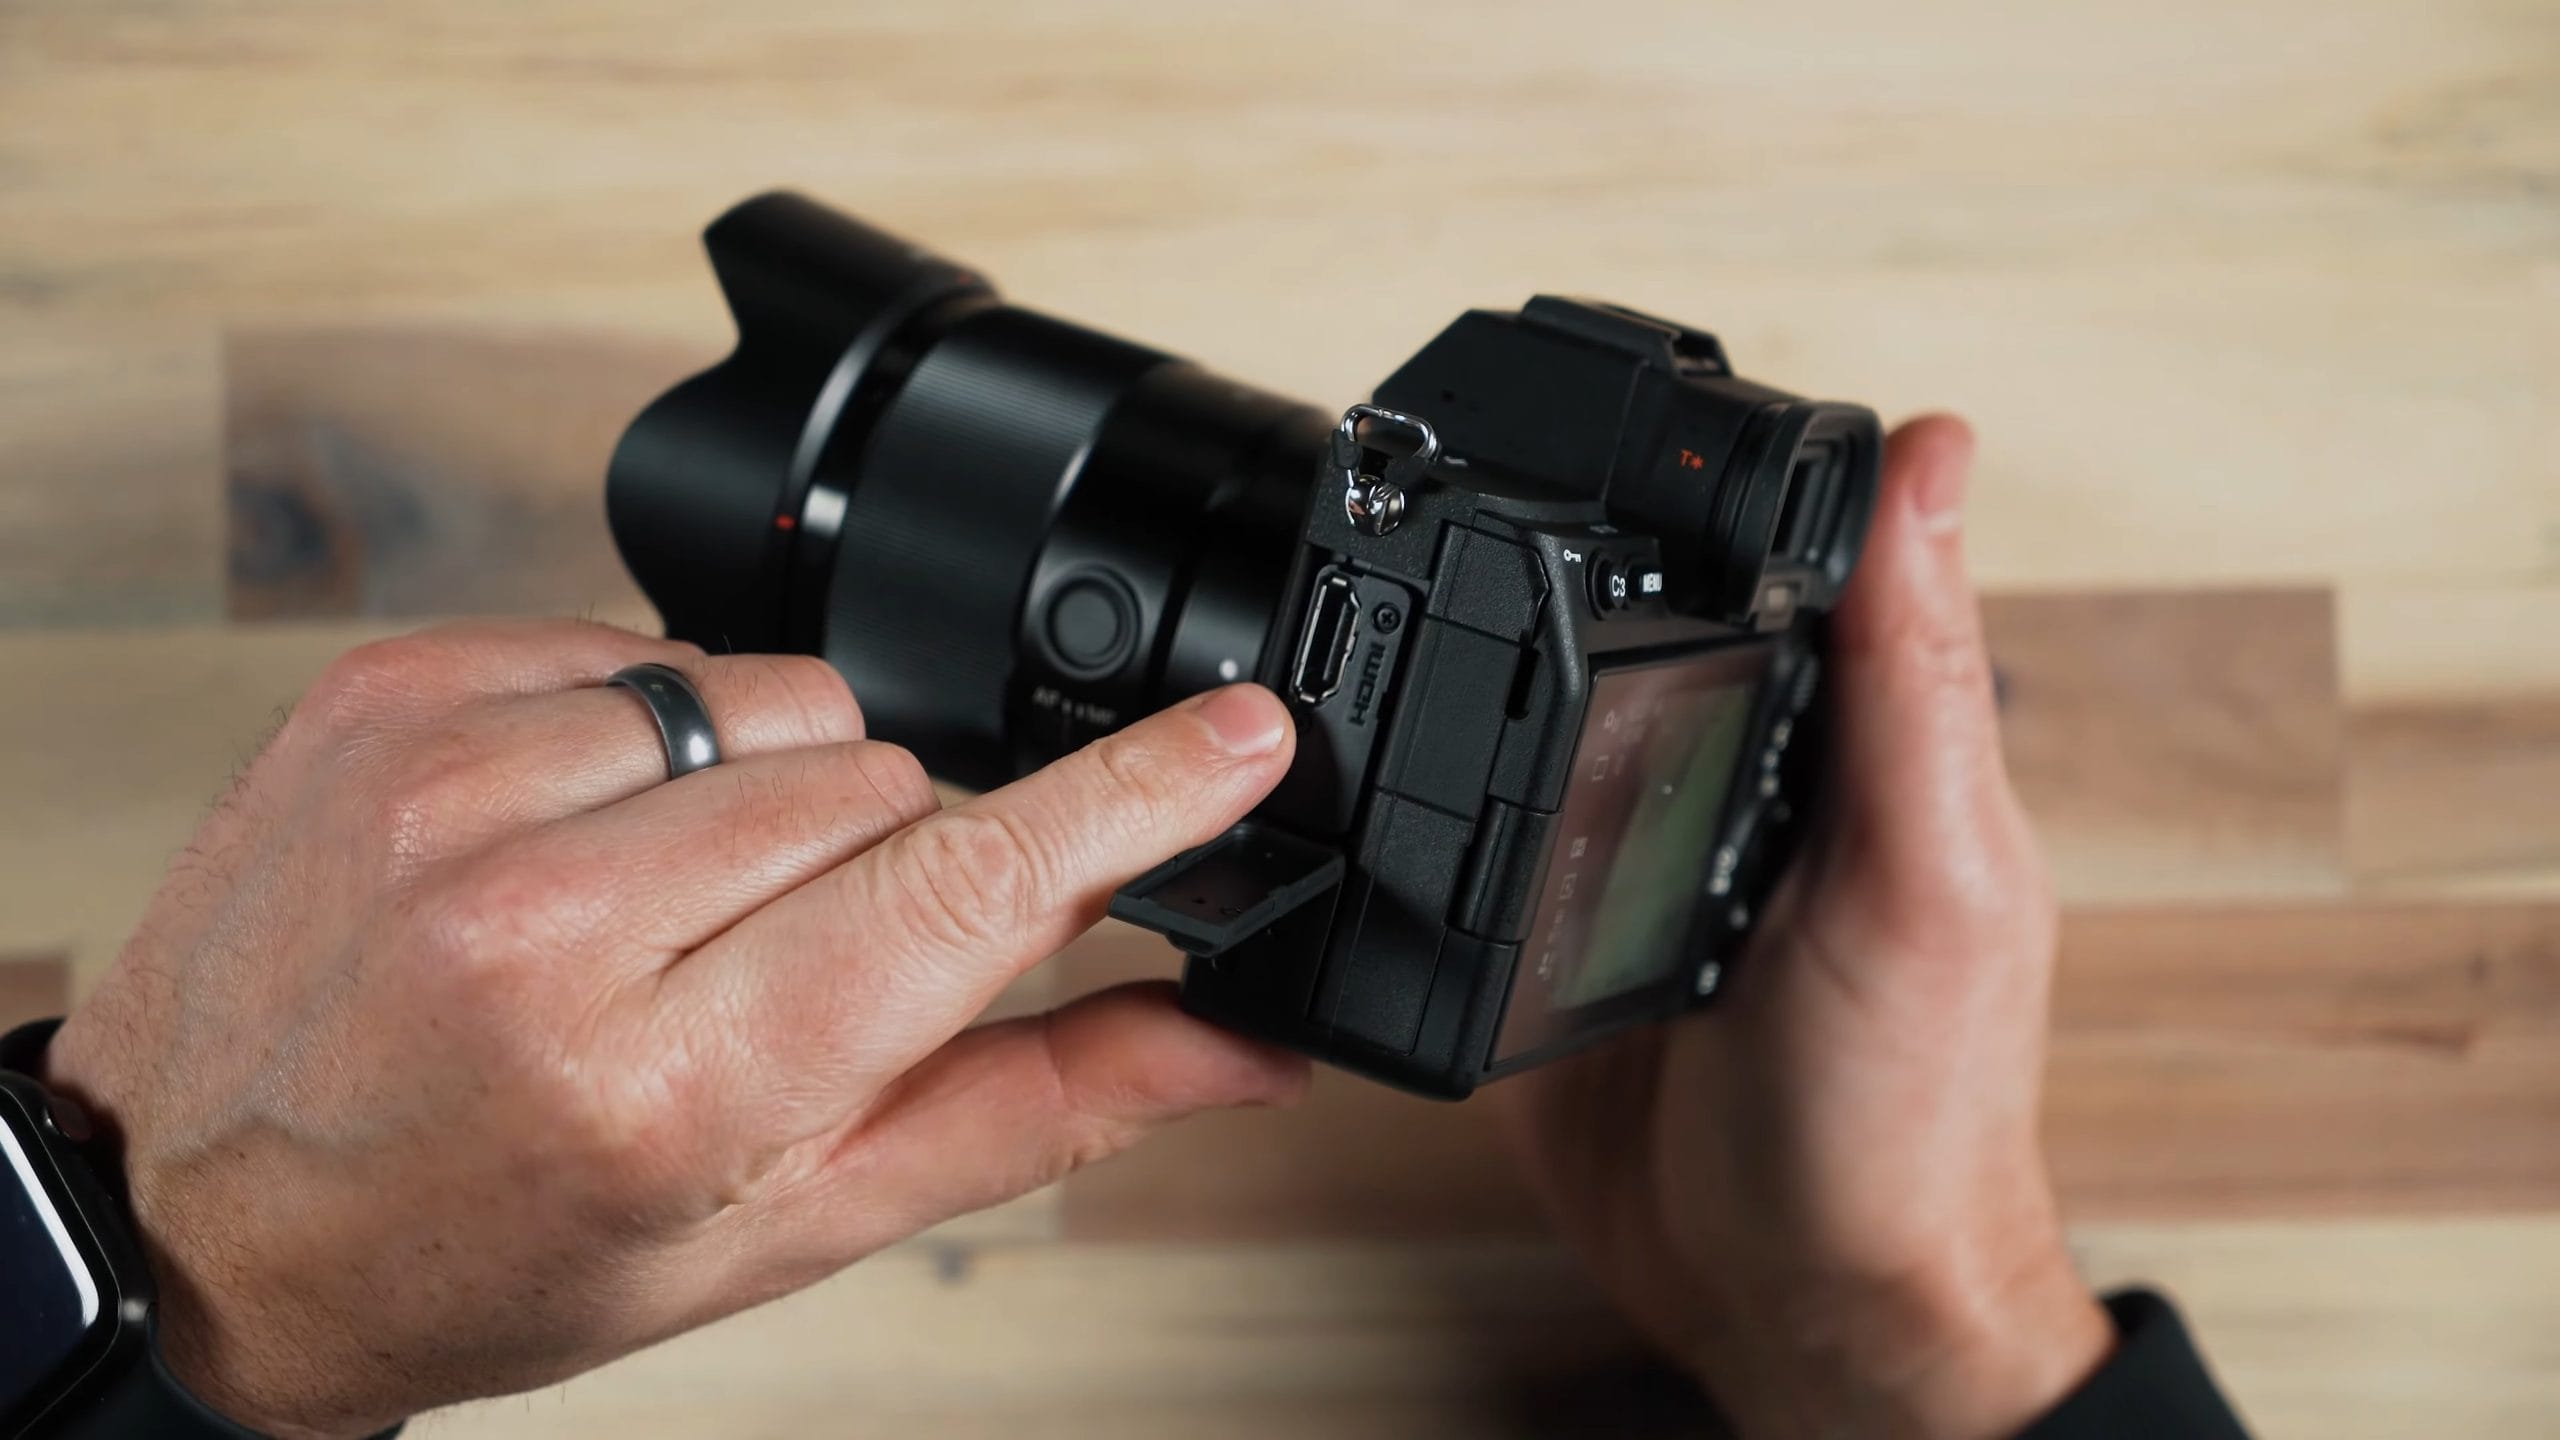
The battery door is on the bottom, very self-explanatory. The port doors are on the side:
- Full-size HDMI behind the big door, for connecting to things like external monitors and televisions.
- Microphone jack behind the top door, for plugging in an external microphone like a little Rode mic. That gets you better quality audio than the built-in microphones.
- Headphone jack behind the next door, so you can monitor whatever audio the camera is capturing.
- USB-C, which is also a data connection. You can plug it into a charging brick to charge the camera, or plug the camera directly into your computer to transfer files.
- Micro USB, for things like external follow focus devices and wired remotes.
Lens Features
The lens I have on this camera has a manual focus/autofocus switch, and it also has a focus hold button. So even if I’m shooting with autofocus and the camera has achieved focus, I can press and hold that button, and even if I let off the shutter button and press it down a little bit again, the camera won’t try to focus again, because I’ve locked focus.
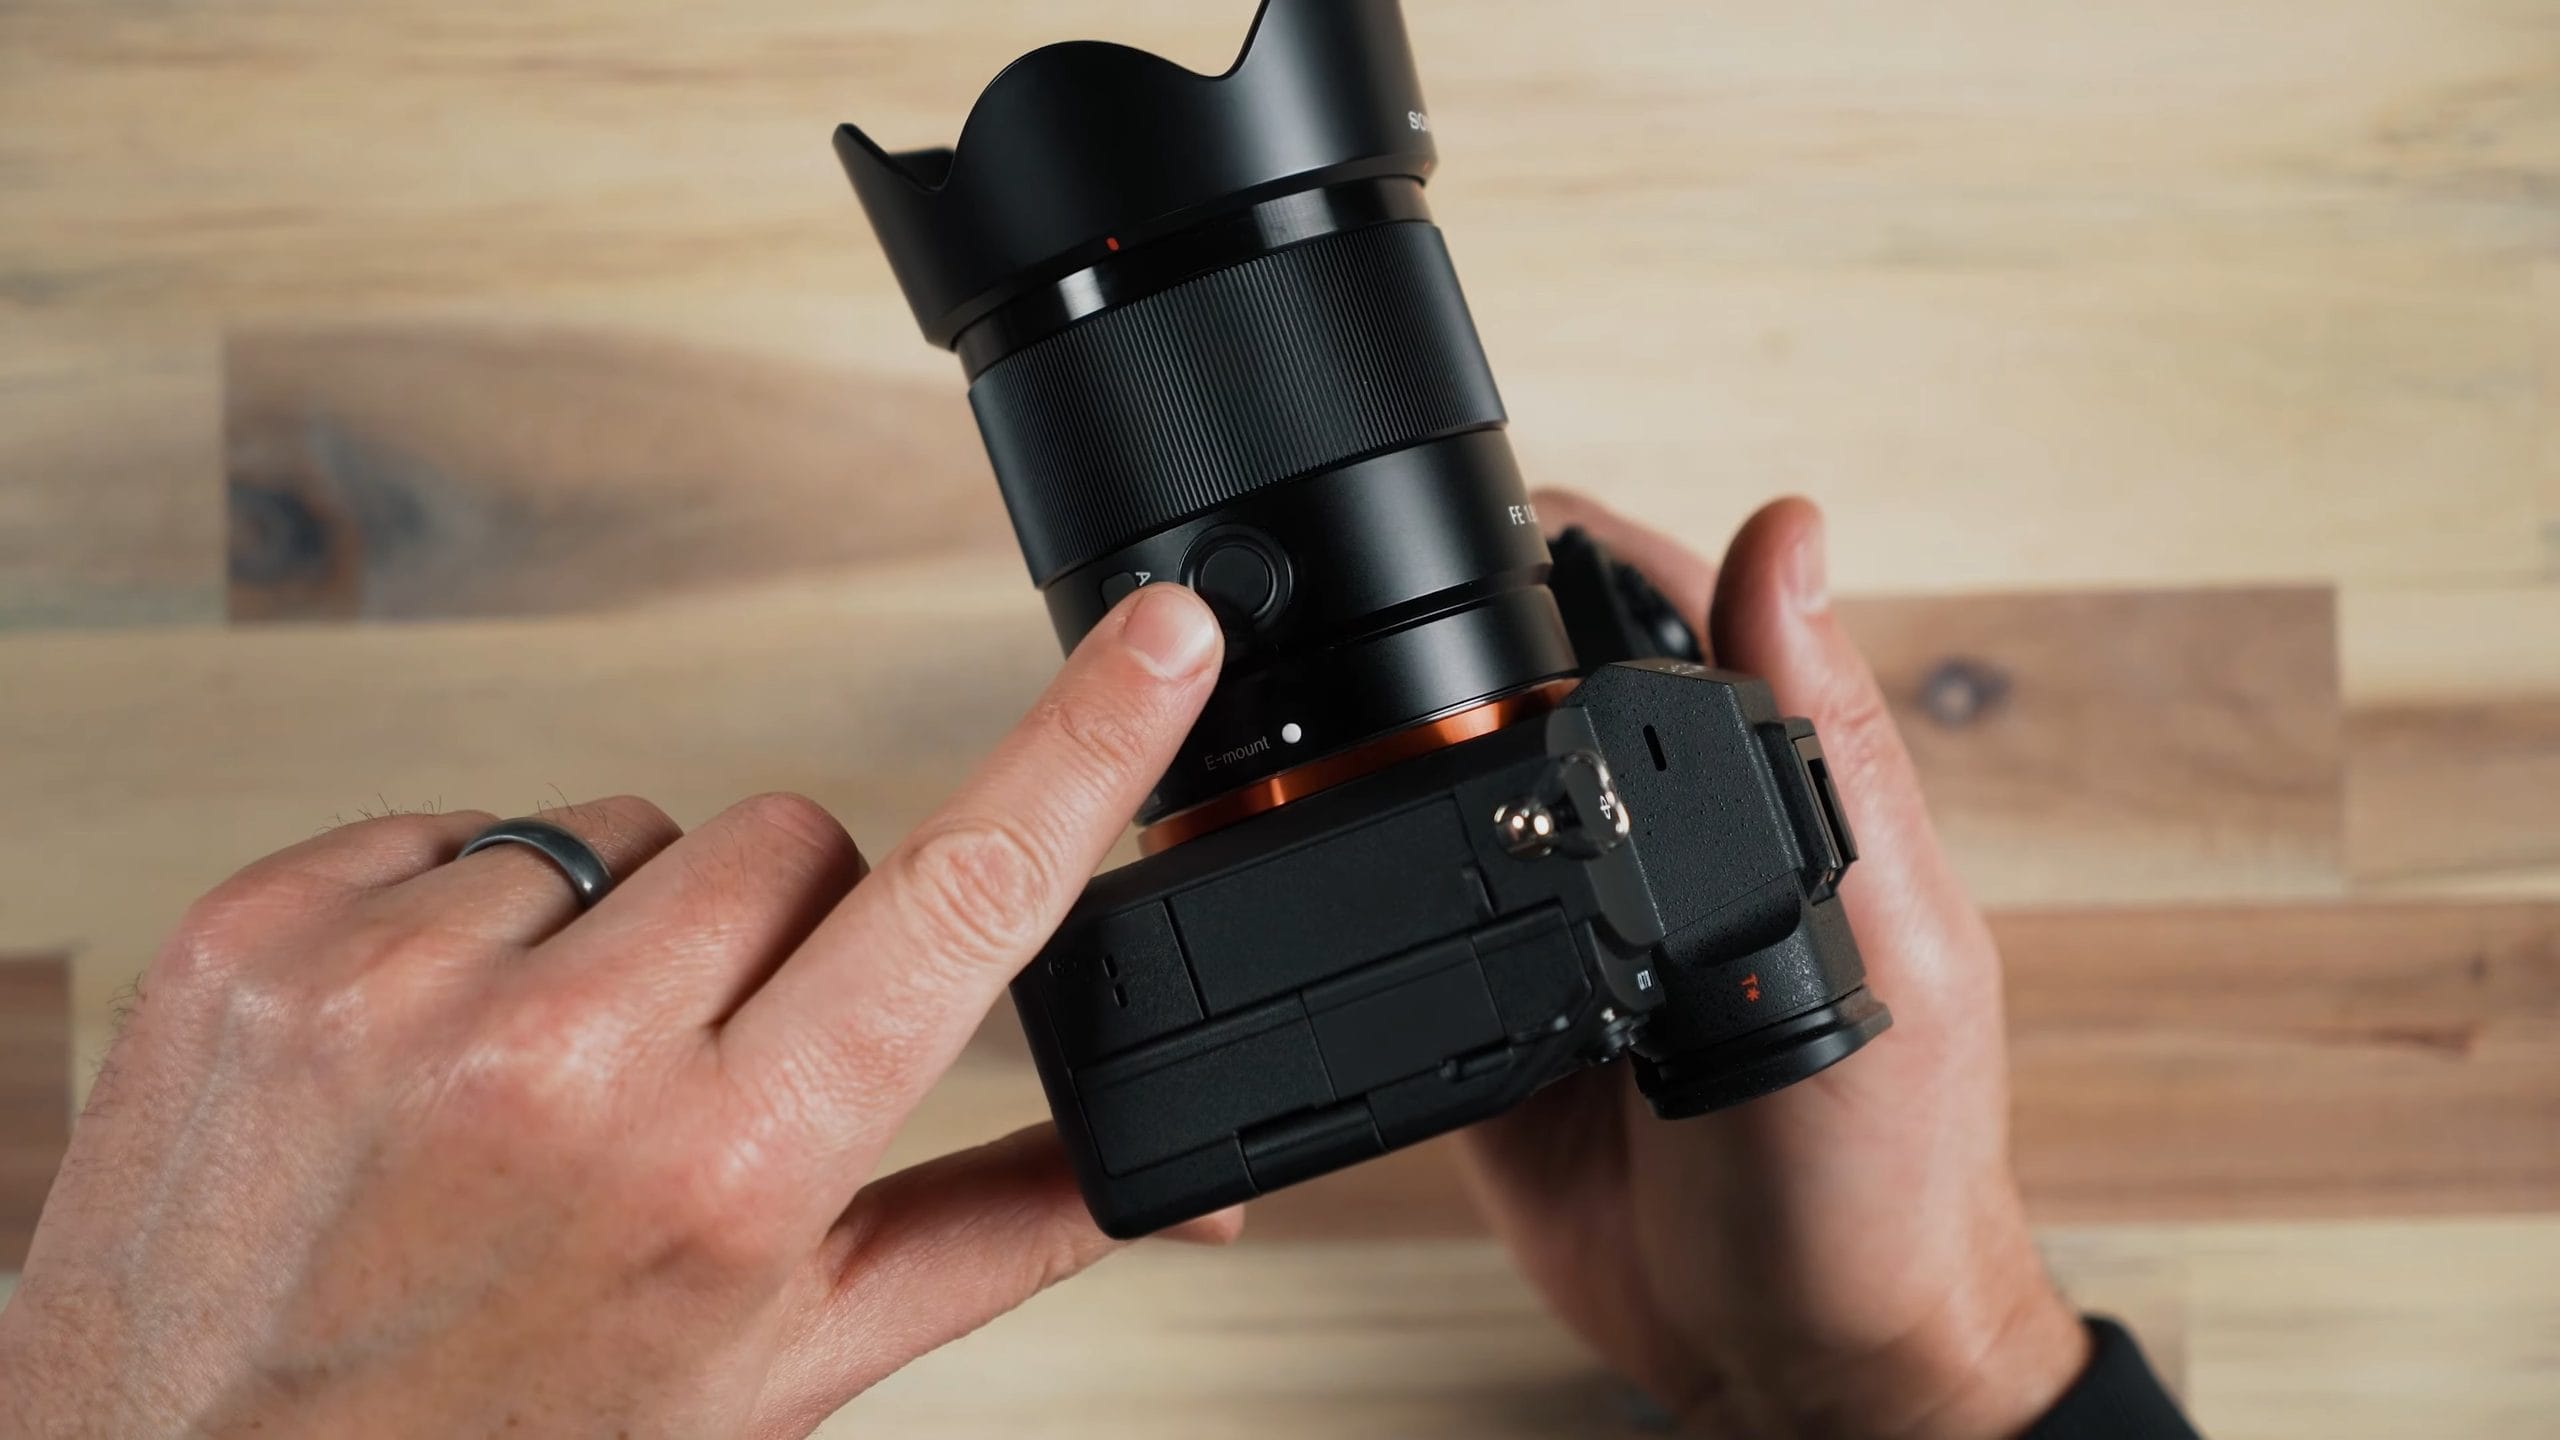
I really like lenses that have this on the side. Think about scenarios where things are happening fast, or you’re waiting for something to happen and it will happen fast. You get focus on that person or subject or whatever the action is, hold the button to lock focus, and when it’s ready, hit the shutter button. The camera won’t even momentarily try to focus again. Sometimes that happens, and it happens even more in lower light.
Menu Settings I Use
There are a lot of menu items on this camera, and I go into them in great detail in the course. Here are a few settings I want to point out.
Image Quality: RAW Plus JPEG or HEIF
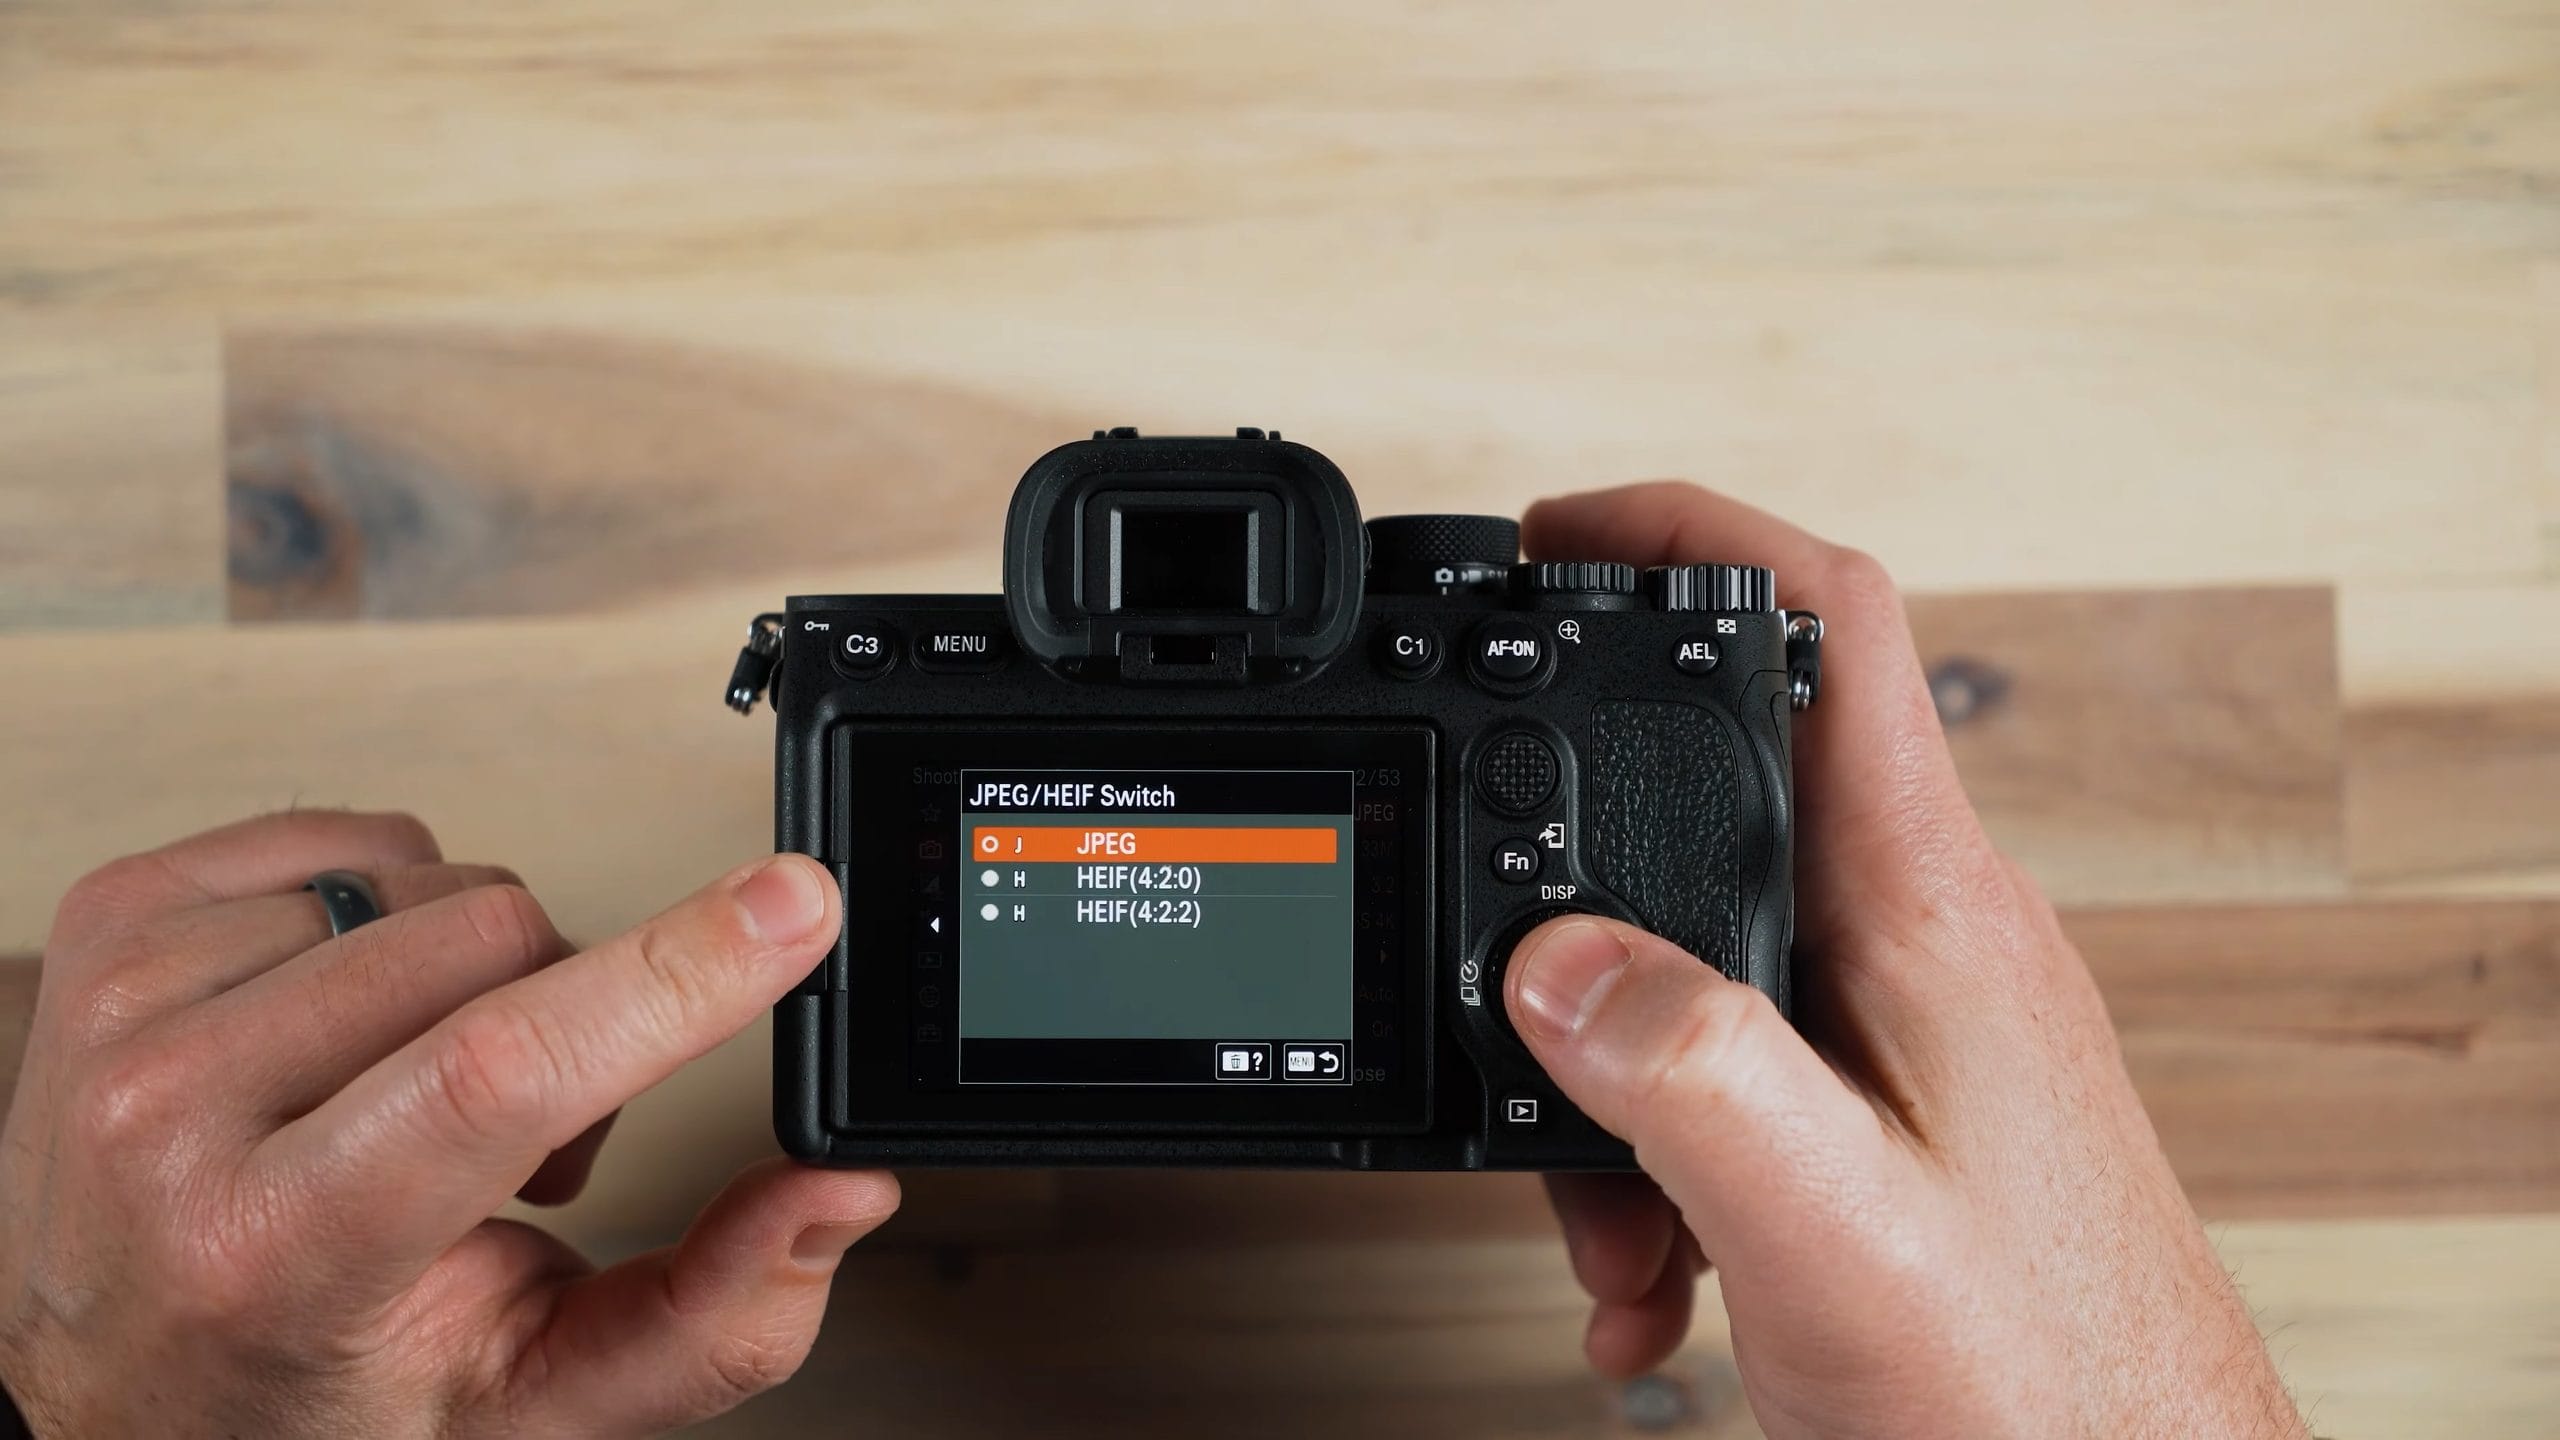
In the image quality settings, you can change the JPEG to HEIF. HEIF is a better compression format than JPEG. It’s just not as accepted yet on all devices. Either way, I really recommend capturing RAW images too, not just sticking with JPEG or HEIF.
Recording Media: RAW to One Card, JPEG to the Other
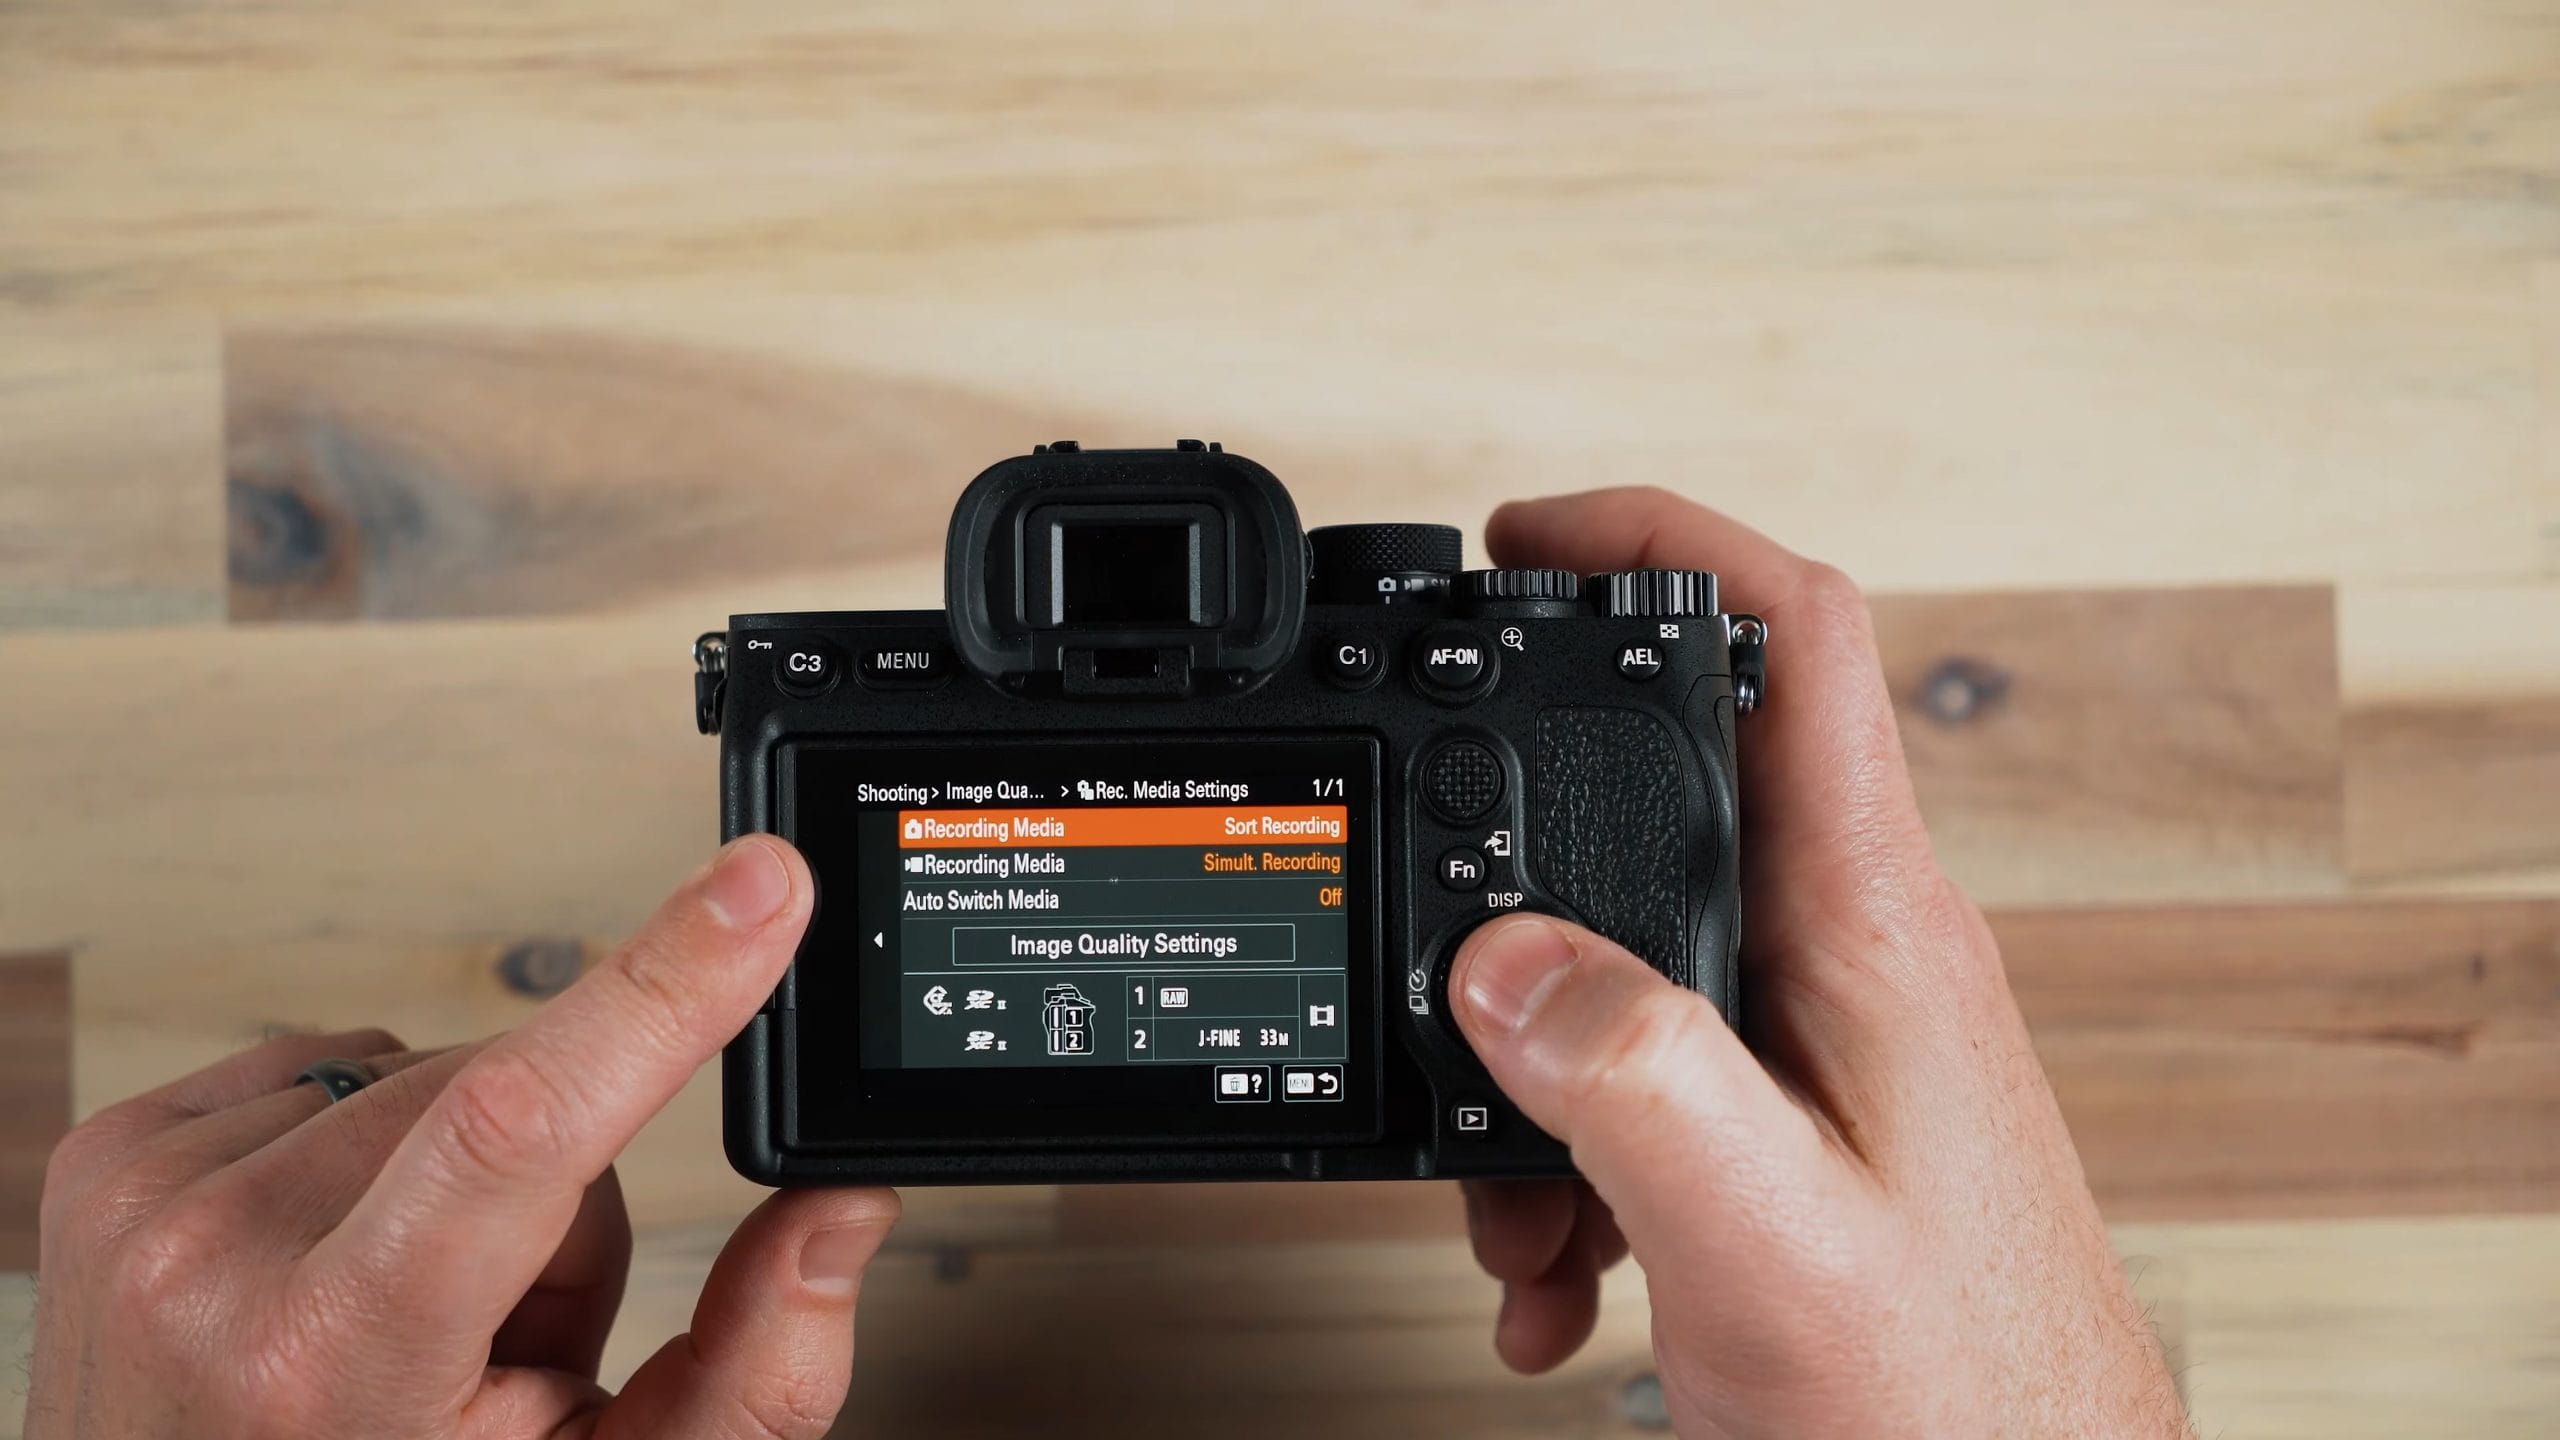
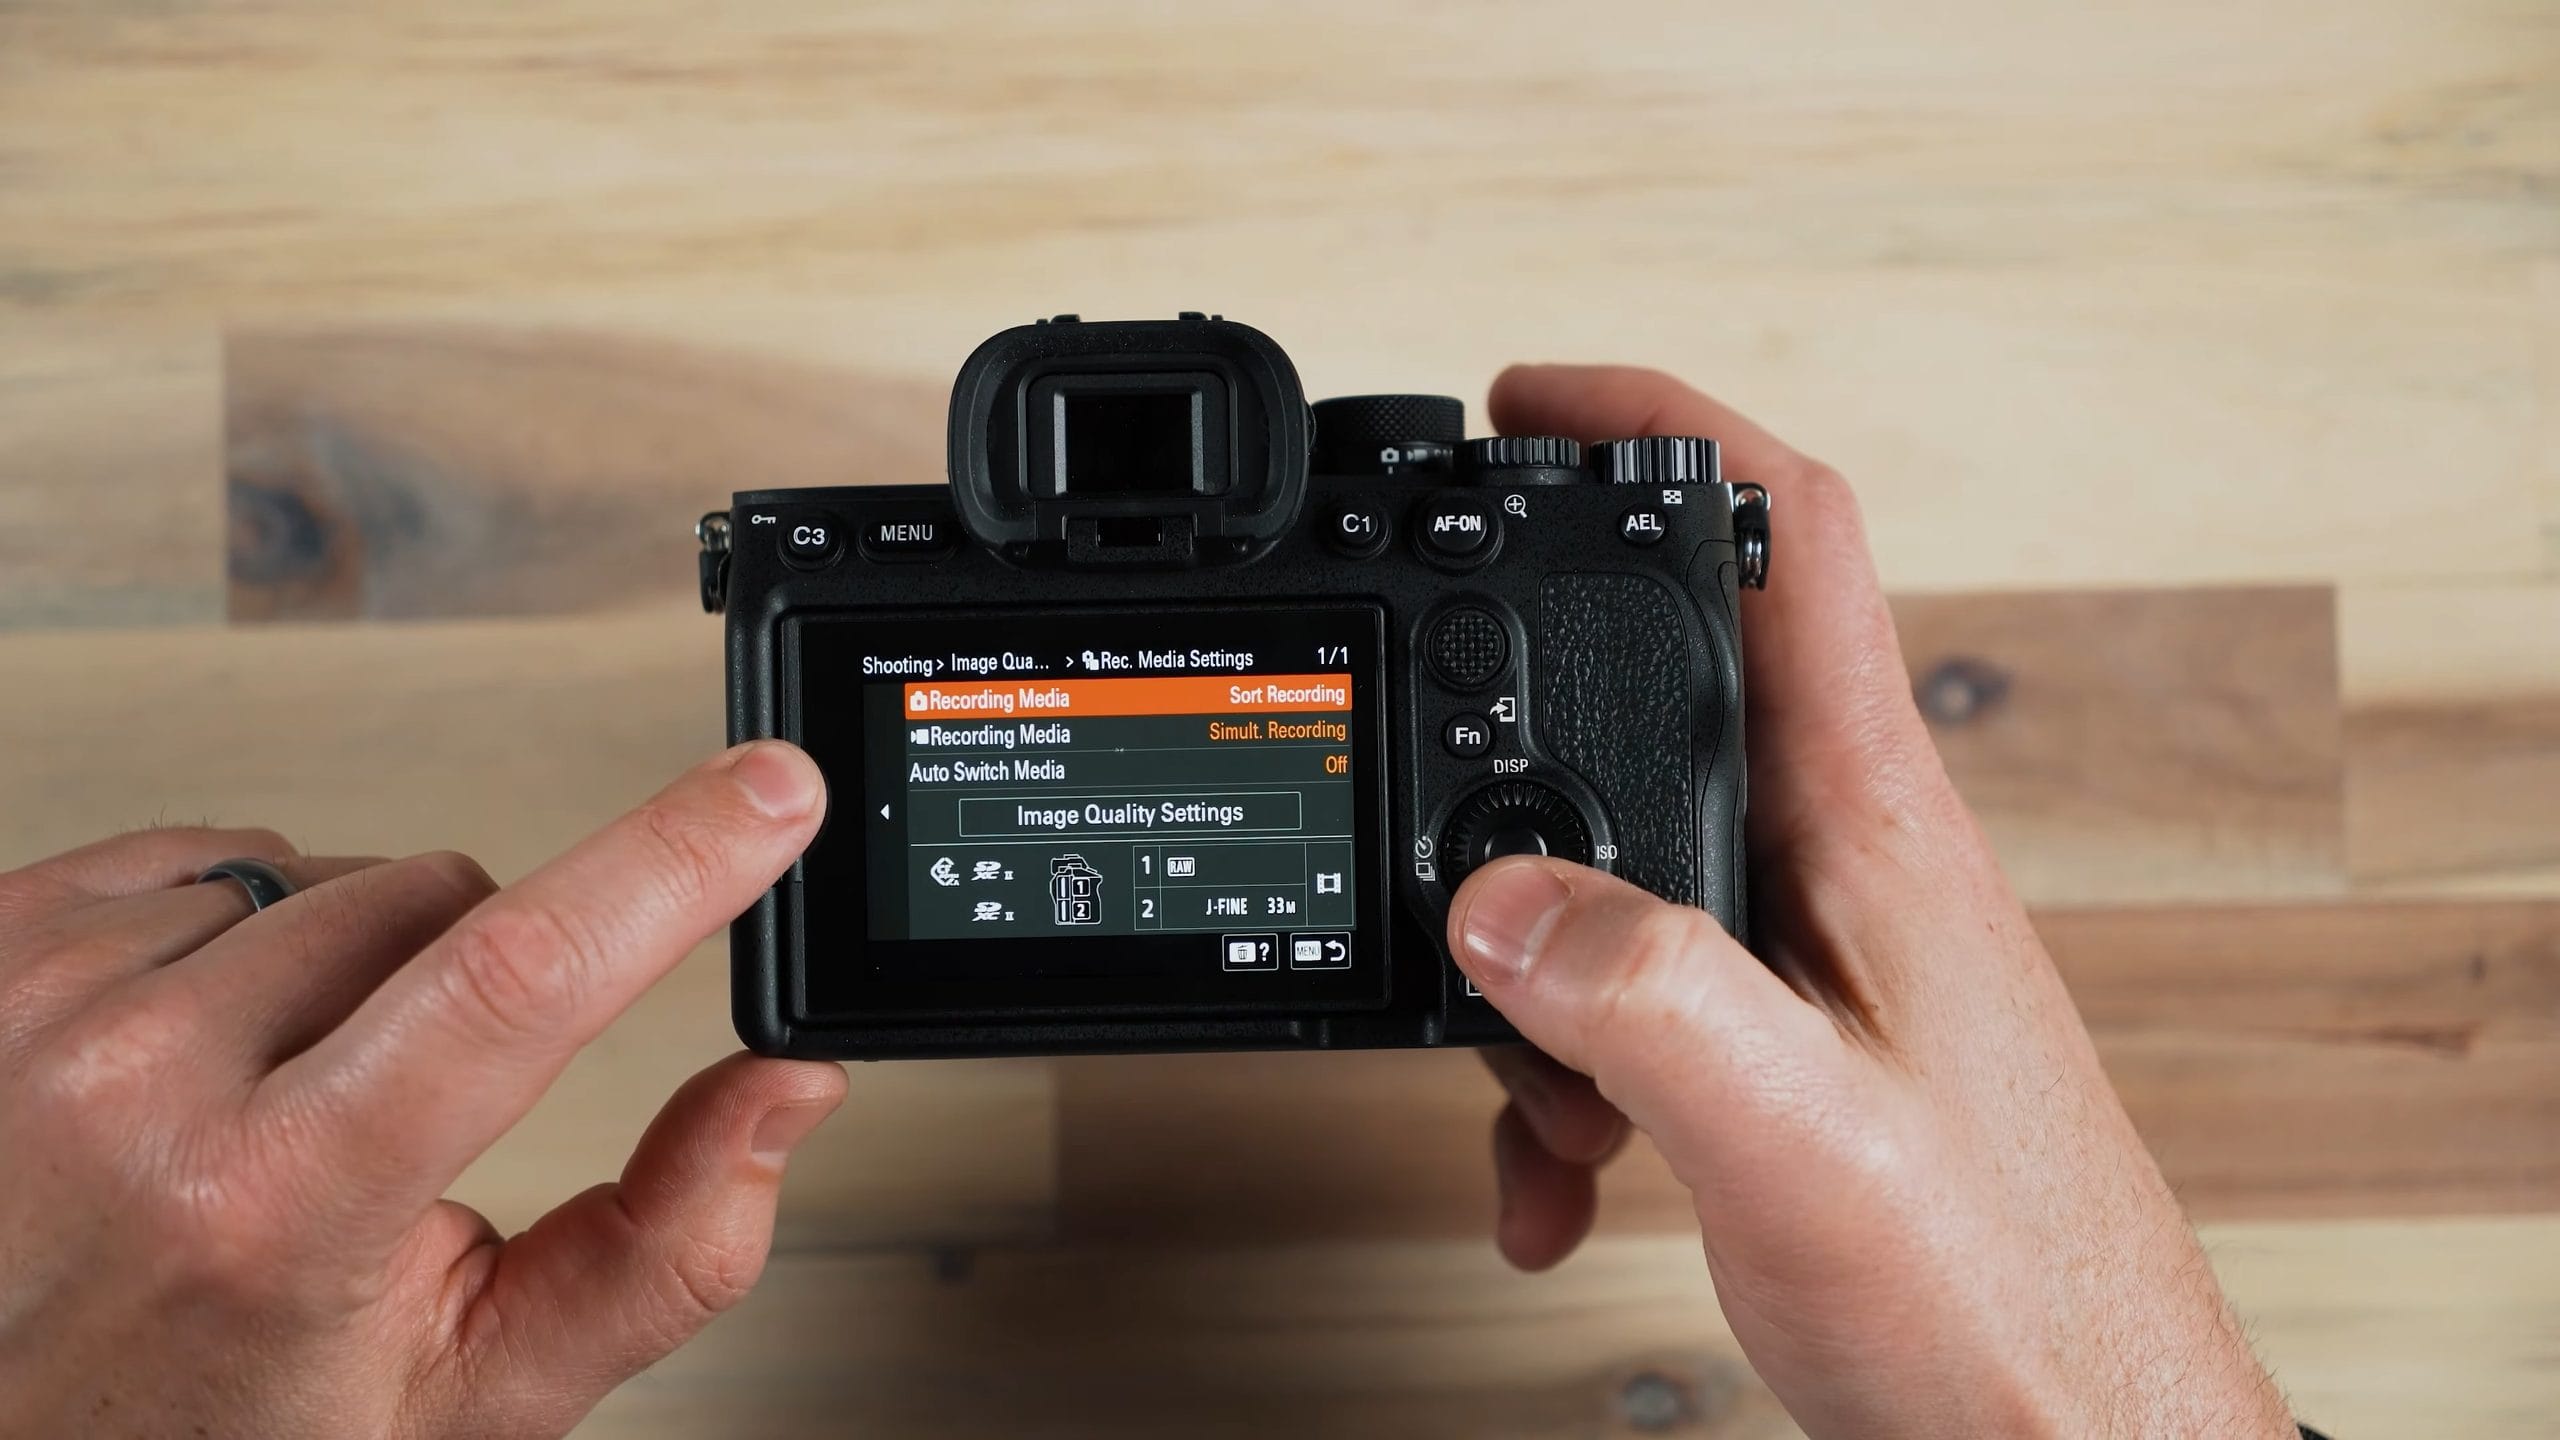
I shoot both RAW and JPEG, and I have two SD cards in this camera. My RAW images record to one card, my JPEGs record to the other, and video records to both cards. That gives me backups. If one SD card becomes damaged or corrupt, I still have the other card.
The reason I shoot both RAW and JPEG is that sometimes a RAW image will get corrupt. It doesn’t happen very often, but I’ve had it happen. I prefer RAW images because there’s more data there than in a compressed image, so if I need to make changes in something like Adobe Lightroom, I have a lot more to work with. The JPEGs make great backups for my RAW images.
With video, there isn’t really a way to back it up, unless you’re recording externally to something else, or you have the camera record to both cards at the same time. Here’s how I set it up:
- Go to Rec. Media Settings and set Recording Media to Sort Recording for photos.
- For video, set Recording Media to Simult. Recording, so it records to both cards.
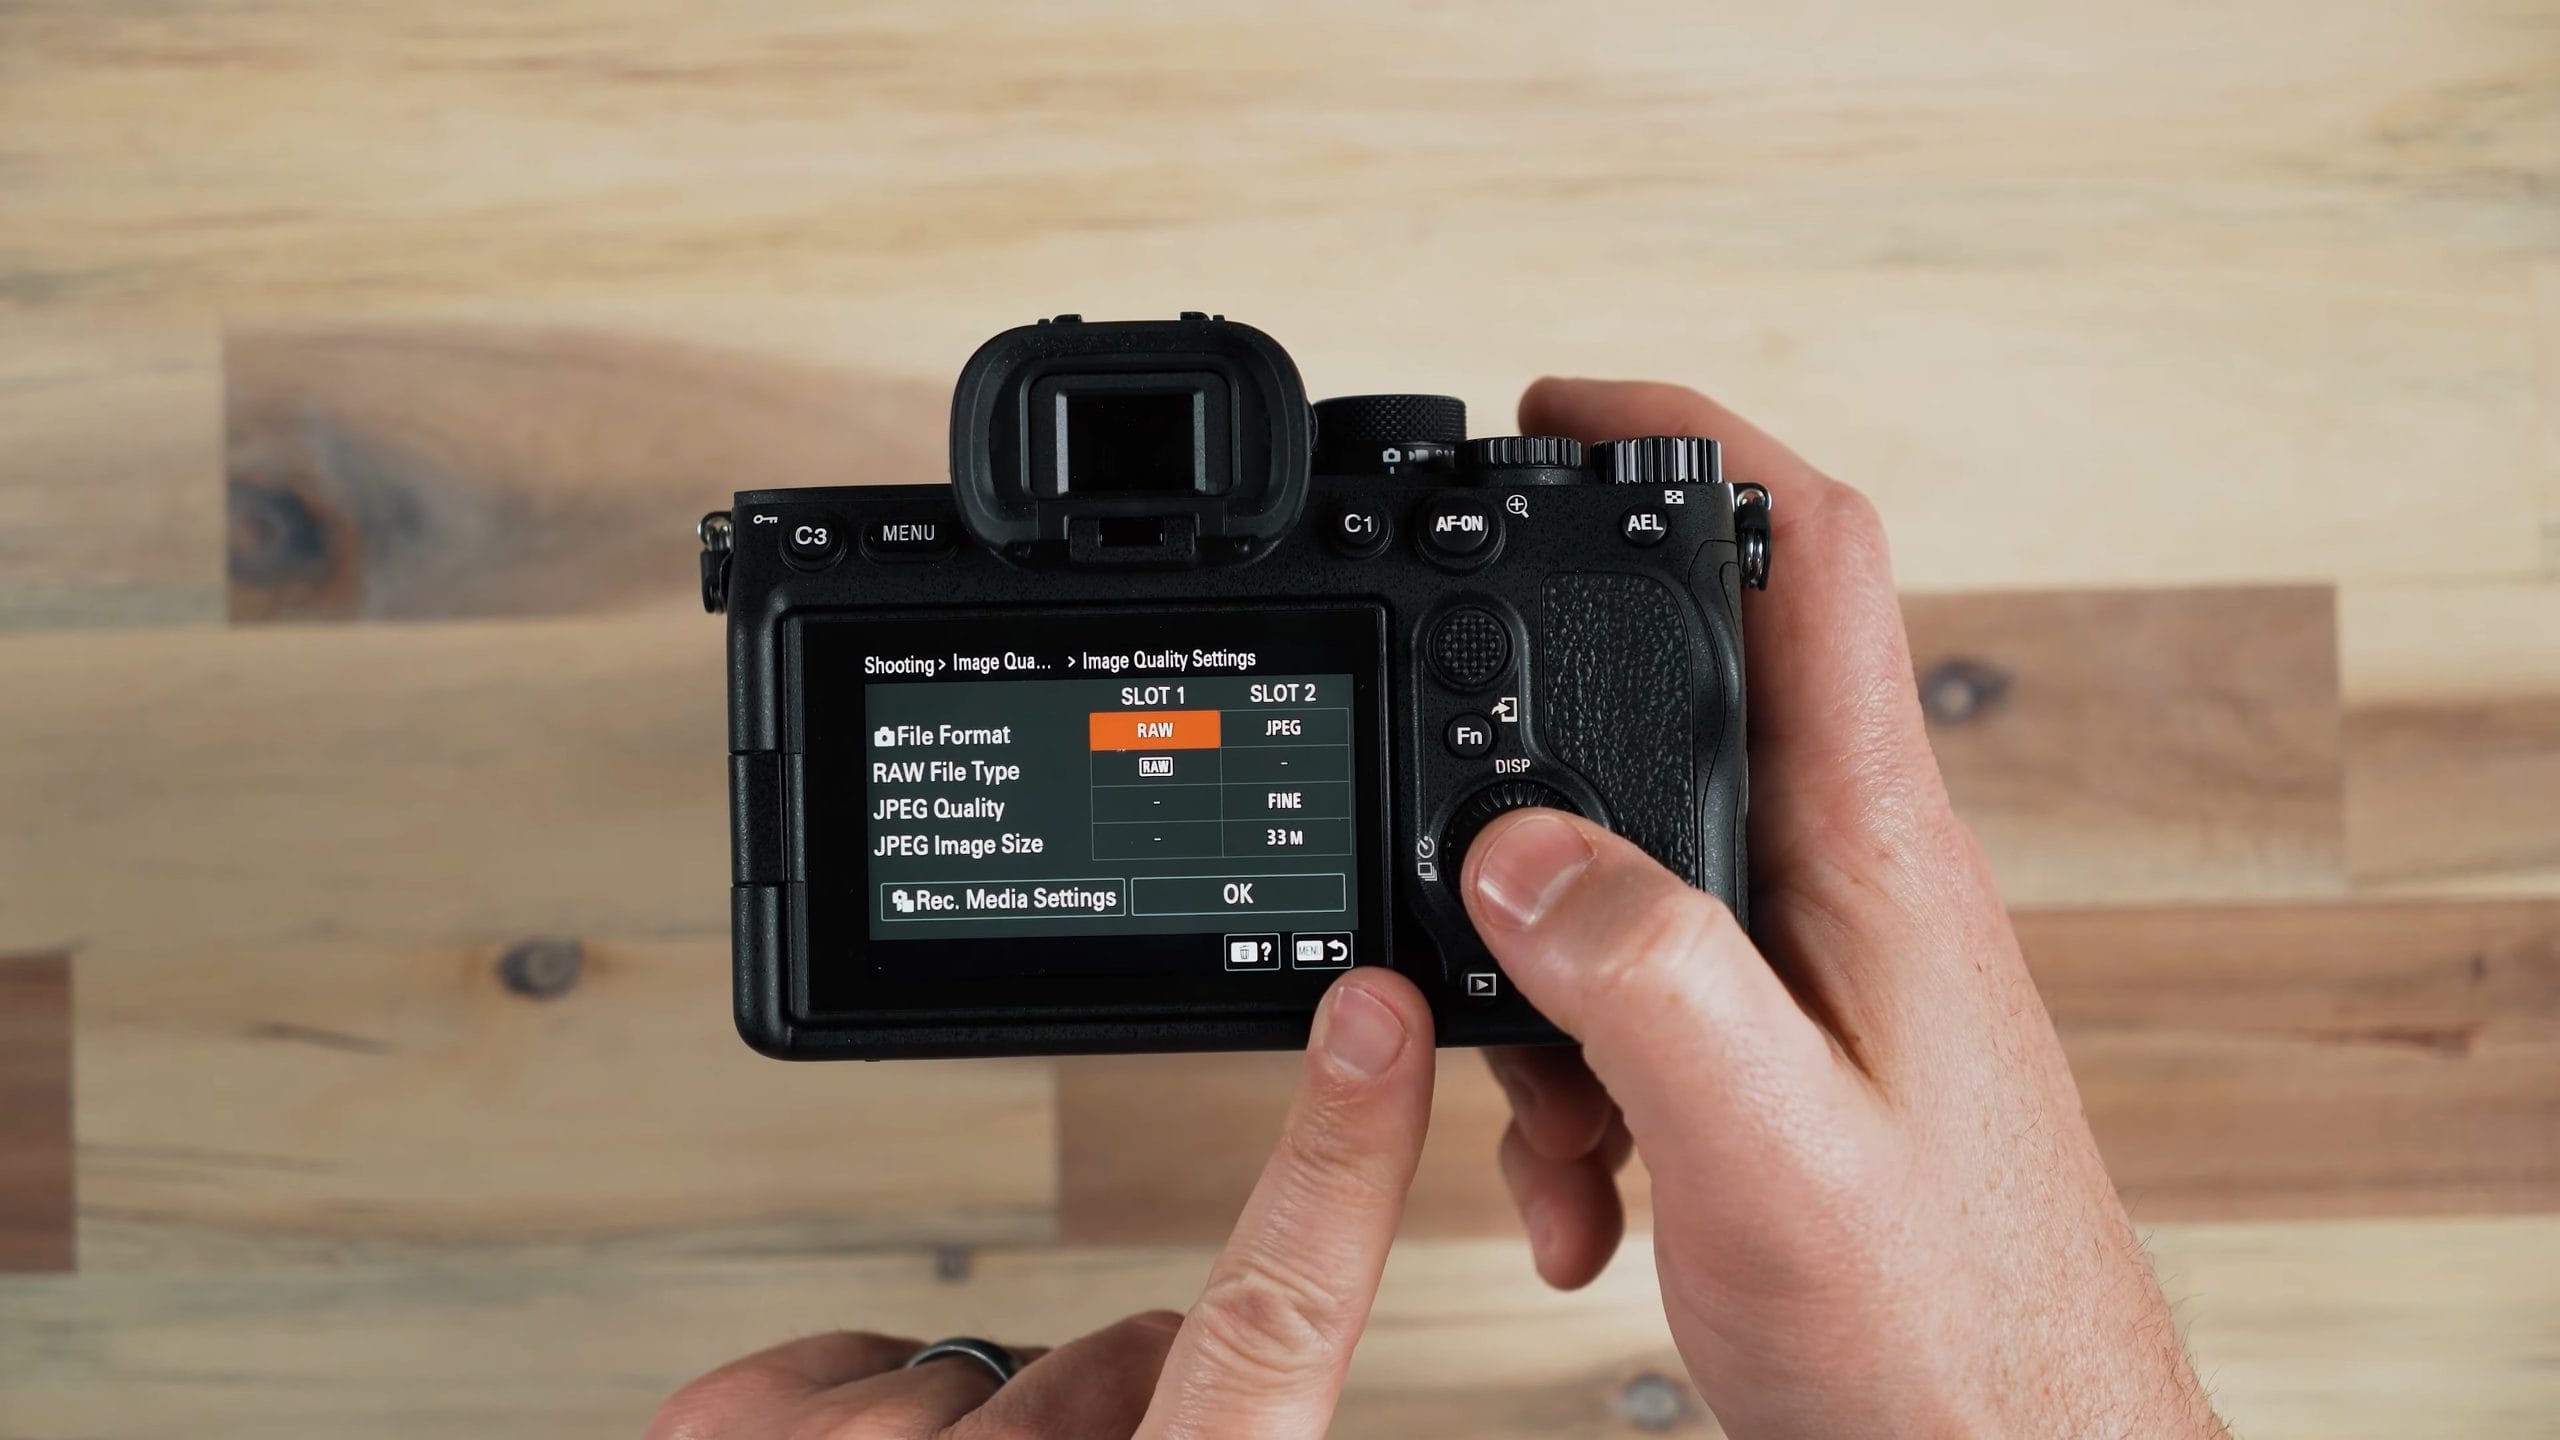
- In the Image Quality settings, set slot 1 to RAW and slot 2 to JPEG with a quality of Fine. That’s not Extra fine and not Standard. It’s kind of middle-of-the-road compression.
Video Format and Frame Rate
For video, I shoot XAVC S 4K, because that gives me three frame rate options: 30, 60, and 24. Most of the time I’m shooting 24, unless I need 60p for slow motion. Then I’ll switch over to 60p.
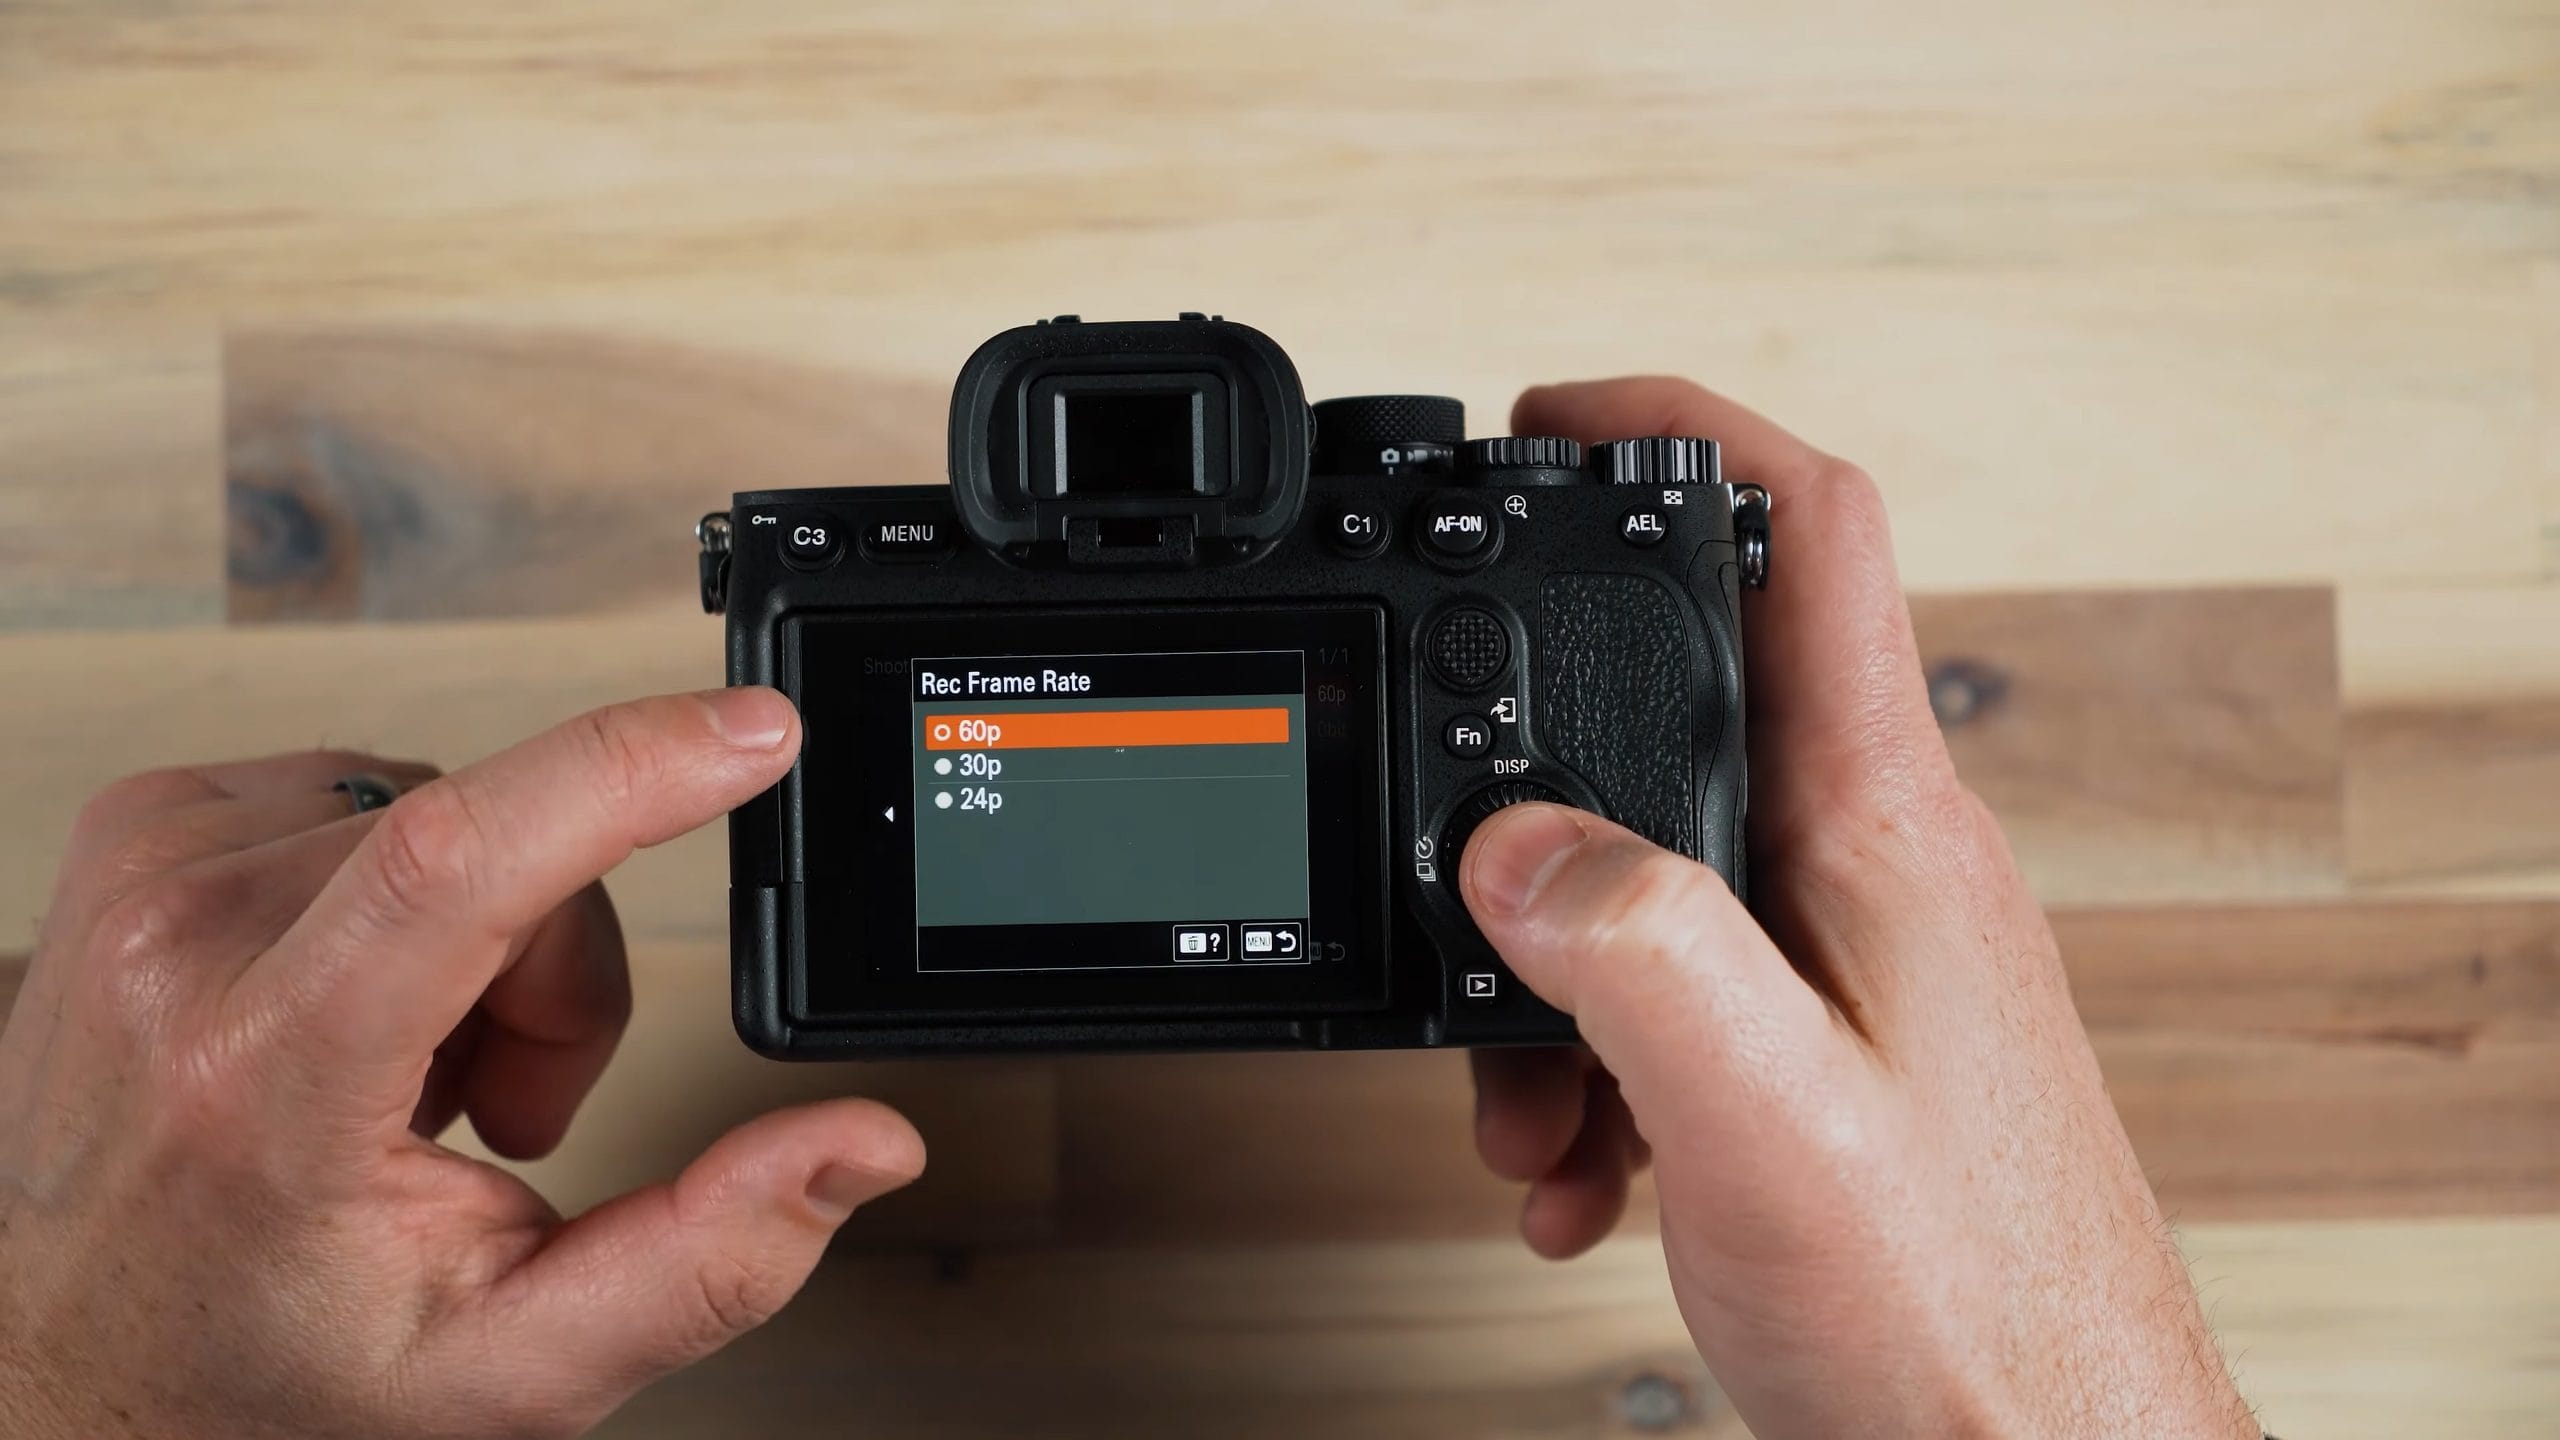
For my record setting at 24p, I use 100M 4:2:2 10bit. That makes sure I’m getting the highest quality video I can without going into the higher-end formats on this camera, which create massive video files. I only use those if I know I’m going to do some intense color correction and I need that extra data. Most of the time, XAVC S 4K is perfect for me.
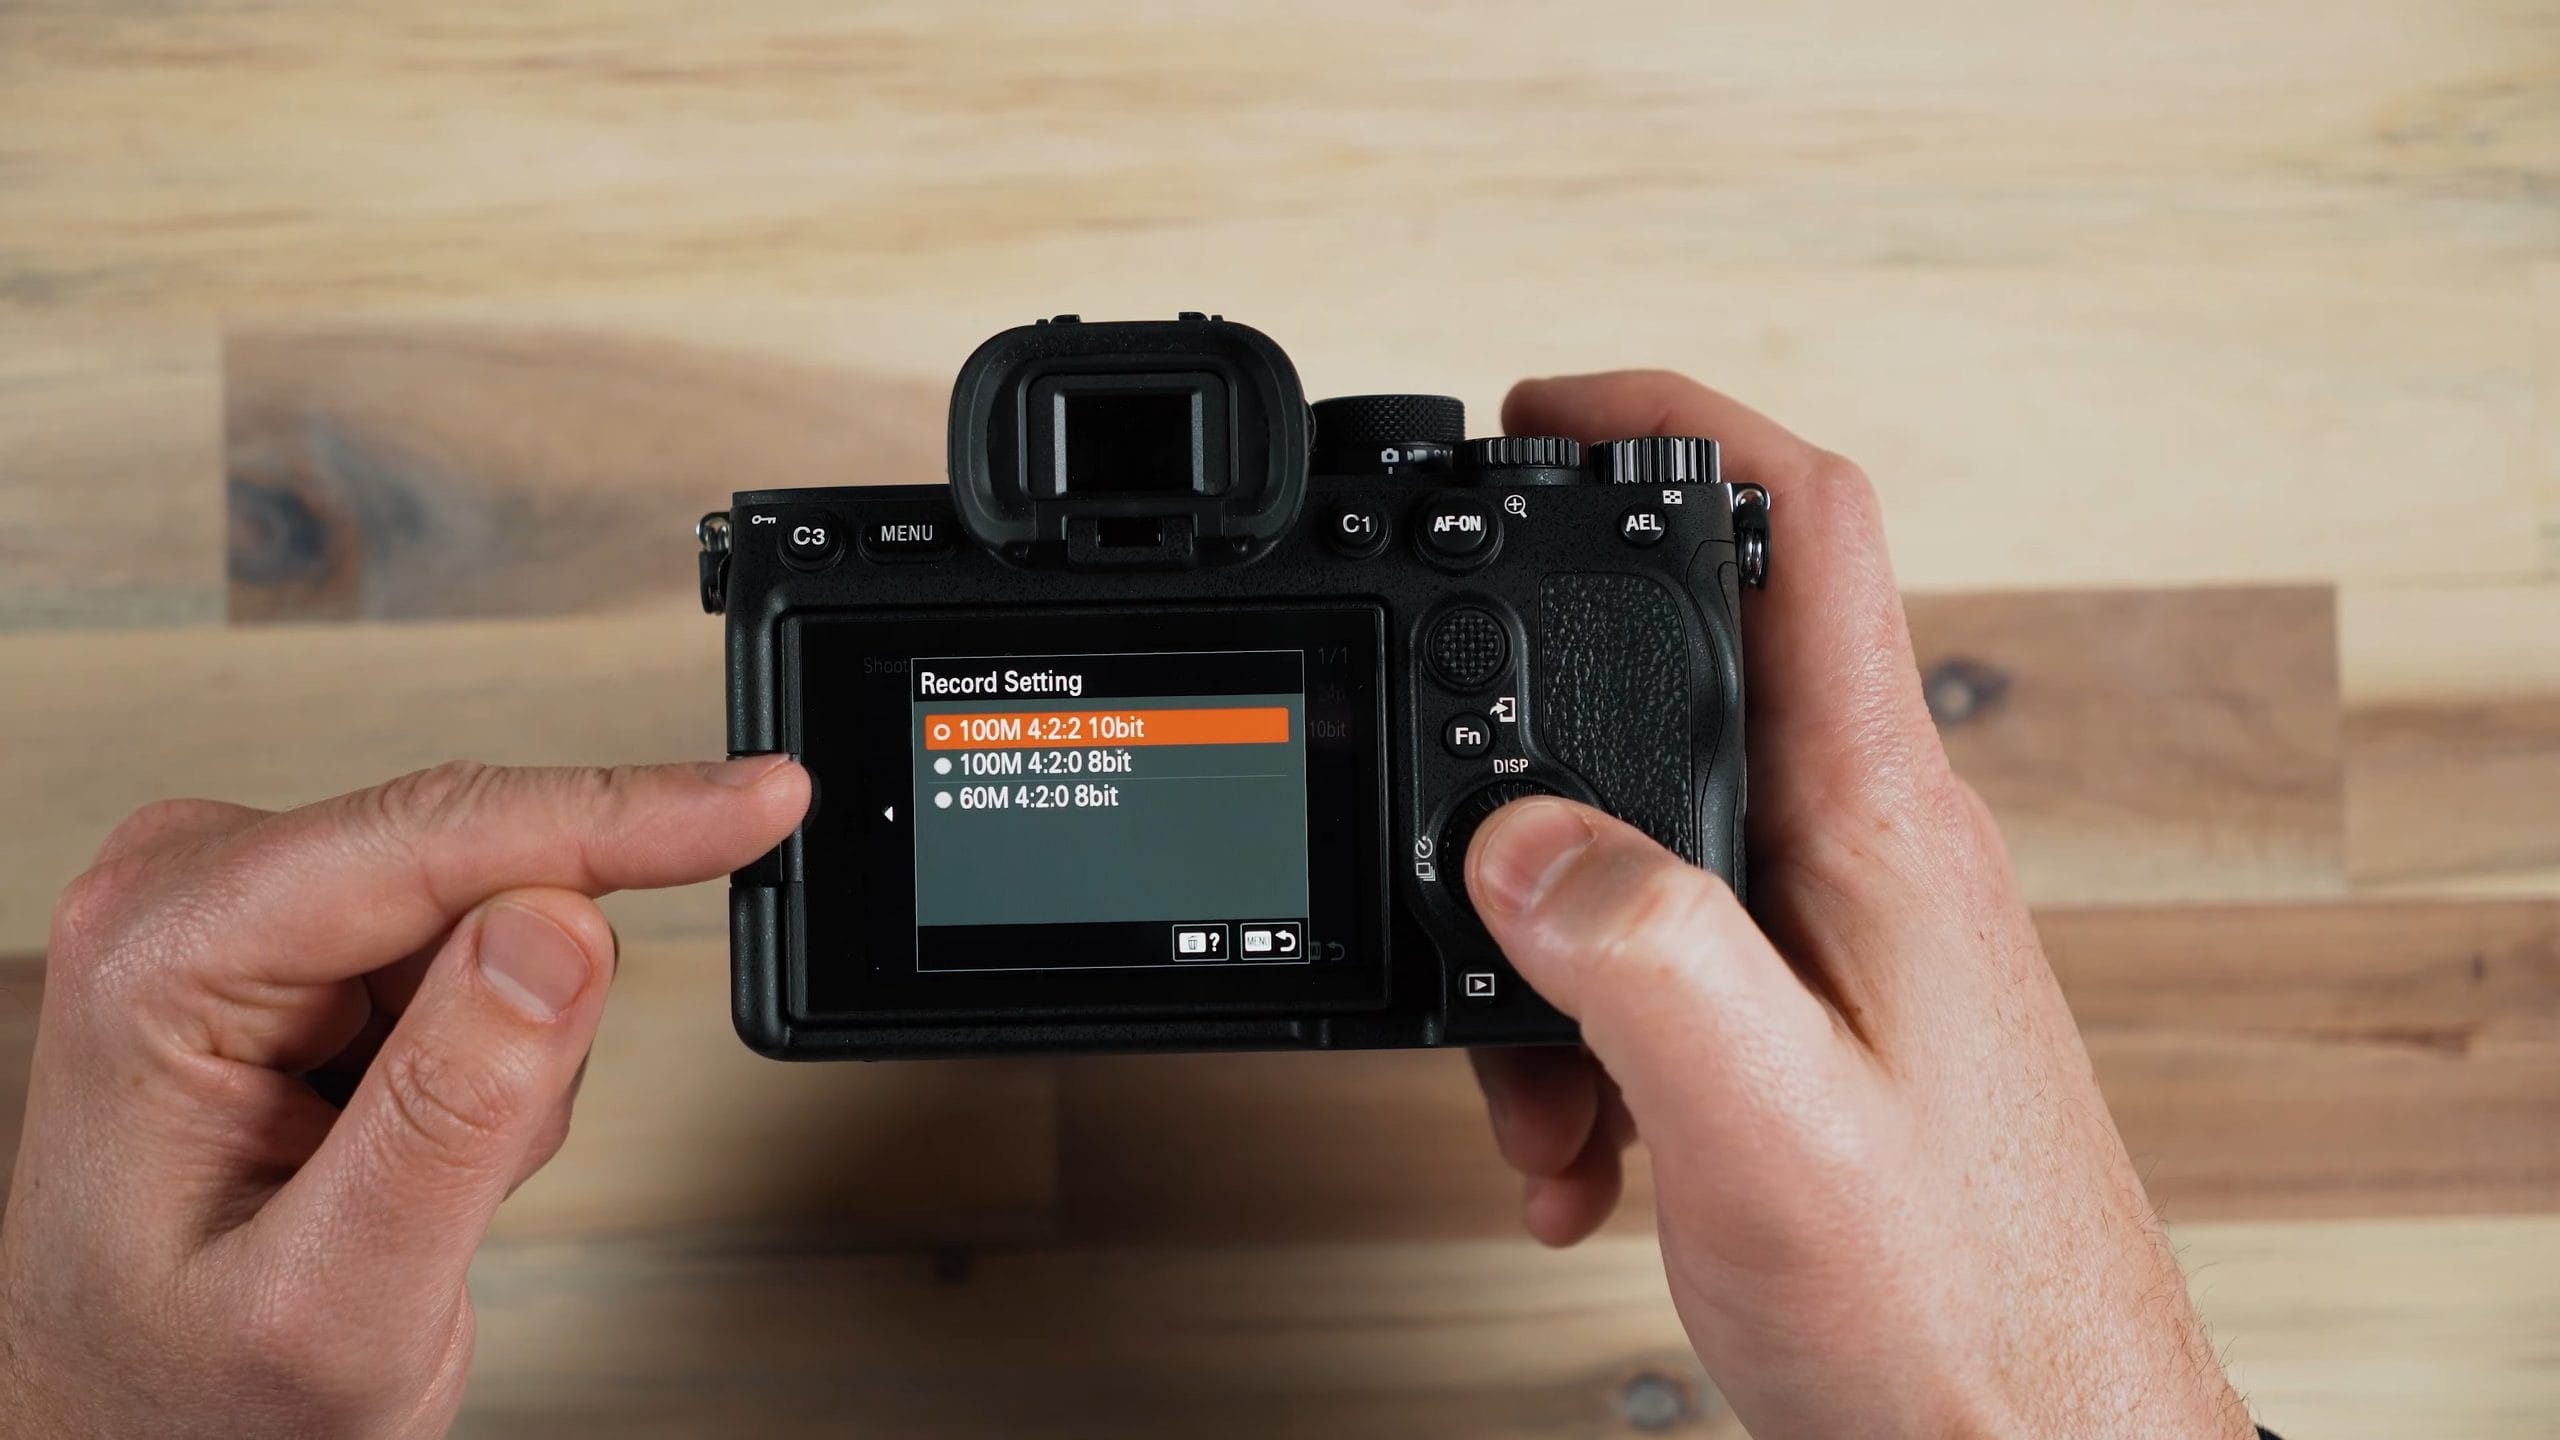
Note: The 100M 4:2:2 10bit option is for 24p. At 30p the 10-bit option is 140M 4:2:2 10bit, and at 60p it’s 200M 4:2:2 10bit. Also, 4K 60p on the a7 IV uses a Super 35mm crop, so your framing gets tighter when you switch to 60p.
Format Your Cards in the Camera
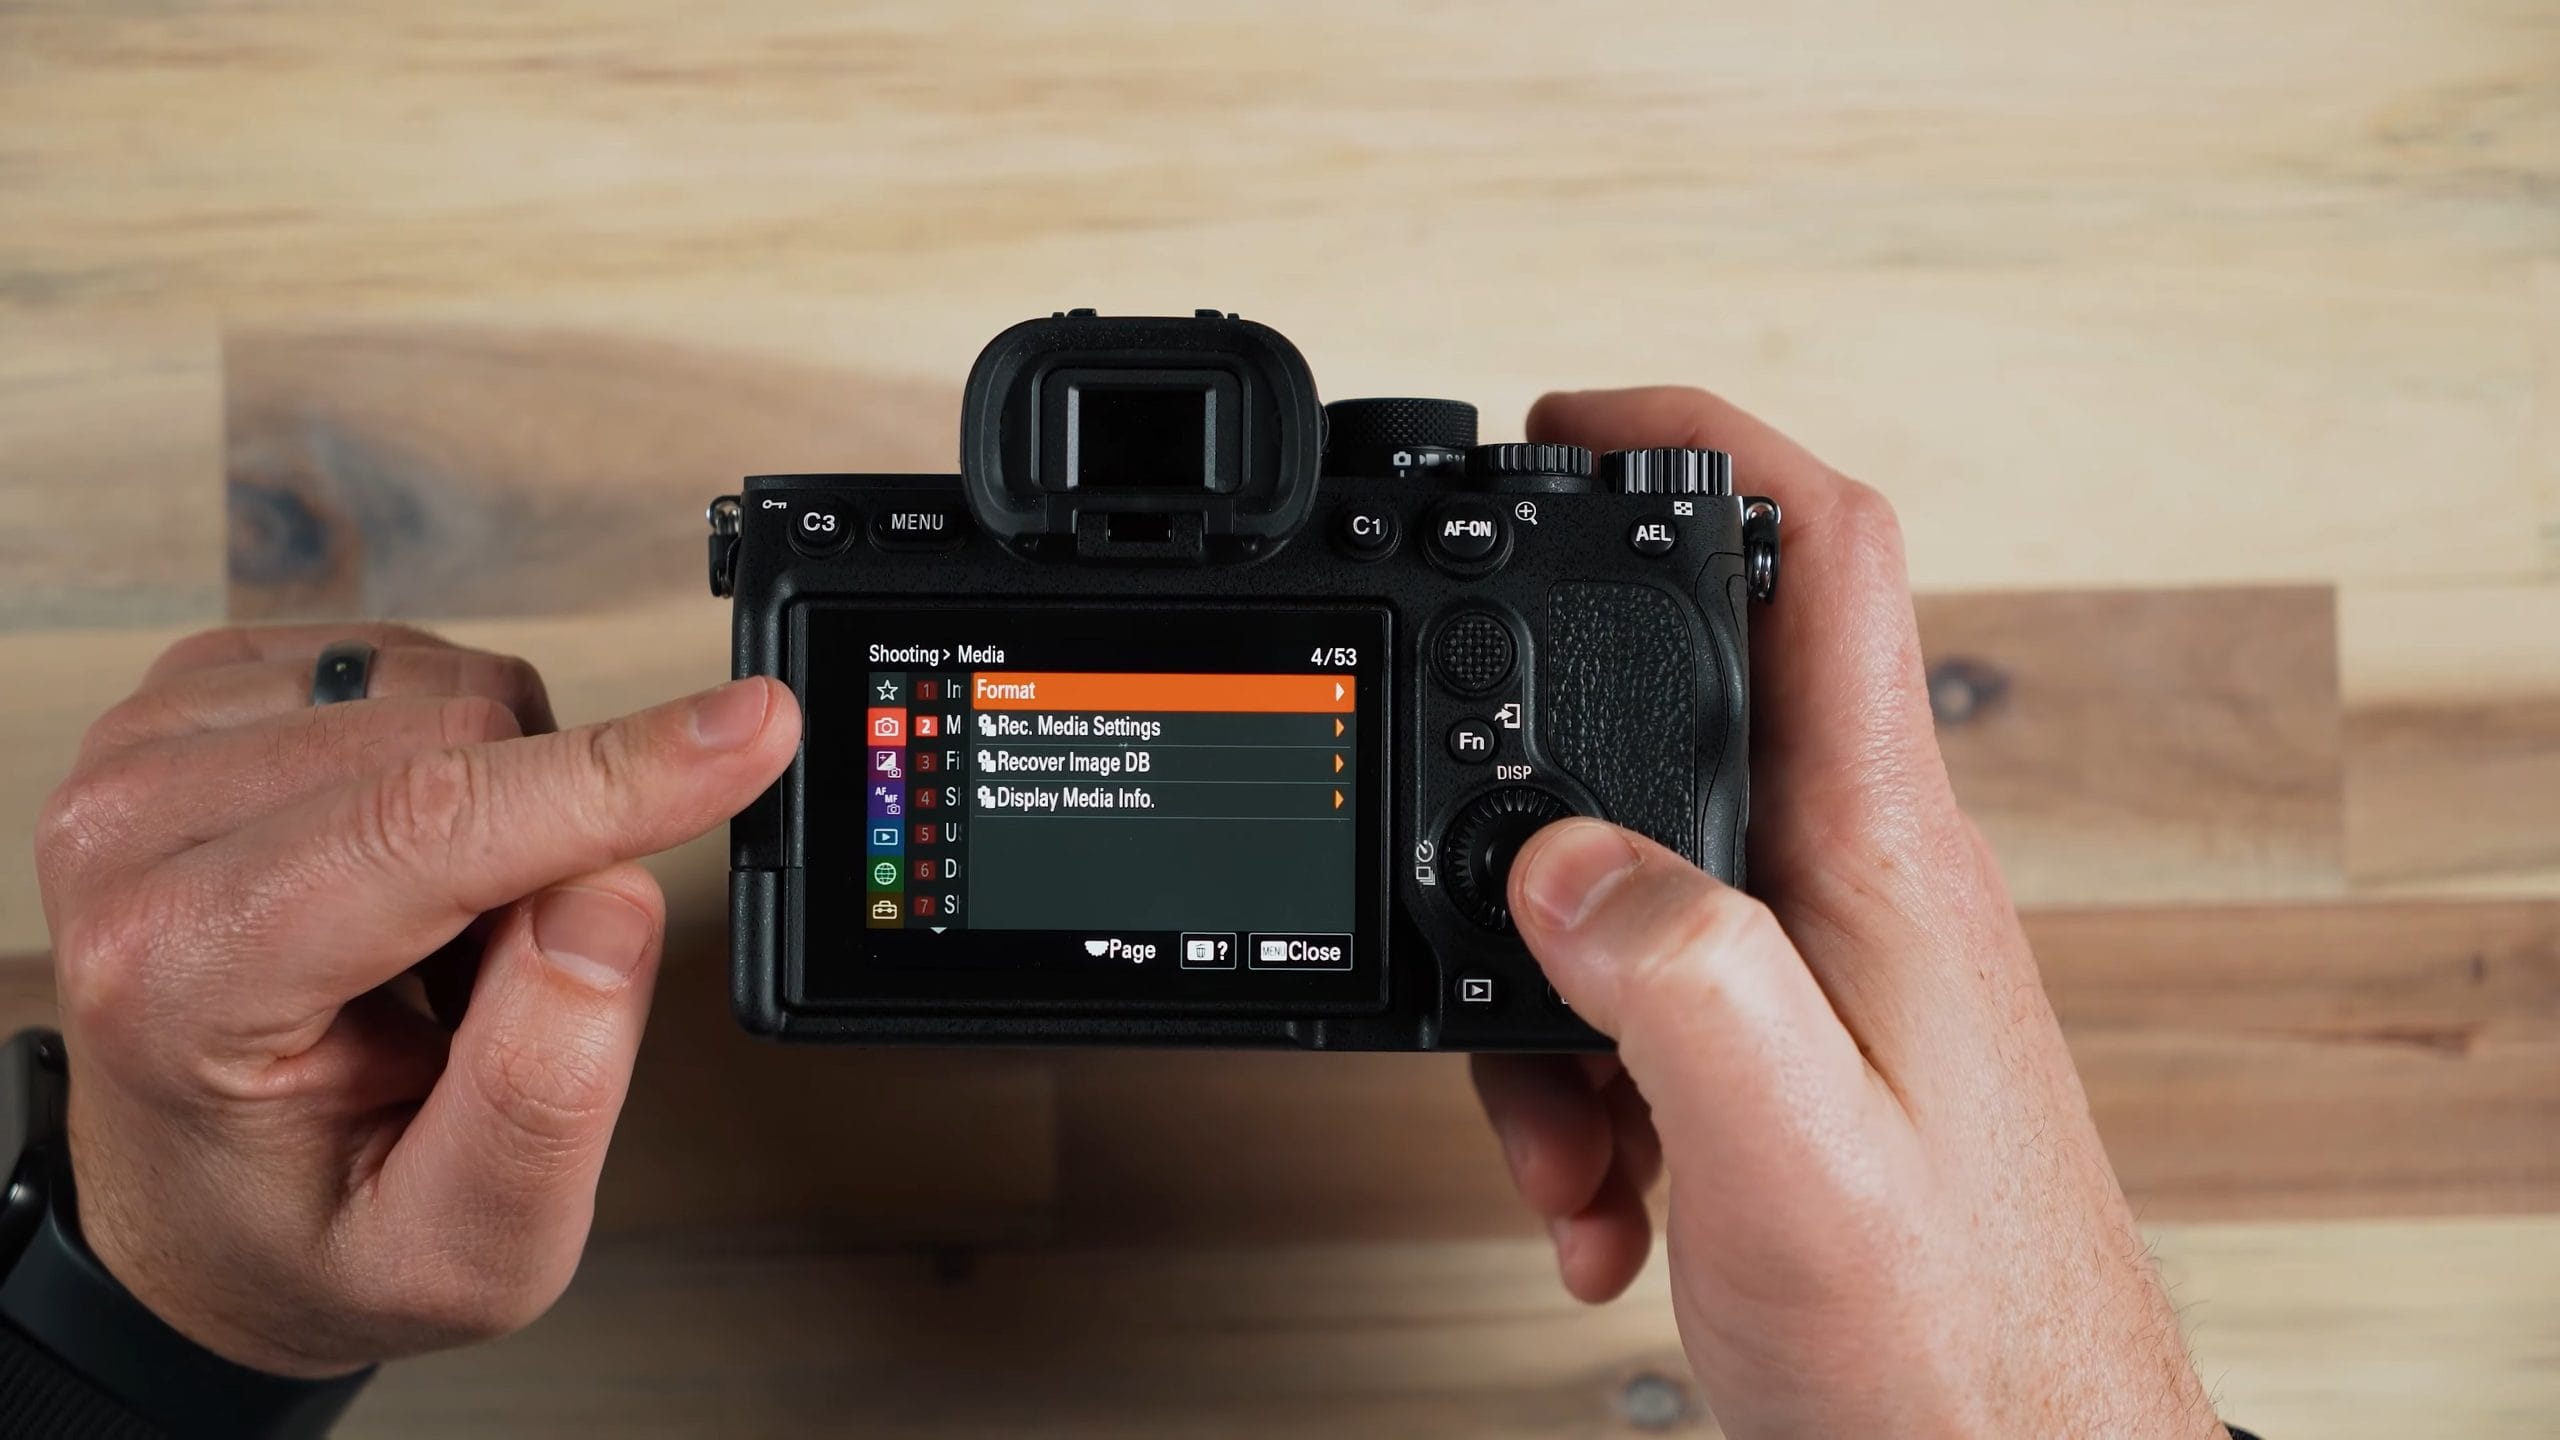
Under Media, you’ll find Format. I recommend formatting your cards in the camera, not on your computer. I don’t even recommend trashing your images, emptying the trash on your computer, and then putting the card back in. Make sure the images and video on your cards are backed up somewhere else, put the cards back in the camera, and format them right there.
The Rest of the Menu
Here’s a quick look at what else is in there:
- Exposure/Color: ISO range limits, exposure compensation, metering, flash settings, and white balance.
- Focus: autofocus sensitivity for both photo and video, AF tracking, eye and face tracking, and focus assist modes.
- Playback: everything you can do when you’re playing back an image, like default magnification and which card playback comes from.
- Network: connecting to Wi-Fi networks, Bluetooth to your phone for pulling in GPS data through Sony’s app, and wired LAN, which needs an adapter plugged into the USB-C port since there’s no Ethernet port.
- Setup: area, date, and time, resetting settings, and saving and loading settings. You can save the settings from one camera and load them onto another one, which is a pretty cool feature. There’s also touch operation for the touch panel, USB modes for things like software updates, external output for that HDMI port going to a monitor or recorder, and Version, where you can check the firmware of both the camera and the lens. Software updates are available from the Sony website.
Shooting Modes: Where to Start
The best advice I can give you is to take your camera out and start shooting, and start learning what some of these shooting modes do. If you’re not familiar with shooting in manual mode and adjusting your shutter speed, aperture, and ISO on your own, start in one of these and work your way up:
- Automatic mode is fine to start. The camera does pretty much all the work for you, but you don’t have much control over your image.
- Aperture priority lets you control the aperture of your lens while the camera does the rest of the thinking.
- Shutter priority is similar, but you control the shutter speed while the camera controls aperture and ISO.
- Manual mode is where you get the true performance out of this camera.
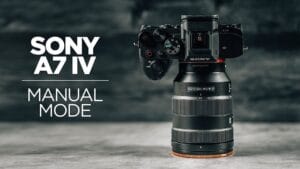
There are also the custom modes for recalling your own settings. I explain manual mode briefly in the course, and I have a separate video on how to use manual mode on the Sony a7 IV. If you want to see how I set up my own camera, watch my Sony a7 IV camera settings video.
Learn the Sony a7 IV Start to Finish
I hope this helped you understand the different features and functions of the a7 IV and how to use them. If you want to learn more in detail about your camera, and how I use its settings to capture great images and great video, the Sony a7 IV Fast Start Guide is definitely the next step for you.
Gear Mentioned
Some of these are affiliate links, which means I may earn a commission if you make a purchase, at no extra cost to you.
Was this helpful?
Frequently Asked Questions
How should a beginner start with the Sony a7 IV?
What memory card should I use in the Sony a7 IV?
How do I record to both SD cards on the Sony a7 IV?
Should I use HEIF or JPEG on the Sony a7 IV?
What video settings should I use on the Sony a7 IV?
What does the focus hold button on a Sony lens do?
Should I format SD cards in the camera or on my computer?
Where can I learn more about the Sony a7 IV?
Related Guides